Check out this clever solution for what to do with old phone jacks.
2 to 3 hours
Beginner
Less than $20
Introduction
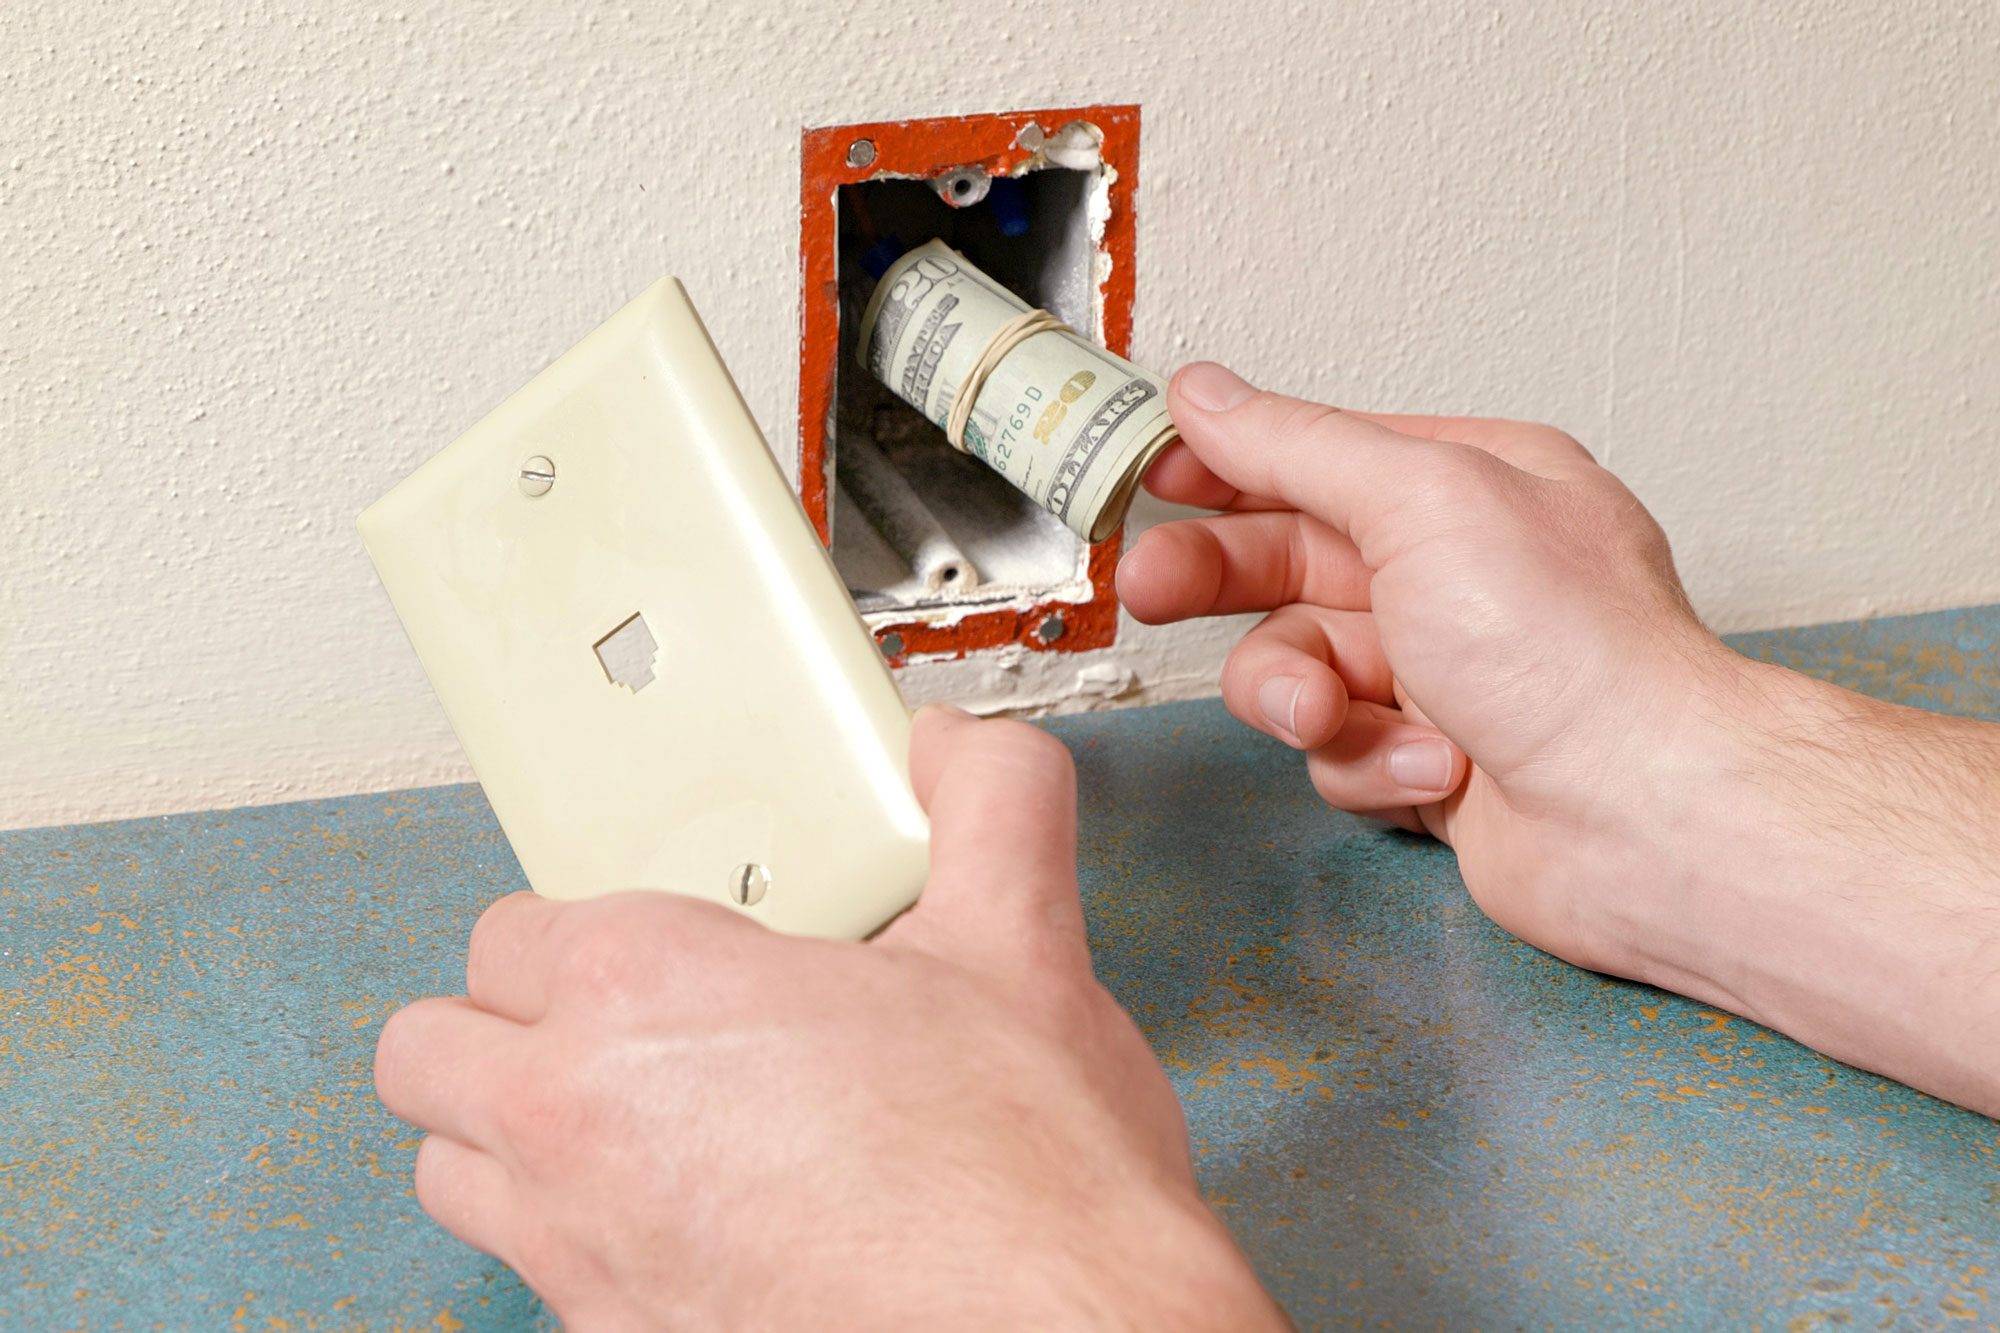
Transform your obsolete telephone wall jack into a clever hidden storage space with this simple step-by-step project.
Landlines are a thing of the past, rendering the phone jacks in most homes useless. You can use the space inside the telephone wall jack as a mini secret safe. With the wires removed, you’ll have space to hide some cash, jewelry or small collectibles. Then find or make something decorative to cover the opening, and no one will ever suspect there’s loot hiding behind it!
This project will take some time to complete because you’ll need to wait a few hours for the super glue to dry completely. The first time I tried this, I didn’t wait long enough for the glue to dry, and the magnets were pulled off the wall. So, don’t make my mistake—be patient and let everything dry properly.
Is it safe to cut old telephone wires?
Modern communication wiring runs on low-voltage systems (less than 50v). However, phone lines used in the past were copper, which could carry a significant amount of current if improperly wired or insulated. That said, whenever you’re doing a project like this one that involves removing wiring, use a voltage tester to ensure you don’t encounter any unexpected voltage.
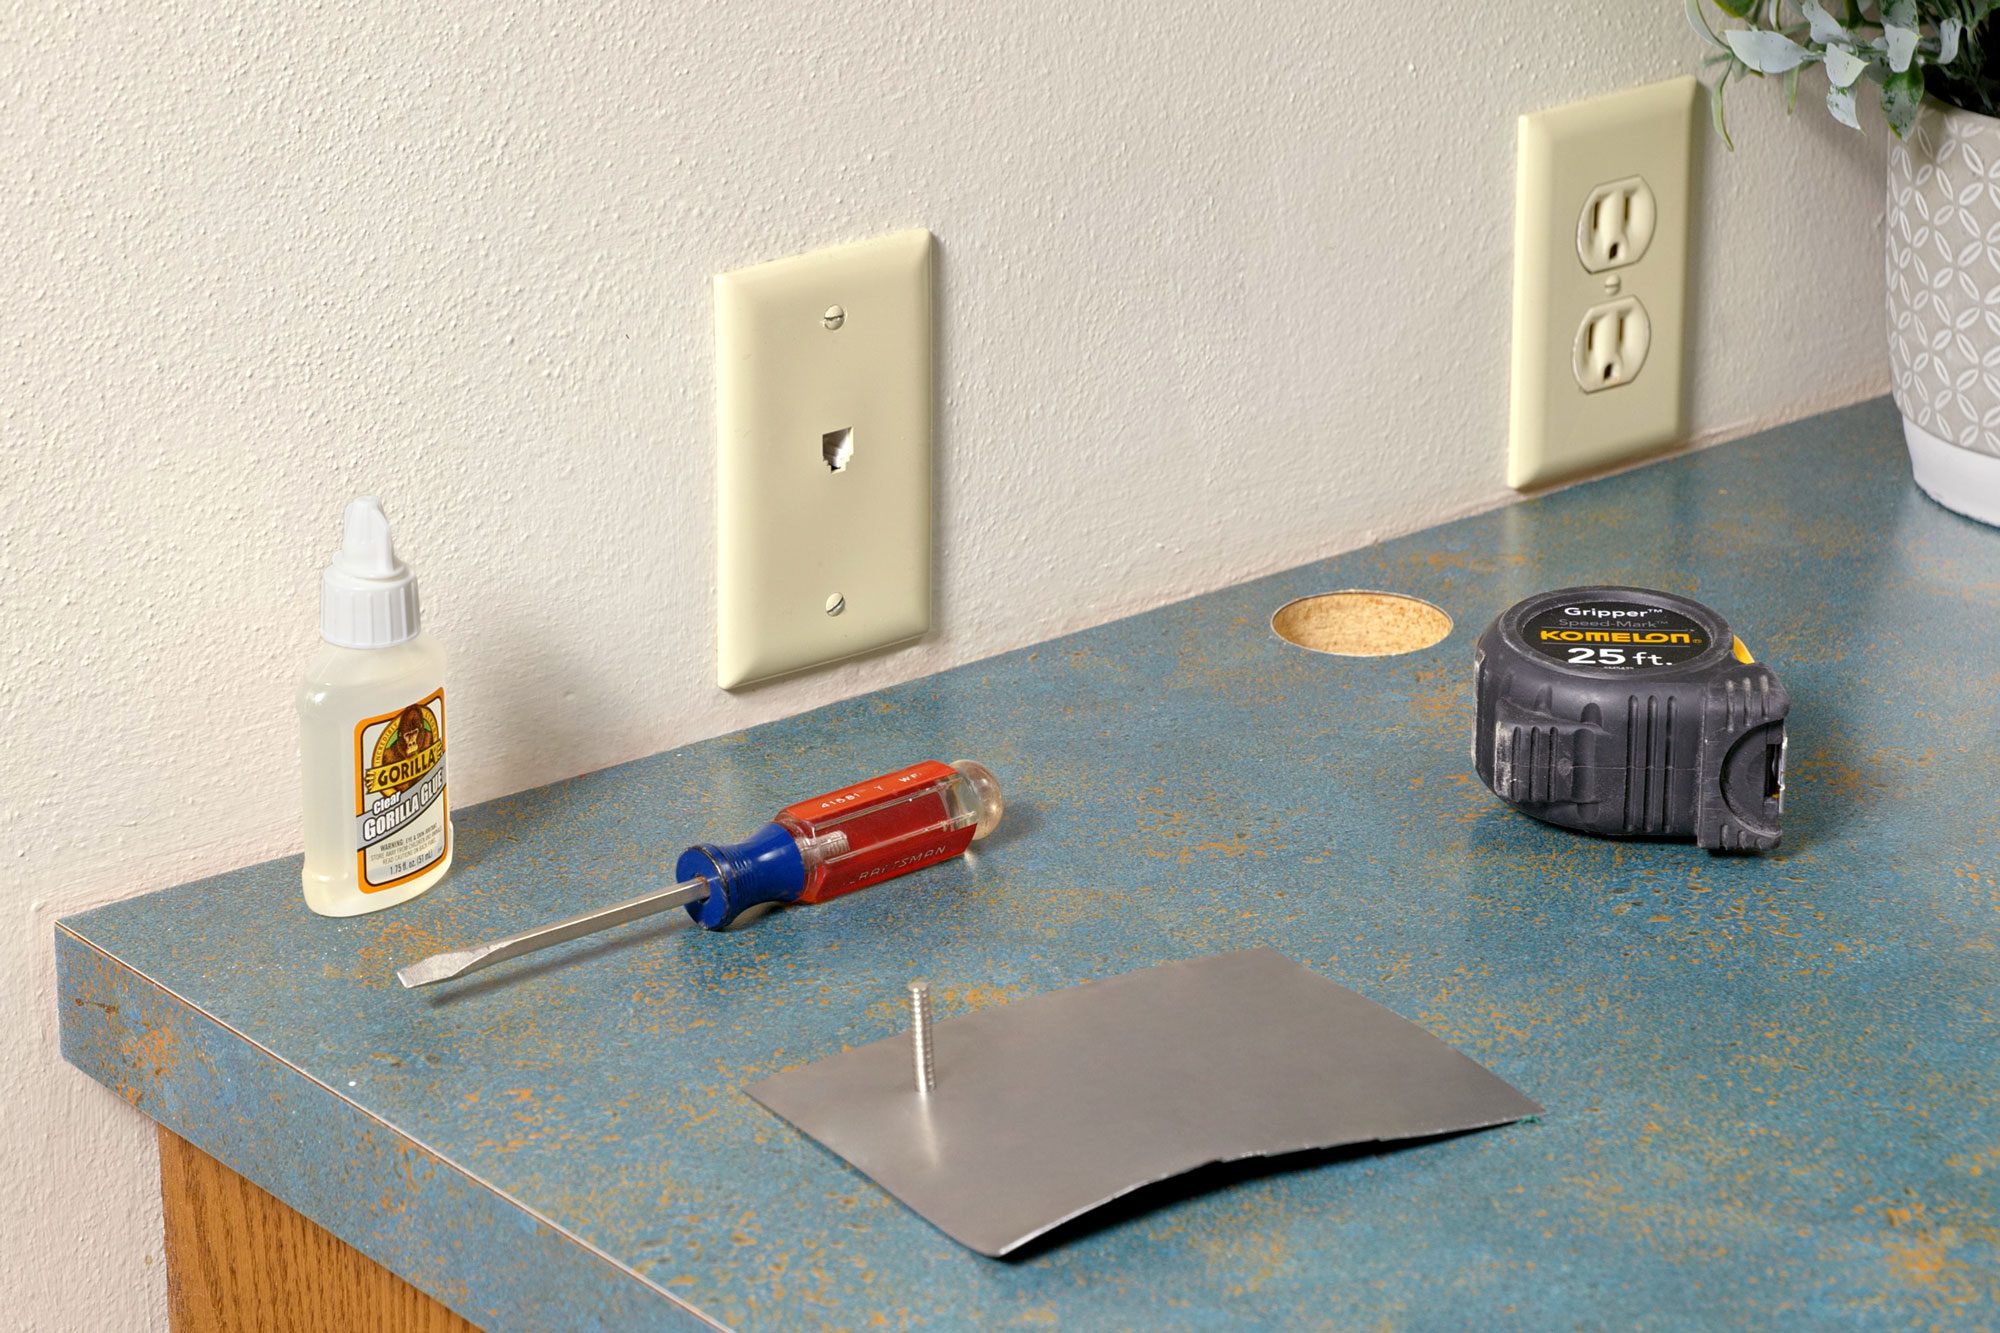
Tools Required
- 3/16” drill bit
- Drill
- Screwdriver
- Shop vac
- Tape measure
- Tin snips
- Utility knife
- Wire cutters
Materials Required
- 22-gauge steel sheet metal
- 5mm magnets
- CA glue (Super Glue)
- Wire nuts
Project step-by-step (7)
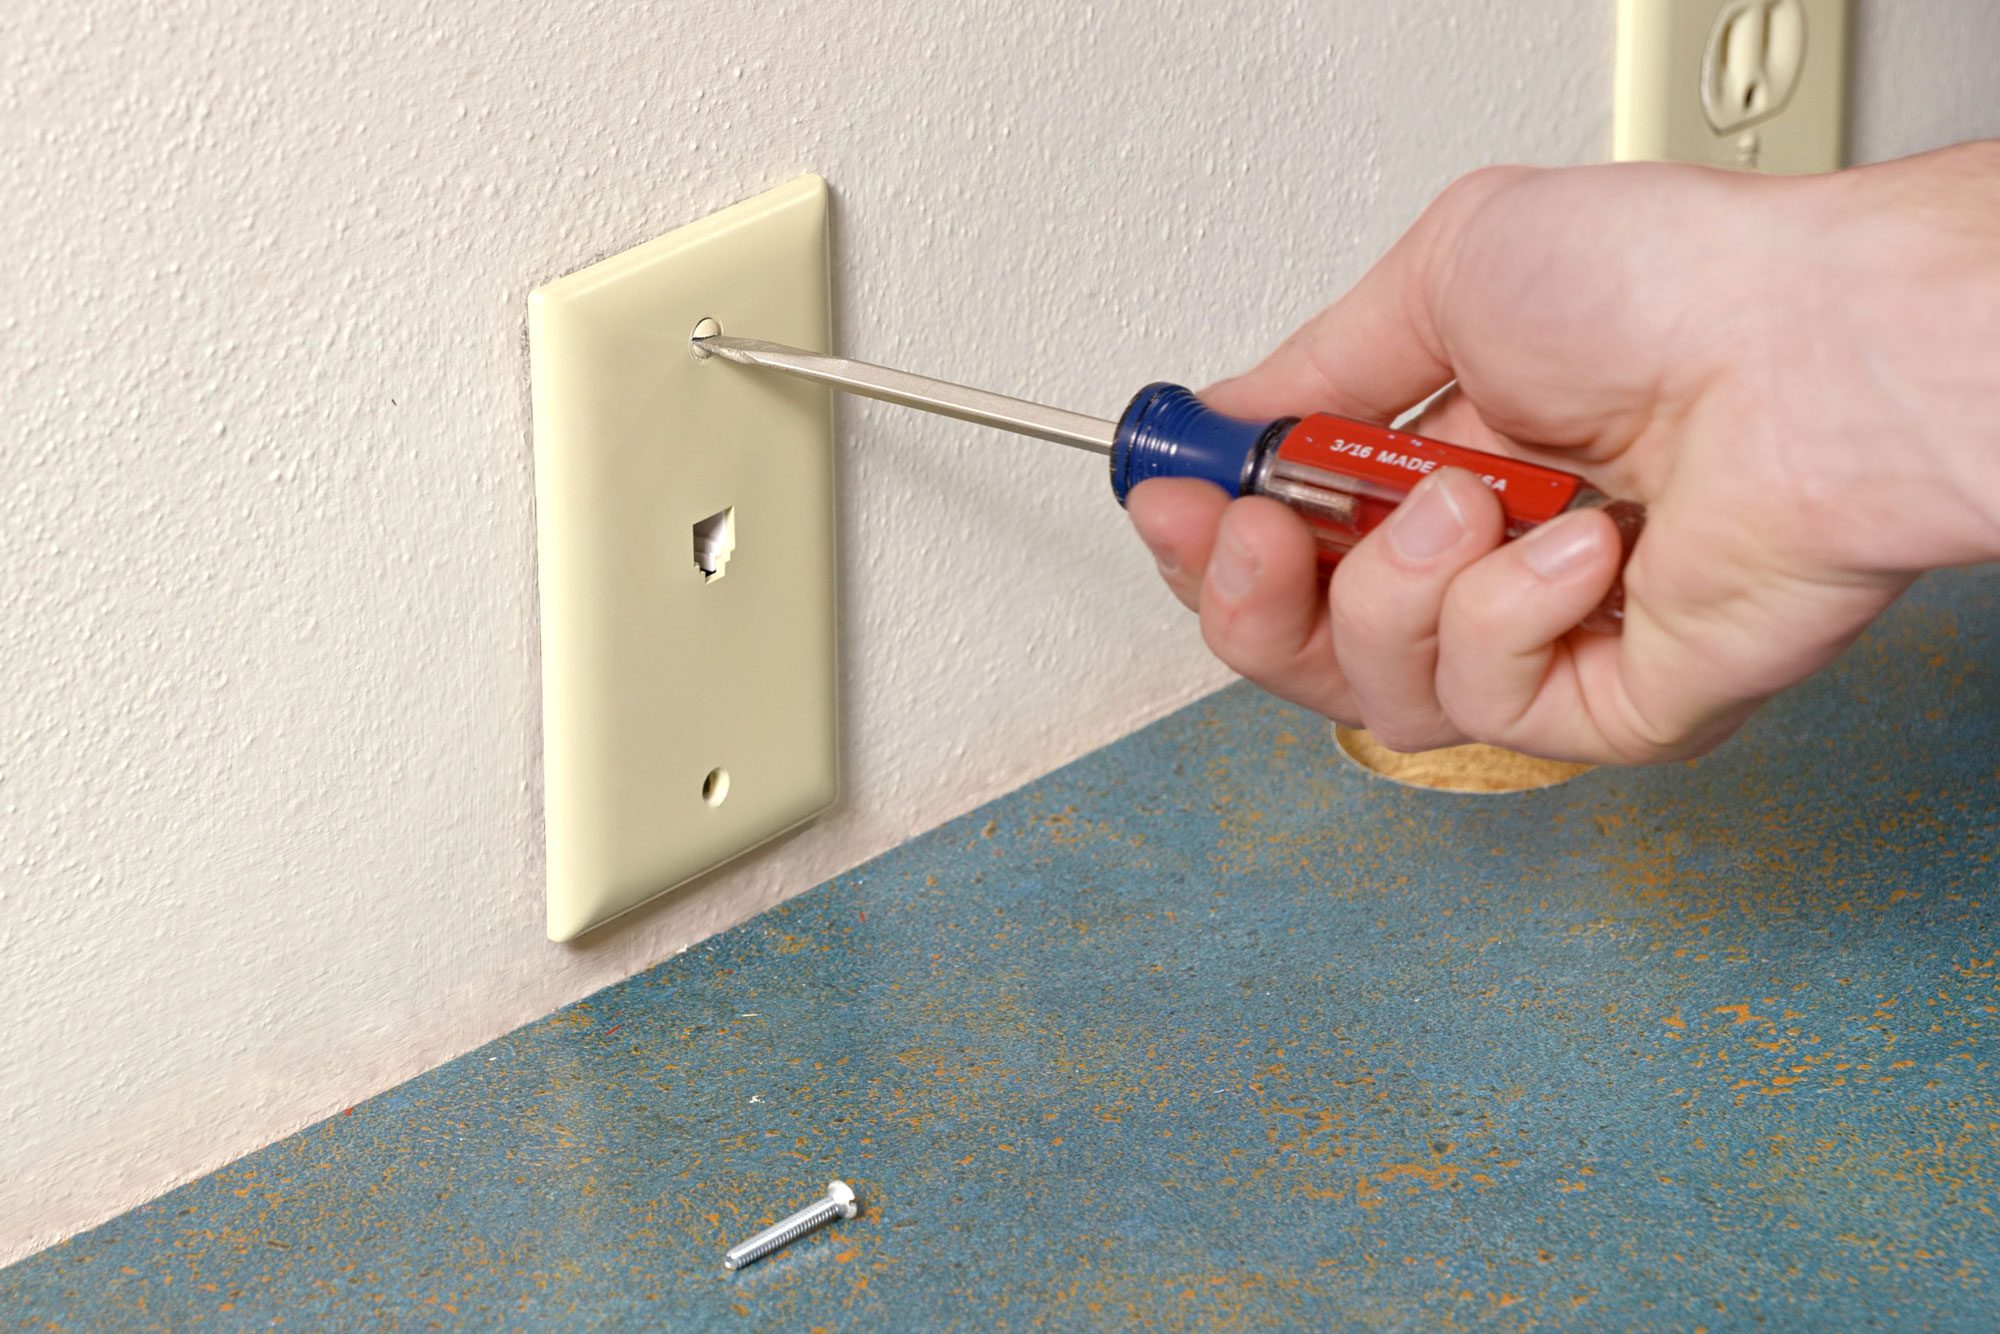
Step 1
Remove the face plate
Use a flathead screwdriver to remove both screws in the phone jack face plate.
Step 2
Cut and cap the wires
Detach the wires from the back of the faceplate and cut them short enough to hide in the back of the junction box. Cap off the wires by twisting wire nuts onto the cut telephone wires.

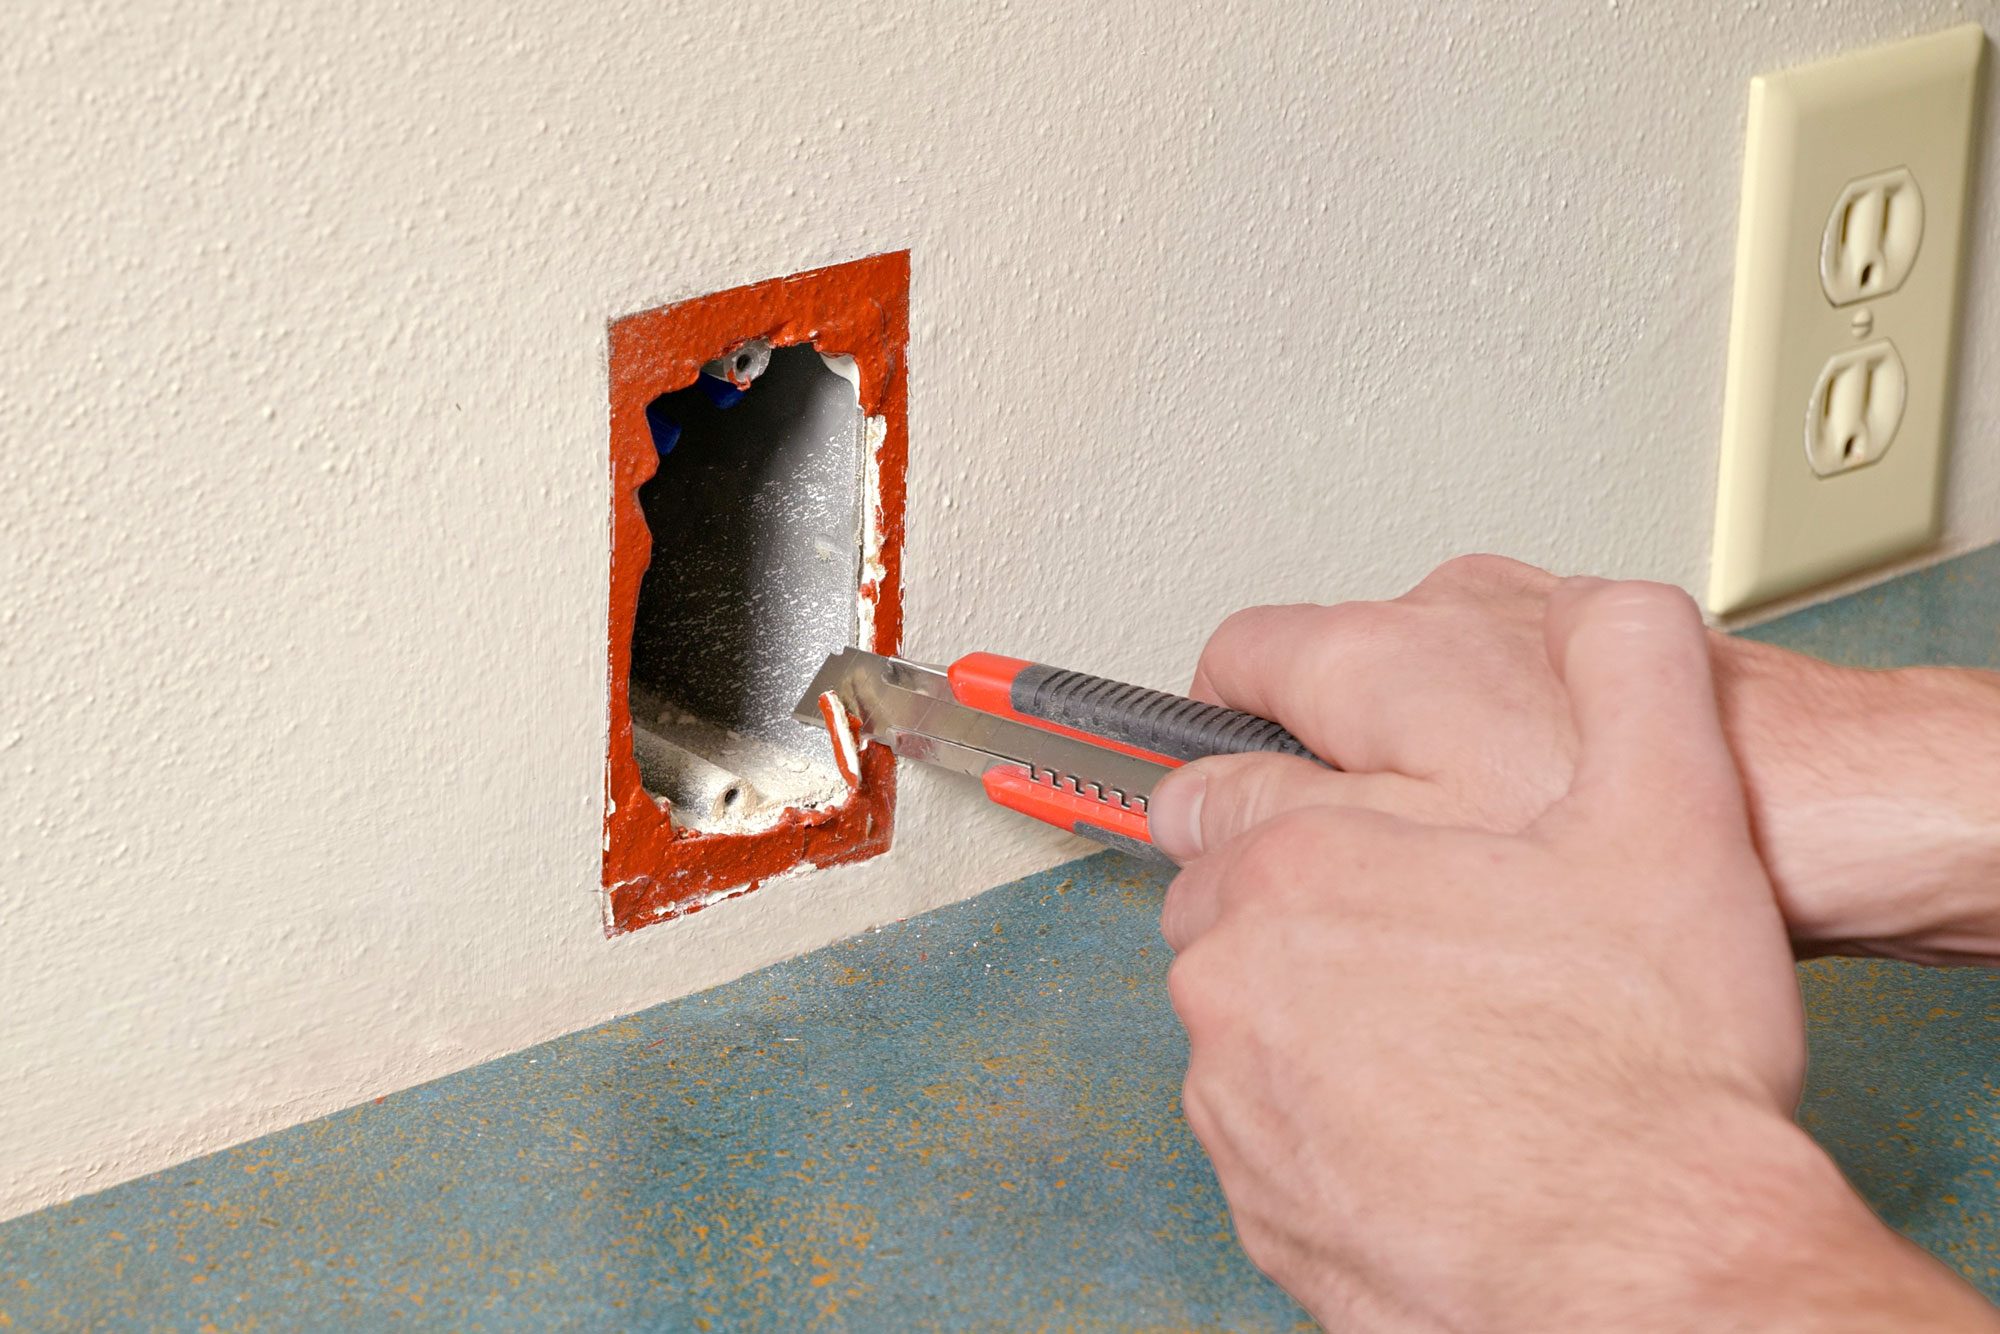
Step 3
Clean up
Use a utility knife to tidy up any drywall edges if necessary, then use a shop vac to clean up any dust.
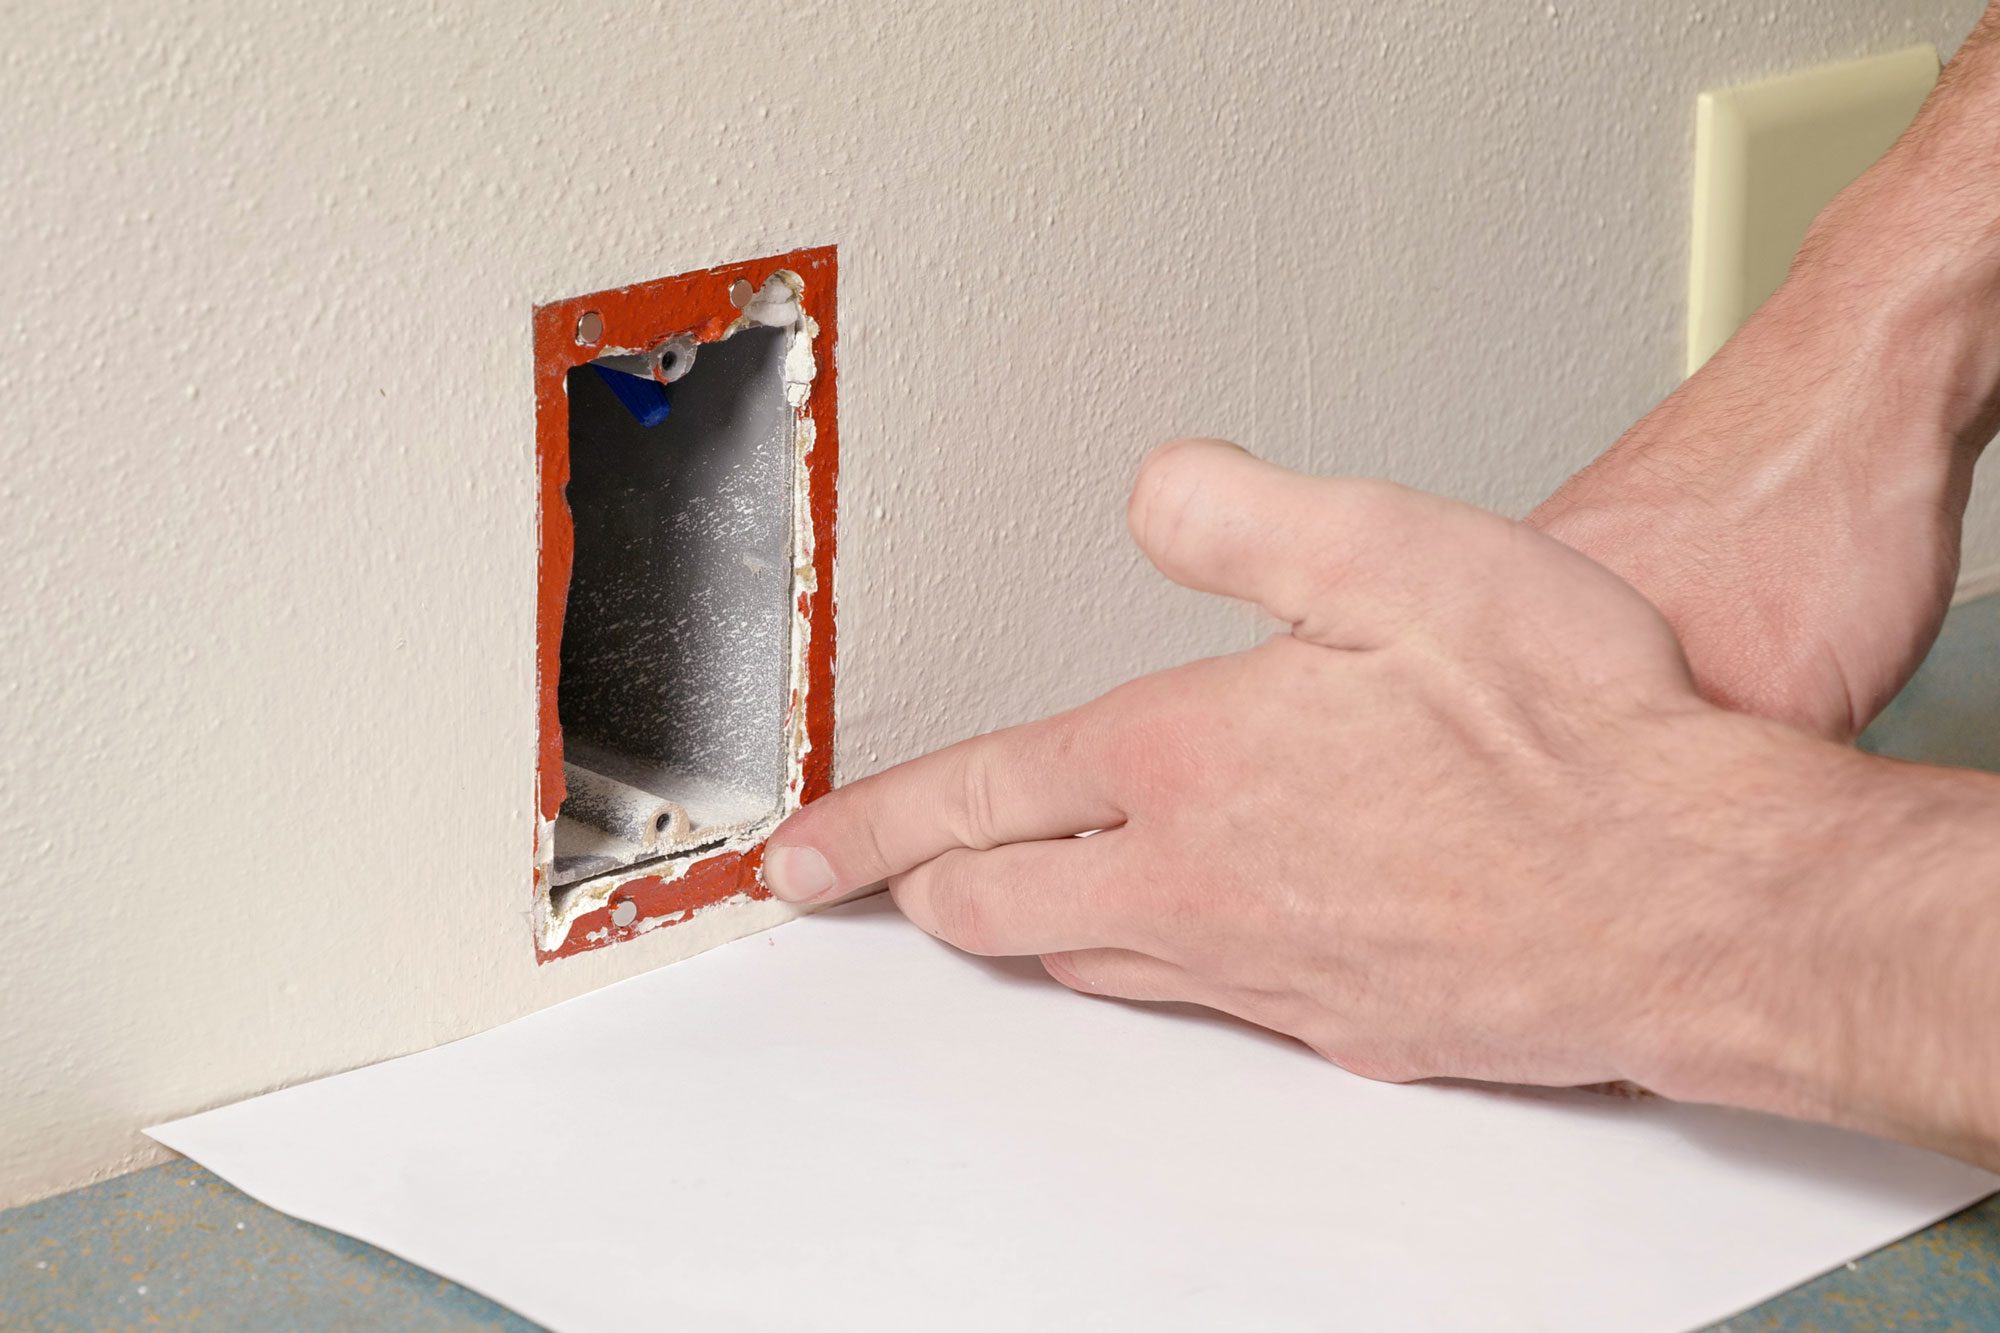
Step 4
Attach the sheet metal
Measure the back of the inside of the faceplate, and cut pieces of 22-gauge sheet metal (found at most home centers) to fit on the back of it.
Use CA glue (aka Super Glue) to adhere the sheet metal to the back of the faceplate. A gel or medium-viscosity CA glue works best. Ensure that the glue has cured for the necessary time before proceeding.

Step 5
Glue magnets to the wall
Depending on your setup, glue the 5mm magnets to the electric box or the drywall. If there isn’t enough space on the electric box, drill 5mm or 3/16-in. holes the thickness of the magnets to countersink them in the drywall. When gluing to the core of the drywall, be sure to use plenty of glue, as the porous nature of the drywall will soak some of it up.
Step 6
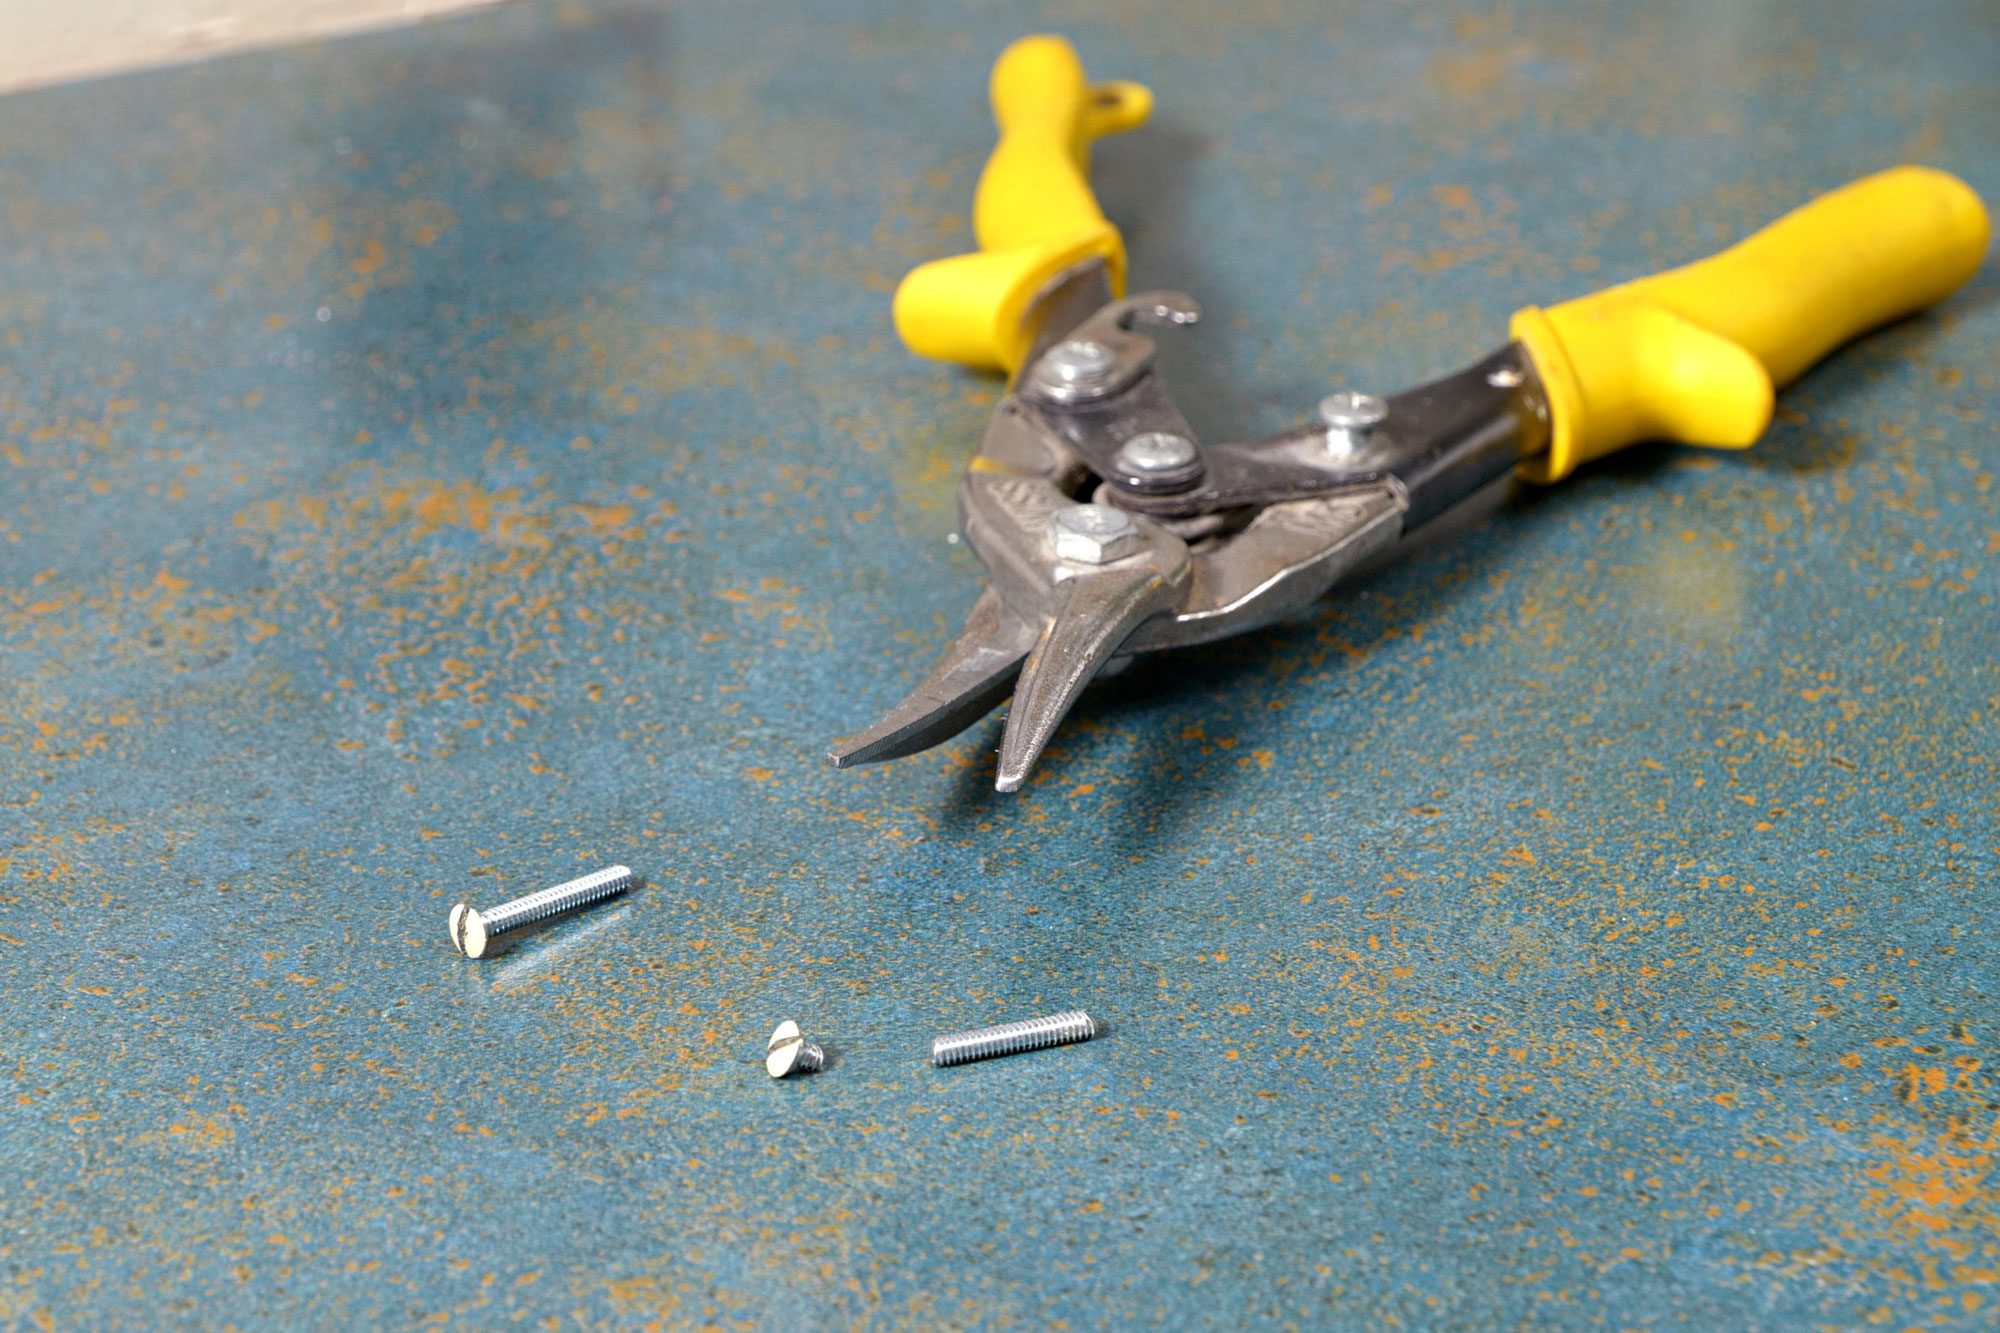
Trim faceplate screws
Using tin snips, cut the screw heads off of the face plate screws and glue the heads back into the screw holes in the faceplate. This will create the illusion of the faceplate being screwed into the wall.
Step 7
Attach faceplate video still
Once the glue on the magnets has cured, you can conceal small valuables in the box and easily access them by using the magnets to attach and remove the faceplate.
FAQ
Do telephone jacks have electricity?
Even when the power to the landline is off, there is still a very low amount of amperage.
How do you remove an old wall-mount phone jack?
To patch over an old telephone wall jack, you’ll first need to remove the faceplate and electrical box in the wall. Once this is done, deal with the wires by disconnecting them at the main phone box first, if possible. Then, snip the wires and tape the ends with electrical tape before tucking them into the wall. After that, you can patch the wall.