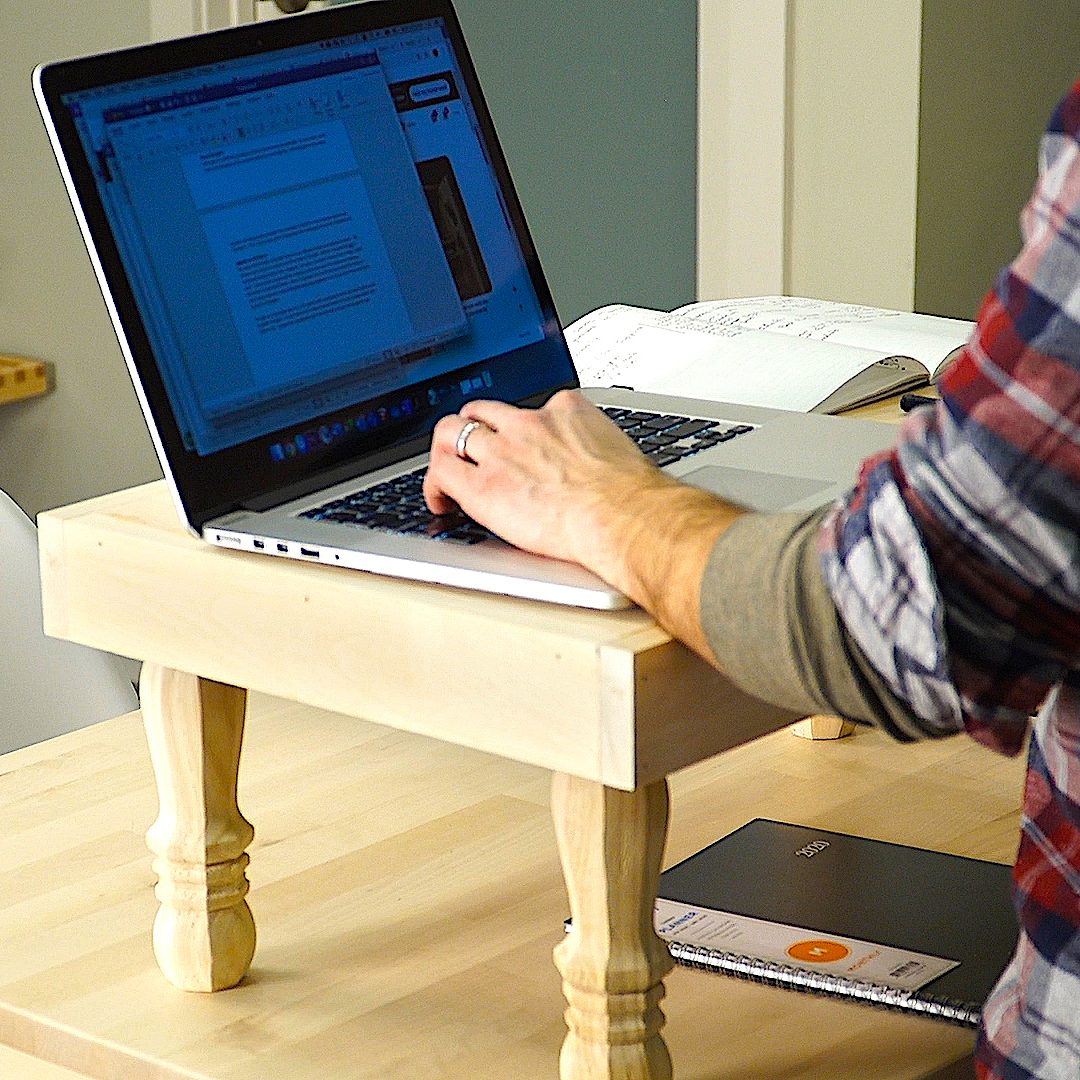
Turn any table in your home into a stand-up desk in less than 30 minutes.
Introduction
If you're stuck working from home, a comfortable workstation is a necessity to be productive. This fast and easy stand-up workstation will turn any table into your very own stand-up desk.
Note: I spent $25 on hardware and legs and used some scraps for the desktop. It is a perfect project for a new DIYer and it took me less than 15 minutes to build.

Tools Required
- 18-Gauge Brad Nail Gun
- Drill
- Table saw or Circular saw
Materials Required
- 1 - 1x3 x 8 ft.
- 1 - 3/4-in. plywood scrap (cut to 24" x 14")
- 1 - Bottle of wood glue
- 1-1/2-in. 18-gauge brad nails
- 4 - table legs
- 4 - table legs hardware
Project step-by-step (5)
Step 1
Cut Plywood to Size
- Cut a piece 24-in. x 14-in. (This will be your desktop).
- Use a table saw to make the cut (a circular saw will work if you don’t have a table saw).

Step 2
Mark and Cut the Apron Sides
- Cut the 1 x 3-ft. piece to 14 inches to match the depth of the plywood top.
- Pro tip: You don’t need a tape measure here. Just hold the 1 x 3-ft. board flush with one end of the plywood and mark the 1×3 at the other end.
- Cut both sides and glue and nail them flush with the top and edges of the plywood.

Step 3
Fasten the Back and Front Aprons
- Mark and cut the front and back apron parts the same way you did the sides (see step 2).
- Hold the 1 x 3-ft. flush to the corner and mark the other end.
- Glue and nail the front and back pieces so they overlap the sides.

Step 4
Attach the Leg Hardware
- Place the leg hardware in the corners, drill pilot holes and screw them into place.
- Pro tip: No precision necessary here just push the brackets into the corner and fasten them with the screws that come in the package.

Step 5
Screw on the Legs
- Screw the legs into the leg brackets then flip it over.
- Sand every inch of the top surface to avoid splinters.
- Paint to match your decor or finish with polyurethane for a natural look.


