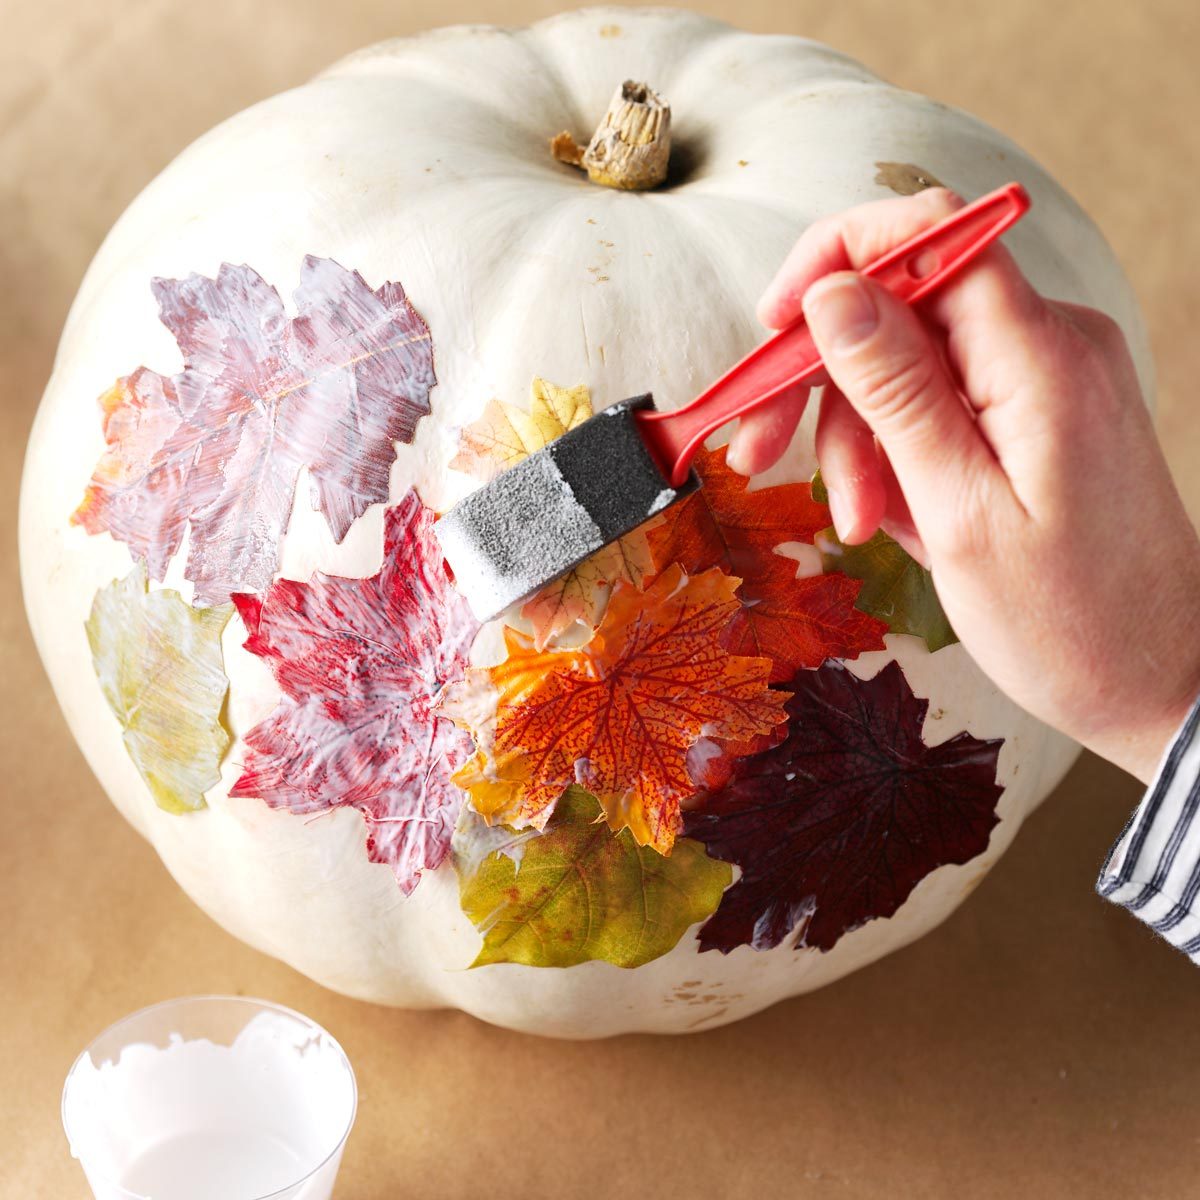
Highlight autumn’s freshest hues on white, orange or pale green pumpkins.
an Afternoon
Beginner
Varies
Introduction
Before you bag up all the fallen leaves in your yard, save a bunch to decorate your pumpkins this fall. If you don't have any leaves left to rake, you can also use silk leaves, found at any craft store. Once done, showcase your fall creation for all to see!
Looking for fall pumpkin decorating ideas beyond traditional pumpkin carving? Look no further. We’ve got an easy project for you.
If you grow your own pumpkins and use leaves from your yard, you’ll only need to pay for the glue and applicators. Buying pumpkins and silk leaves shouldn’t be too expensive if you prefer that route instead.
You can get really creative with this project. Depending on what color pumpkins you use and which leaves you opt for, there are seemingly endless possible combinations. If you enjoy this project, you could even design pumpkins for early fall, Halloween, Thanksgiving, and even early winter!
This is also a great project if you’ve got kids and worry about their ability to carefully and safely carve with knives. Pins are the only sharp tool used in this project, and you can take the lead with those if you need the leaves to be extra flat.
Tools Required
- Small straight pins (optional)
- Sponge applicators
Materials Required
- Decoupage glue
- Fresh or thin silk leaves
- Pumpkins
Project step-by-step (2)
Prepare the leaves
Begin by preparing your leaves. If you’ve opted for silk leaves, gently tug away the fabric to detach the plastic spines, then discard them. Brush some decoupage glue on an area of pumpkin slightly larger than a leaf.
- Note: If your silk leaves are stiff or wrinkled, carefully iron them with steam before attempting to apply them to the pumpkin.
Then apply glue to the back of your first leaf. Glue the leaf to the pumpkin, smoothing as needed. If necessary, keep the leaf flat with straight pins. Insert the pins slightly into the pumpkin, just enough to flatten the leaves. You don’t need them to go in very far.
Glue the leaves
Next, coat the top of the leaf with some decoupage glue. Continue gluing the fall leaves to the pumpkin until the design is complete.
When everything dries, remove any pins and apply another coat or two of decoupage glue to the entire pumpkin surface. Let that final coat dry. Then you can set out your decorations wherever you like!
Congratulations, your project is complete. Now you’ve got a great fall decorating skill to whip out next time your friends want to host a fall holiday party! You’ll be the undisputed expert on fall decor.
FAQ
What is decoupage glue?
Decoupage glue like Modge Podge is an adhesive and sealer in one. It dries clear, although you can pick from a variety of finishes like matte and gloss. It hardens as it dries and preserves decorative elements underneath from moisture, UV rays, and damage.
How long will a decorated pumpkin last?
Carved pumpkins only last about a week before rotting; but an uncarved pumpkin, like the one decorated in this project, lasts much longer. According to the Farmer’s Almanac, a freshly harvested pumpkin or store-bought pumpkin can last one month at room temperature and two to three months if stored in a cool, dark, dry place.


