


Liquid flashing has been showing up on more jobsites around the nation. That’s because it works. Liquid flashing costs more per opening, but if it’s installed properly there’s no better way to achieve a watertight window or door.
The Ins and Outs of Working with Liquid Flashing
1
/
13
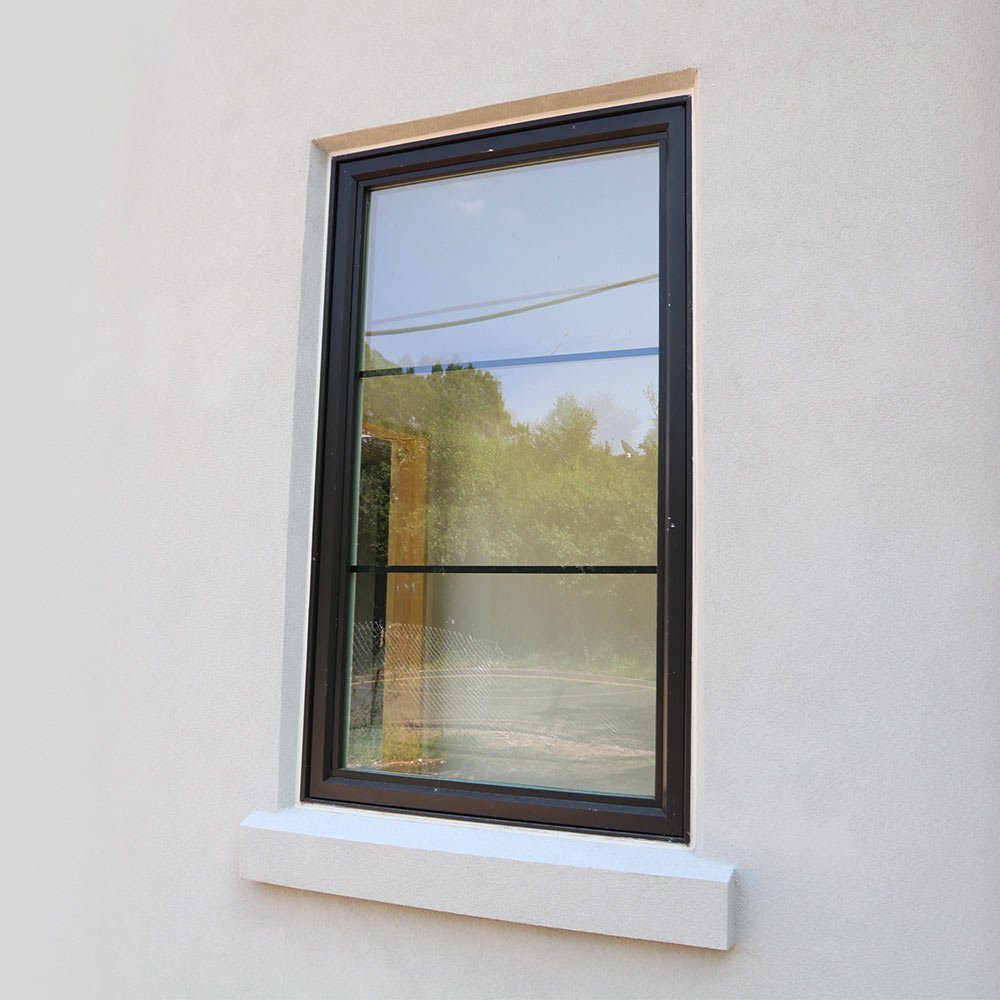
Liquid Flashing Will Seal Recessed Windows
Recessed windows are becoming more popular in the South & Western United States. They add a unique and attractive architectural detail, but improper flashing could result in water infiltration that could cost a builder thousands of dollars, or even worse, ruin a reputation.
Recessed windows need to be flashed and sealed properly or they WILL leak. Risinger Homes has installed a bunch of recessed windows, all sealed and protected with liquid flashing, and we’ve had no problems whatsoever. Let me show you how we do it.
2
/
13
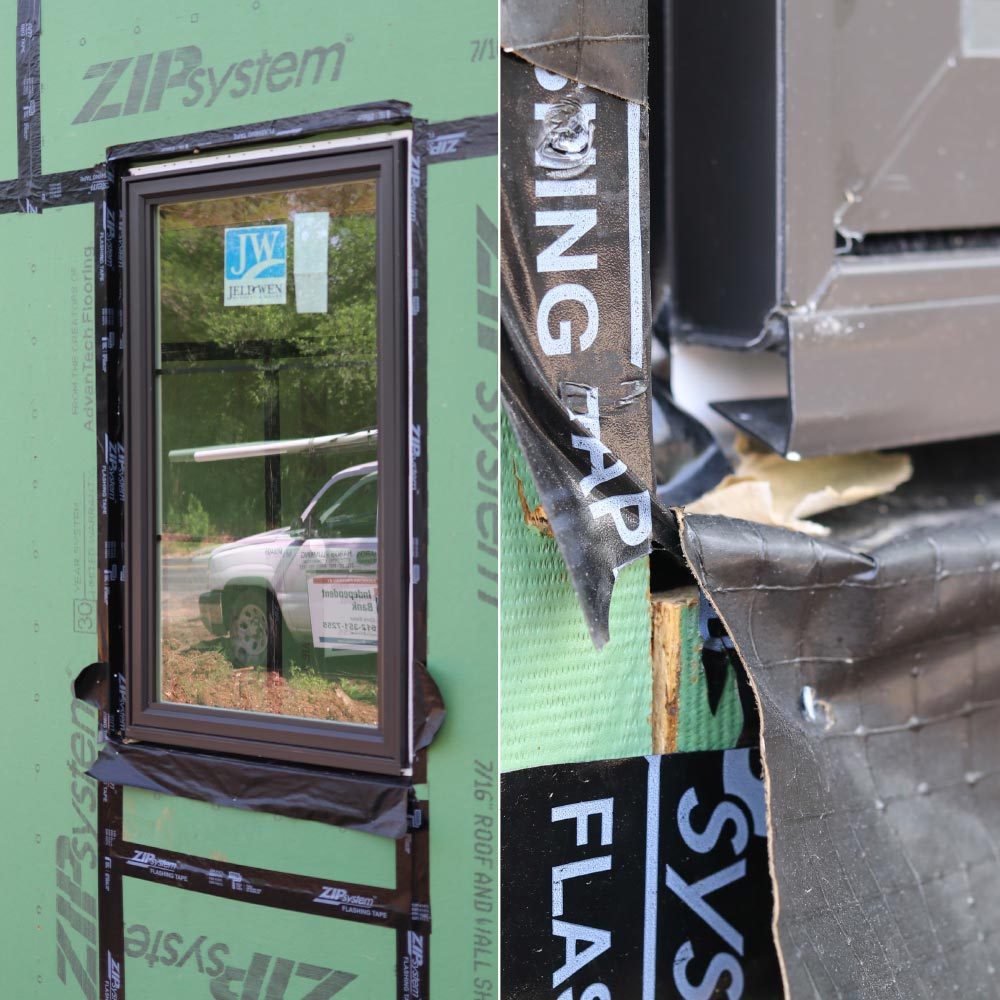
What Not to Do When Installing Windows
Here’s a project I drove by recently. I could tell from the street that these windows were installed incorrectly. A closer look with my “raindrop” glasses on revealed bare wood and flashing overlapped the wrong way. It was obvious that these windows were going to leak. I was familiar with this particular builder, so I gave him a call and warned him of the potential danger. He assumed that his window installer would follow best practices and was astonished when we met at the site to take a closer look. We tore a couple out, and I demonstrated to his installers a better way.
3
/
13

It All Starts With the Window Sill
I like to slope the sill about 5% so that drainage is built-in before I even start to apply my flashing. We used a reciprocating saw to cut the jack studs, and then shim under the 2×4 sill to achieve a positive slope.
4
/
13
Liquid Flash
For Recessed Windows, I always use liquid flashing or Fluid Applied Weather Barriers (FAWB). If you’re using Zip Sheathing, Huber Engineered Woods makes a single component flashing called “Liquid Flash” that takes the place of their Zip Tape or Stretch Tape. It’s a fiber-reinforced “caulking” for lack of a better term that comes out thick but is easy enough to tool with a plastic trowel. Liquid Flash can cover gaps up to 1/2-in. Individual tubes cost about $25 each. Plan on one tube per window.
5
/
13
Use a Liquid Flashing Gun and Spread
Fluid Applied Weather Barrier (FAWB) is ideal for a recessed window opening because it’s nearly foolproof. Just gun it onto the sheathing & the bare pine rough opening and tool it out with a plastic trowel. It typically dries in 30 minutes so you’ll be ready to install the window in less than an hour.
6
/
13
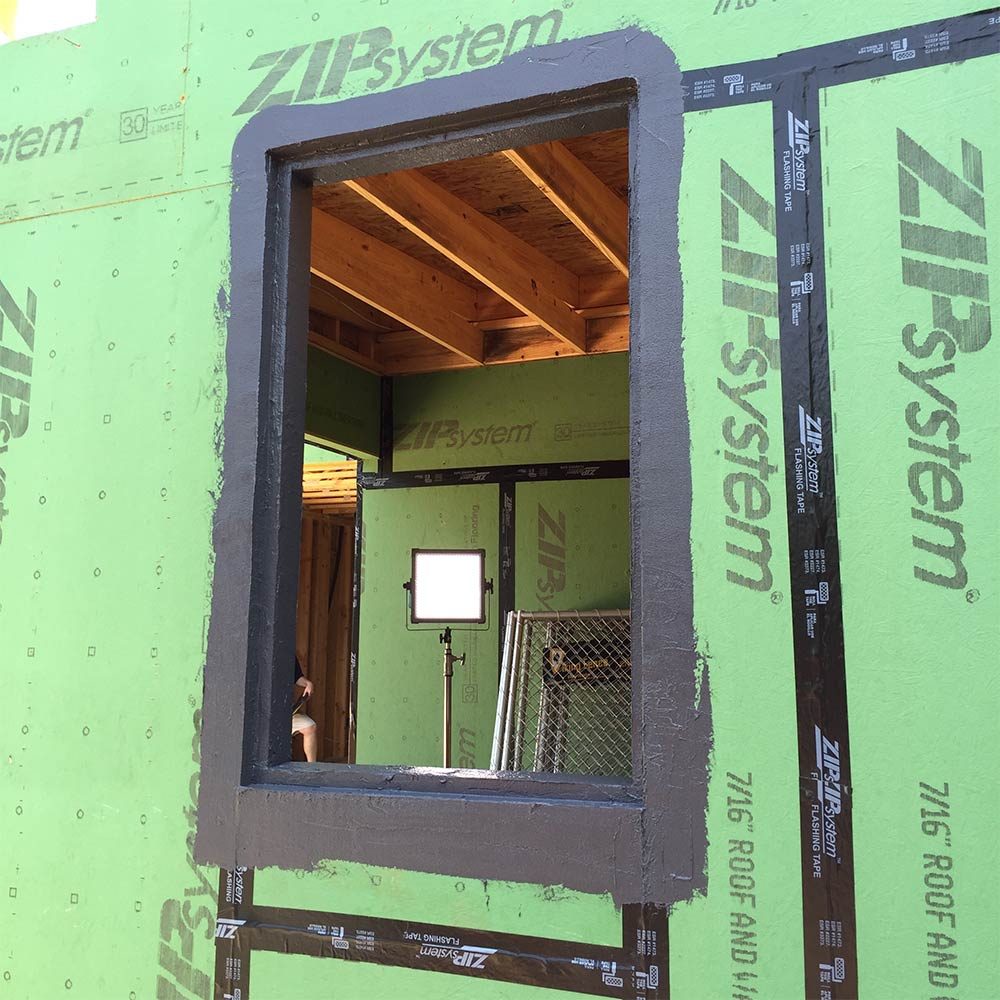
Liquid Window Flashing Is Easy
Here’s the finished rough opening sealed with the Zip Liquid Flash. Very simple and straightforward, just make sure to create a continuous thick layer.
7
/
13
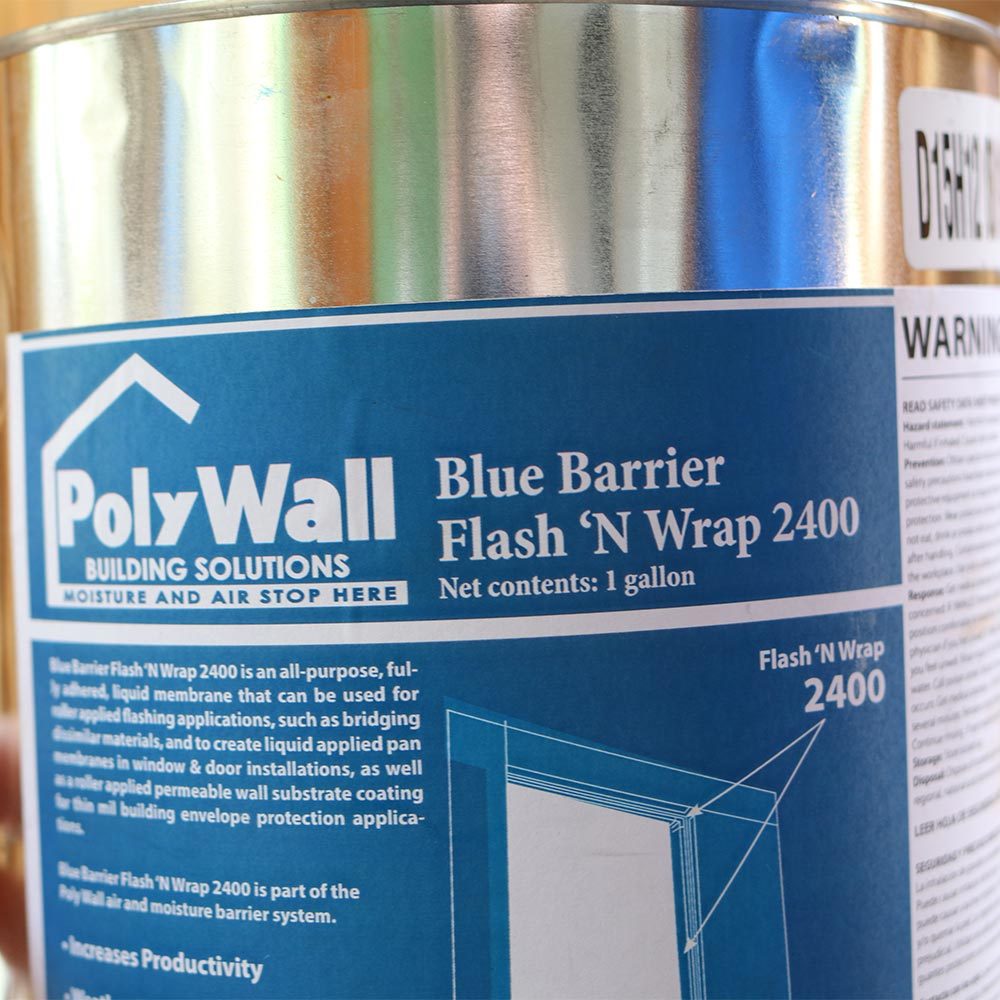
PolyWall Can Also Function as WRB
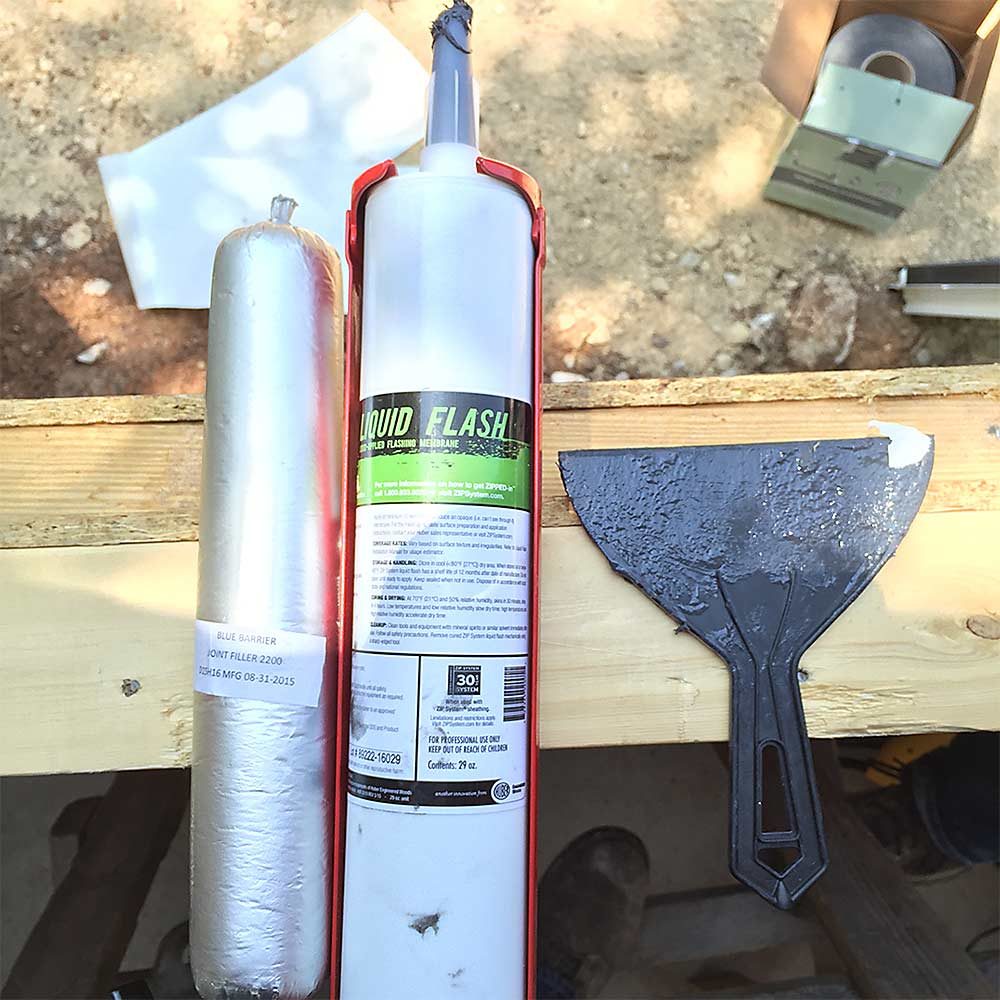
PolyWall’s Blue Barrier system is a Fluid Applied Weather Barrier (FAWB). This product is a less viscous fluid than Liquid Flash and can be used to seal rough openings, but can also function as a house wrap/weather resistant barrier (WRB) when rolled onto the entire house. We are just using it here to seal the rough opening because Zip Wall sheathing has its own built-in WRB. PolyWall is a two-part system, which consists of the FAWB and joint filler. One gallon costs $125 and will cover about 100-sq.-ft. and one tube of joint sealer costs $20.
8
/
13

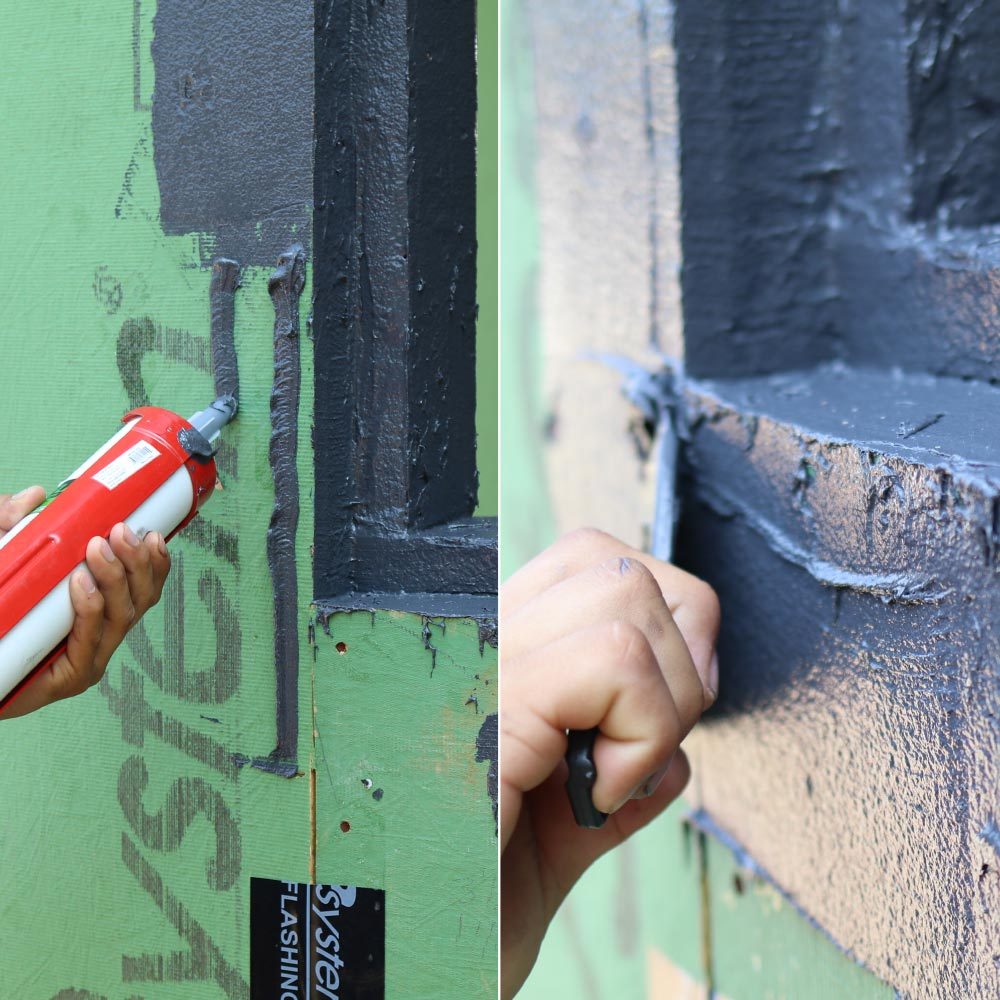
Seal the Gaps With Joint Filler
Because PolyWall Blue Barrier is less viscous, you’ll need to fill large gaps with their Joint Filler 2200. It’s similar to caulking but more dense and fiber-reinforced. It comes in Sausage Tubes (you’ll need a special caulking gun) and goes on first to fill joints, and gaps/cracks up to 1/2-in. wide. When coating an entire house, this filler would also be applied over sheathing joints and around all other penetrations (hose bibs, ducts, wires, etc.).
9
/
13

Slather on the FAWB
Once the joints are sealed, apply a thick coat of Blue Barrier 2400 Flash n Wrap with a brush and roller. Typically a single coat is all that’s required; once the substrate is no longer visible you are good to move on. This is a moisture cure product, so no priming is required, and it can be applied in damp conditions. We cover the entire opening and overlap onto the edge of the sheathing 6-in. to achieve a perfectly waterproof opening.
10
/
13
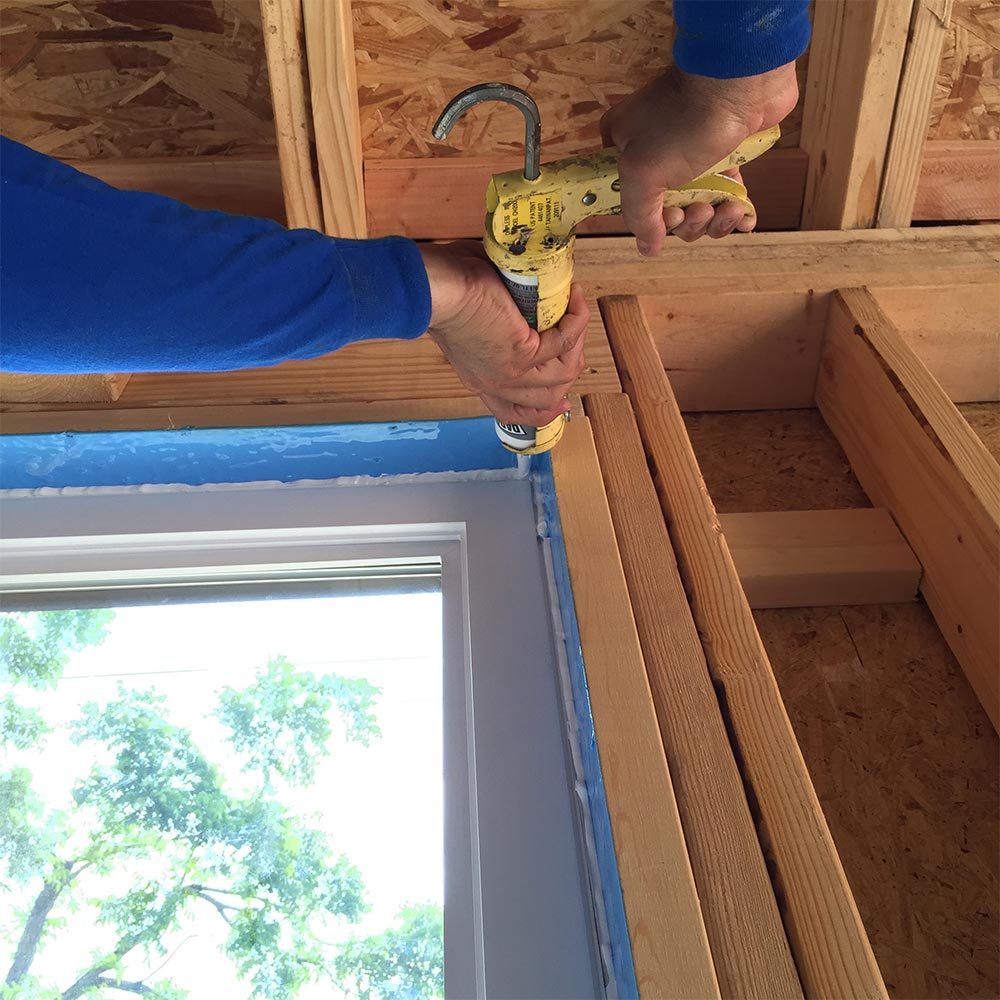
Install the Window
Whichever FAWB product we use, we cover the inside top and side nailing flanges with joint filler after installing this window. Then we installed a traditional head flashing/drip cap and covered the top of that as well. We did not seal the nailing flange at the sill, so any water that may leak into the window can have a path to escape.
Make sure to follow the window manufacturer’s installation instructions exactly. Install procedures may differ for recessed applications, so when in doubt, give them a call. The best way to void a window warranty is to guess which is the best way to install it.
11
/
13
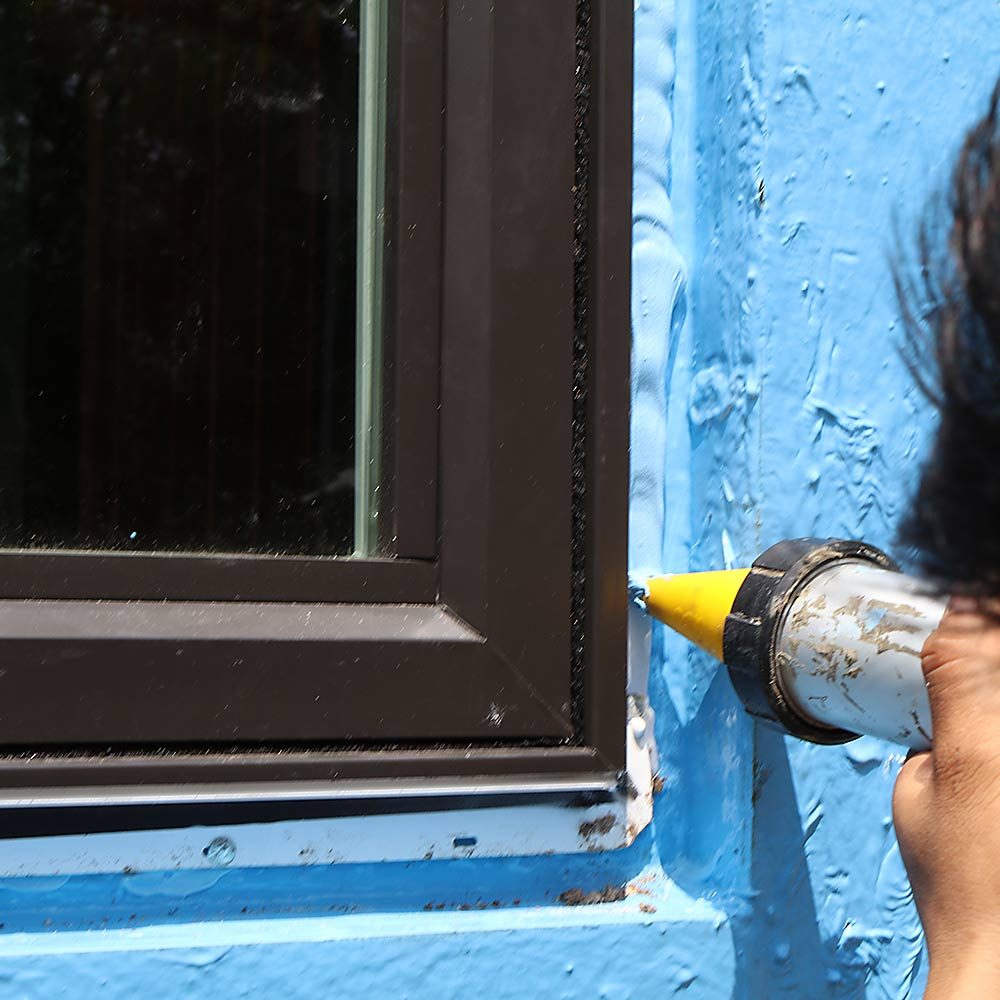
Seal the Window From the Inside
In addition to a bead of low expansion spray foam, I also caulk the frame of the window to the framing. This method will establish an air-tight window and will also act as a back stop to prevent any water that gets through the window frame from backing up into the house.
12
/
13
Sweet Dreams
If you follow this method you’ll be able to sleep soundly knowing that your customer’s windows will be leak-free for many decades to come!
13
/
13

Matt Risinger
Matt is the owner/operator of Risinger Homes in Austin, Texas.
Check out the video:https://youtu.be/mhEVQYixZdA
Follow Matt: on Twitter @MattRisinger, on Instagram @RisingerBuild, on Facebook @Risinger Homes, or follow his blog at blog at www.MattRisinger.com