


A random orbit sander just might be the most user-friendly power tool there is. But that doesn't mean there's nothing to learn. Here are 10 tips to help you work faster, get a smooth, even surface and avoid those swirly scratches that don't show up until you apply your finish.
10 Tips for Mastering the Random Orbit Sander
1
/
11
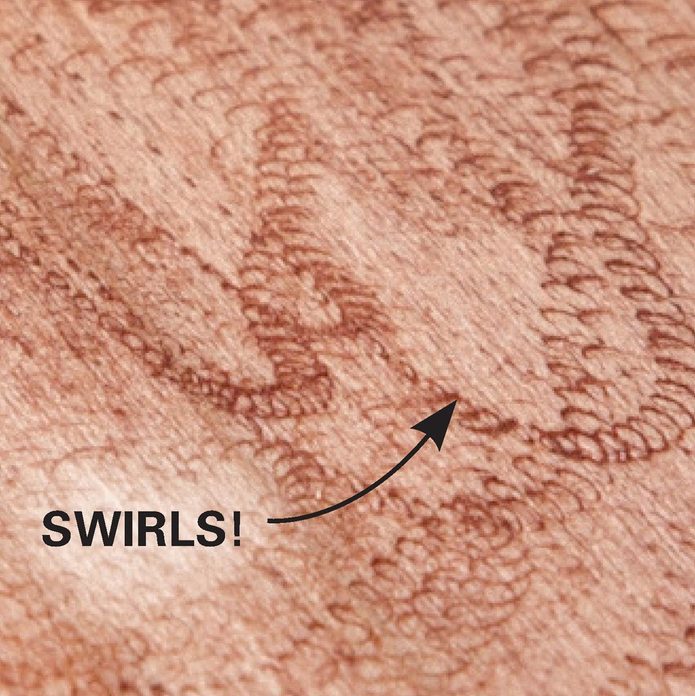
How It Works—and What Goes Wrong
The pad of a random orbit sander moves in two ways: It wiggles in a tight orbital pattern while it rotates. This combined movement leaves a random pattern of scratches running in every direction, overlapping, intersecting and becoming practically invisible. But if you sand the wrong way, you’ll prevent the sander from working properly. You’ll get visible scratches, often in the form of long, spiraling swirls. You may not see these swirls on raw wood, but a coat of stain will highlight them.
2
/
11
Go S-L-O-W
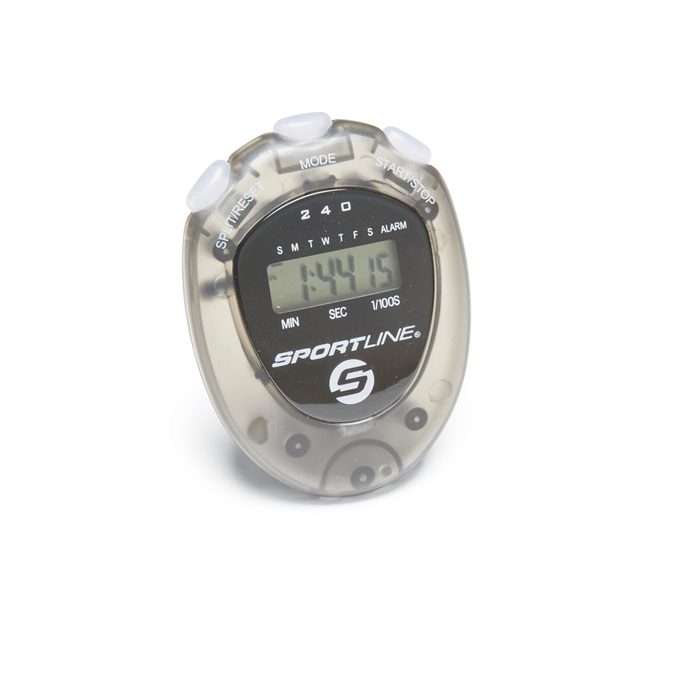
When you use a random orbit sander, it’s natural to scrub back and forth in a hurry. But that produces swirls. Slow down! The slower you go, the more random the scratches will be. It’s not easy, but train yourself to crawl along at a turtle’s pace—about 1 in. per second. To get a feel for that pace, try watching a stopwatch or a clock with a timer while you sand.
3
/
11

Go Lightly
Pressing down on a sander is a common mistake. Don’t do it. The weight of the sander, plus your hand and arm, is enough pressure. Pushing down does remove wood faster, but it’s counterproductive. It can slow or stop the pad’s rotation, creating those ugly swirls. Check out a sander out there that has a lot less vibration to deal with, a lot less.
4
/
11

Park It Before You Start It
Place the sander on your work before turning it on. If the sander is running before you set it down, chances are it will dig in and leave deep scratches. You can lift it up with the motor running, but turn it off before you start sanding again in a new area.
5
/
11

Overlap Passes
On a large surface, sand with overlapping passes. For the best results, overlap each pass by about 50 percent. Sand once over the entire area with each grit—that will be enough. Discover a simple way to keep track of your different grits of sand paper and 44 other super handy hints.
6
/
11

Hold It Low
To avoid tipping a sander, especially on a narrow surface, grasp it around its neck. Tipping a sander leads to gouges, scratches and rounded edges. Check a sanding block that’s just about everlasting.
7
/
11
Finish By Hand
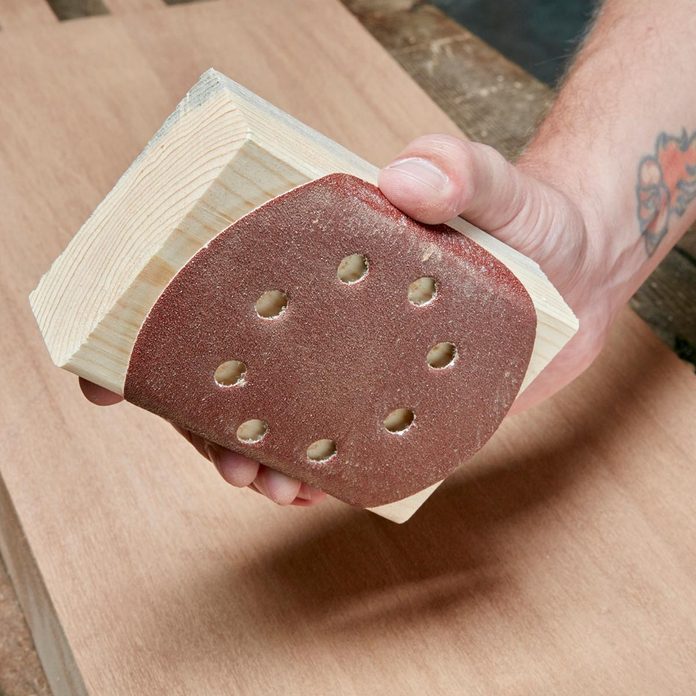
Hand-sanding after sanding with a random orbit sander is the best way to ensure that your wood won’t be marred by stray swirl marks. You can even use one of your discs wrapped around a block. Use the same final grit you used on the sander. Check out 7 pro-approved hand sanding techniques.
8
/
11
Hook Up to a Vac
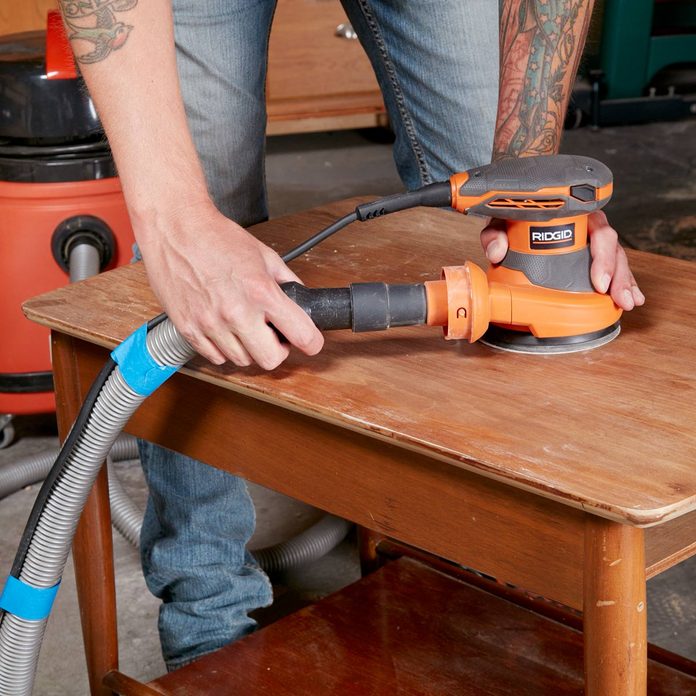
A vacuum pulls every last speck of sawdust off the wood’s surface—way better than the fan inside the sander. This keeps the sandpaper clean so it can cut faster. It also means much less airborne dust and cleanup later. If your vacuum hose doesn’t fit onto your sander, just pick up an adapter at a home center or online ($5 to $10). Keep your workshop humming with any one of these workshop tips and helpers.
9
/
11

Sand Twice as Fast
Working with a sander in each hand takes a little practice, but you’ll get the hang of it. Just keep them alongside each other and move slowly. If you let them wander in different directions, you’ll sand some areas more than others. And that can lead to an inconsistent finish. Discover more tricks on how to speed up sanding.
10
/
11
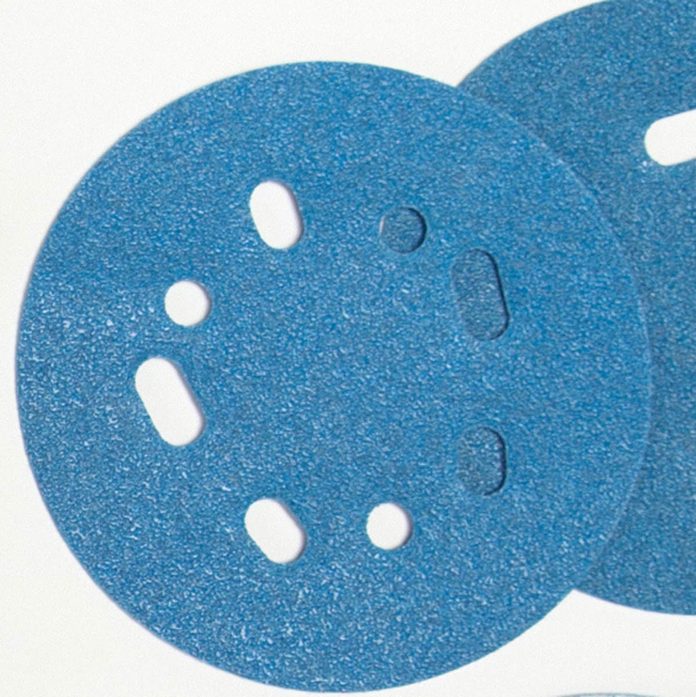
Spend More on Discs (But Save $)
High-quality discs will give you grit particles of uniform size. On cheaper discs, you might get a few oversize particles that will cut too deep and leave visible scratches. Better discs also last longer and generally save you money in the long run.
11
/
11

Gloves Absorb Vibration
If handling a sander leaves you with tingles or aches, try a glove. Any heavy glove will help, but special anti-vibration gloves are best ($20 or less at home centers and online).