


Protect against spills, splatters and other disasters!
Our editors and experts handpick every product we feature. We may earn a commission from your purchases.Learn more.

Protect against spills, splatters and other disasters!
Our editors and experts handpick every product we feature. We may earn a commission from your purchases.Learn more.
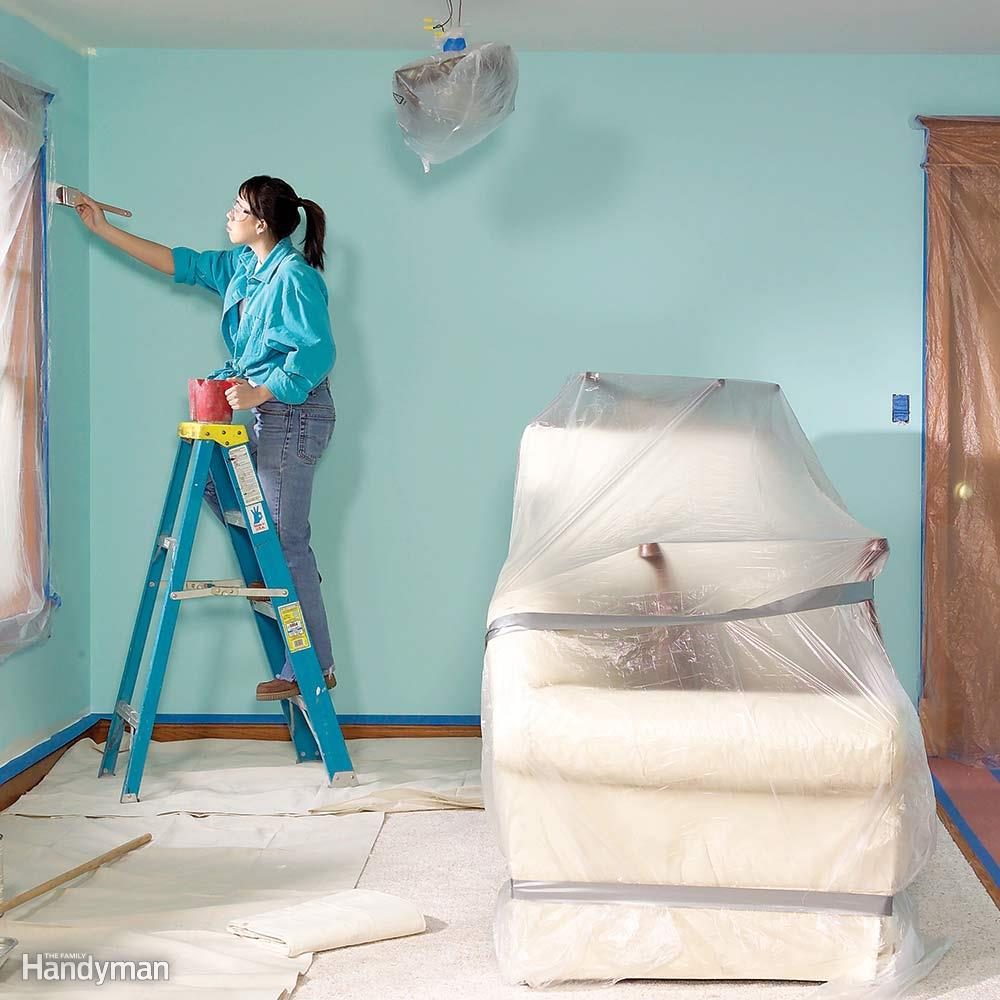
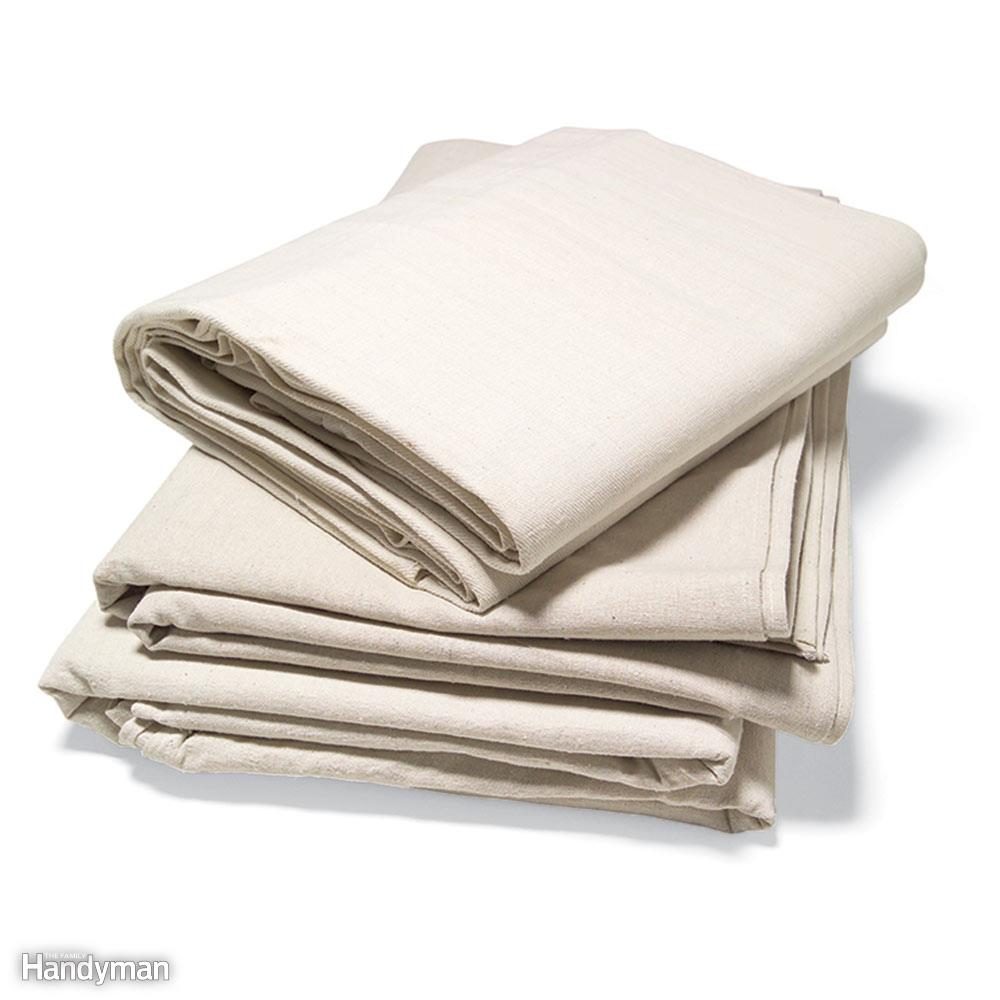
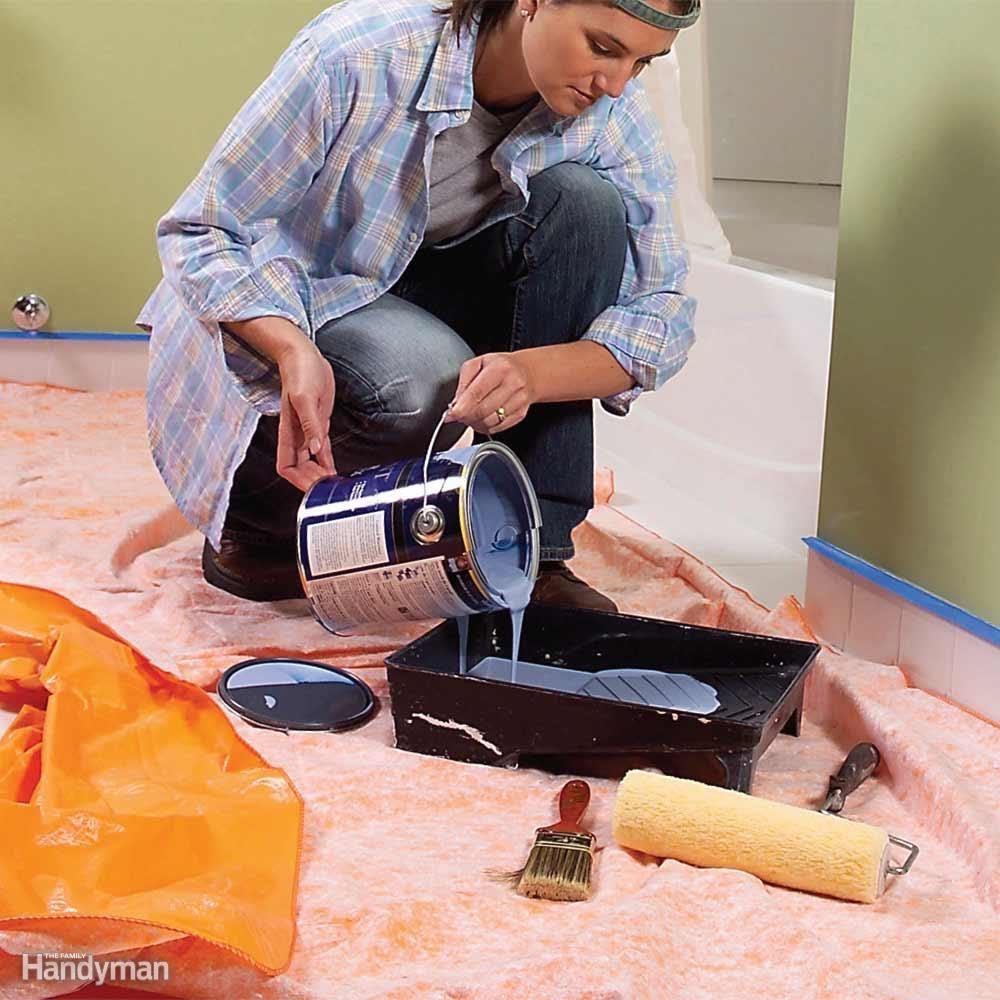
Canvas drop cloths are absolutely the best coverings for carpet. They're easy to spread out, and unlike plastic, they stay put without tape. And they won't cause your ladder to slip-slide on carpet. Just bunch them up a bit along walls and they'll stay where you want them. Normal drips and splatter won't soak through canvas, but heavy spills will. Pick up the drop cloths and scoop up spills with a broad putty knife or dustpan. These drop cloths aren't cheap, but you don't have to cover the entire floor. A long, narrow 'runner' is a good choice. You can drag it around the room as you go. A runner is also perfect for carpeted stairs; just fasten it to the steps with small nails so you don't trip.
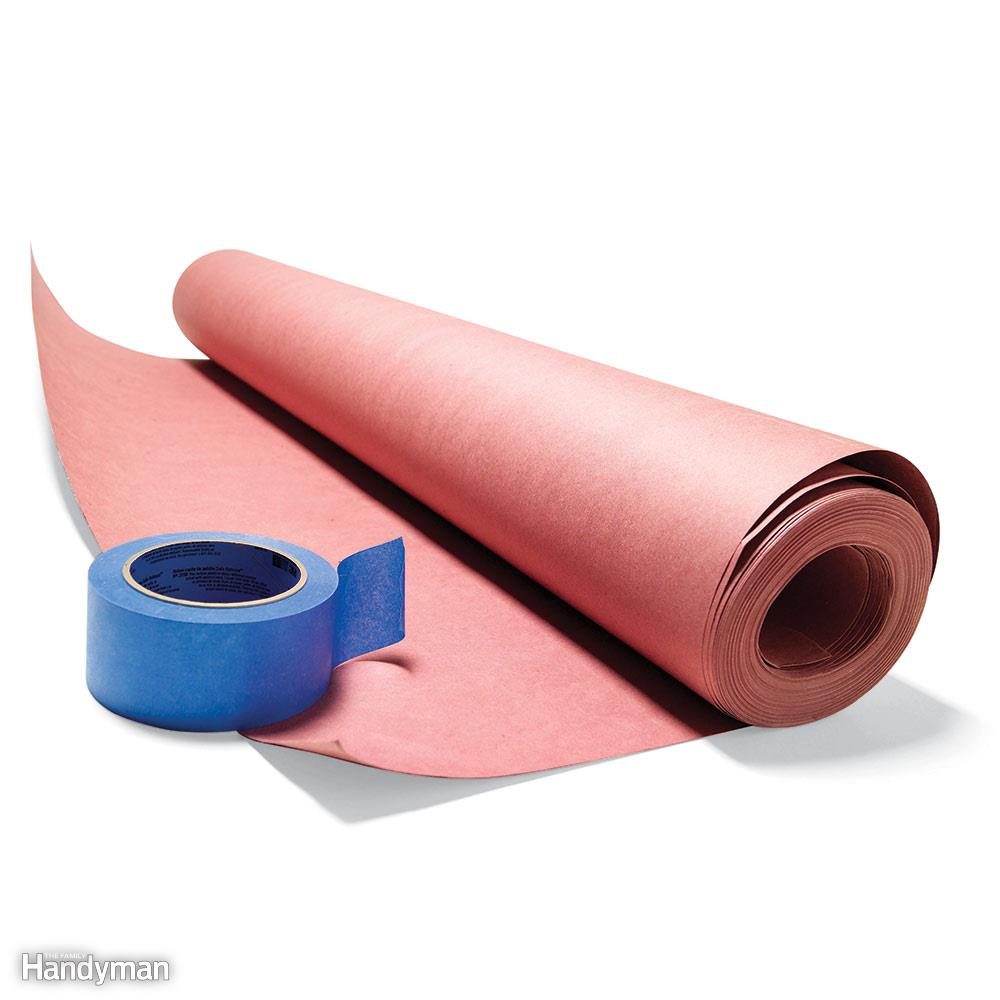
Both canvas and plastic drop cloths are slippery when laid over wood, vinyl and tile. For protection that stays put on hard surfaces, you can't beat rosin paper. Tape sheets of it together and then tape the perimeter to the floor. Be sure to clean wood floors thoroughly before laying down the paper; grit trapped underneath can lead to scratches. A single layer will protect against paint drips, but wipe up any spills before they can soak through.
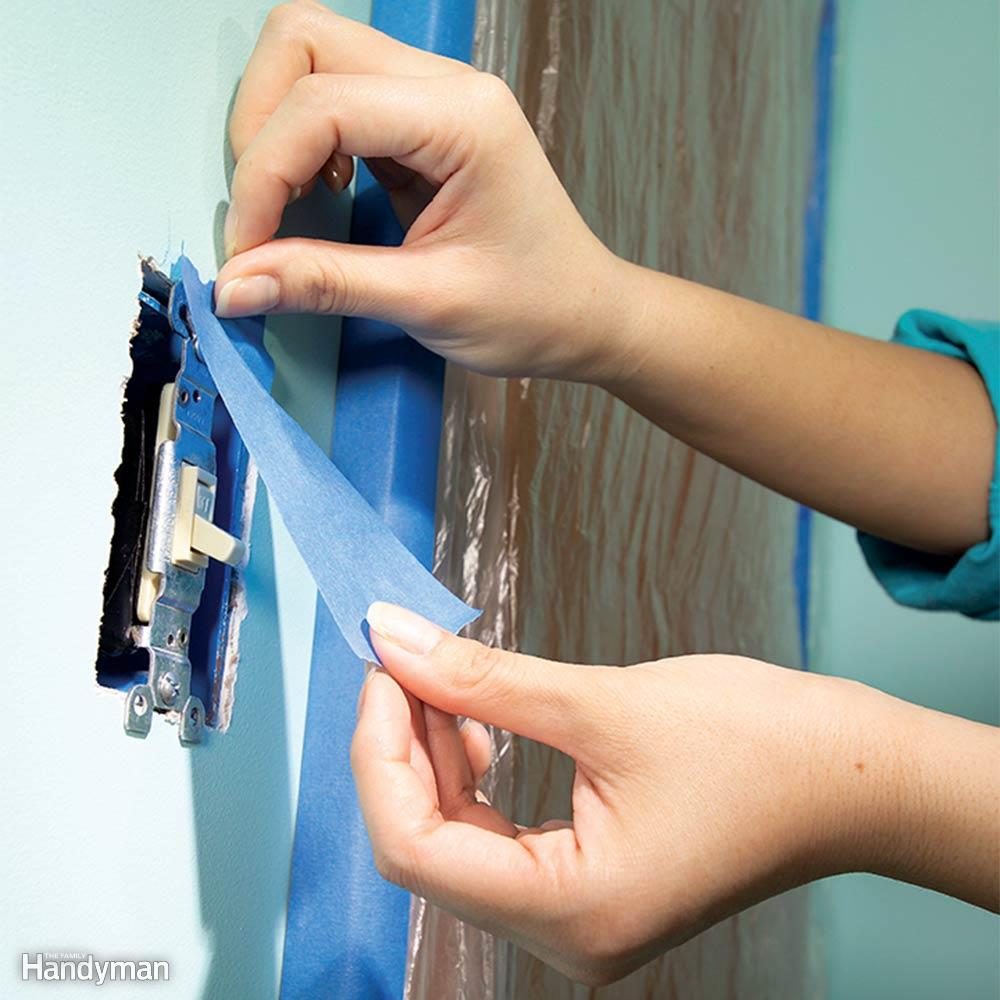
Removing cover plates takes just a few seconds and makes for a faster, neater job. Grab a small bucket to hold all the odds and ends you'll take off the walls. Unscrew cover plates and then shield each switch or outlet with 2-in.-wide masking tape. Also remove curtain hardware, picture hooks, grilles that cover duct openings and anything else that might get in the way. The thermostat is one exception—it's easier to wrap it with masking tape than to remove and reinstall it.
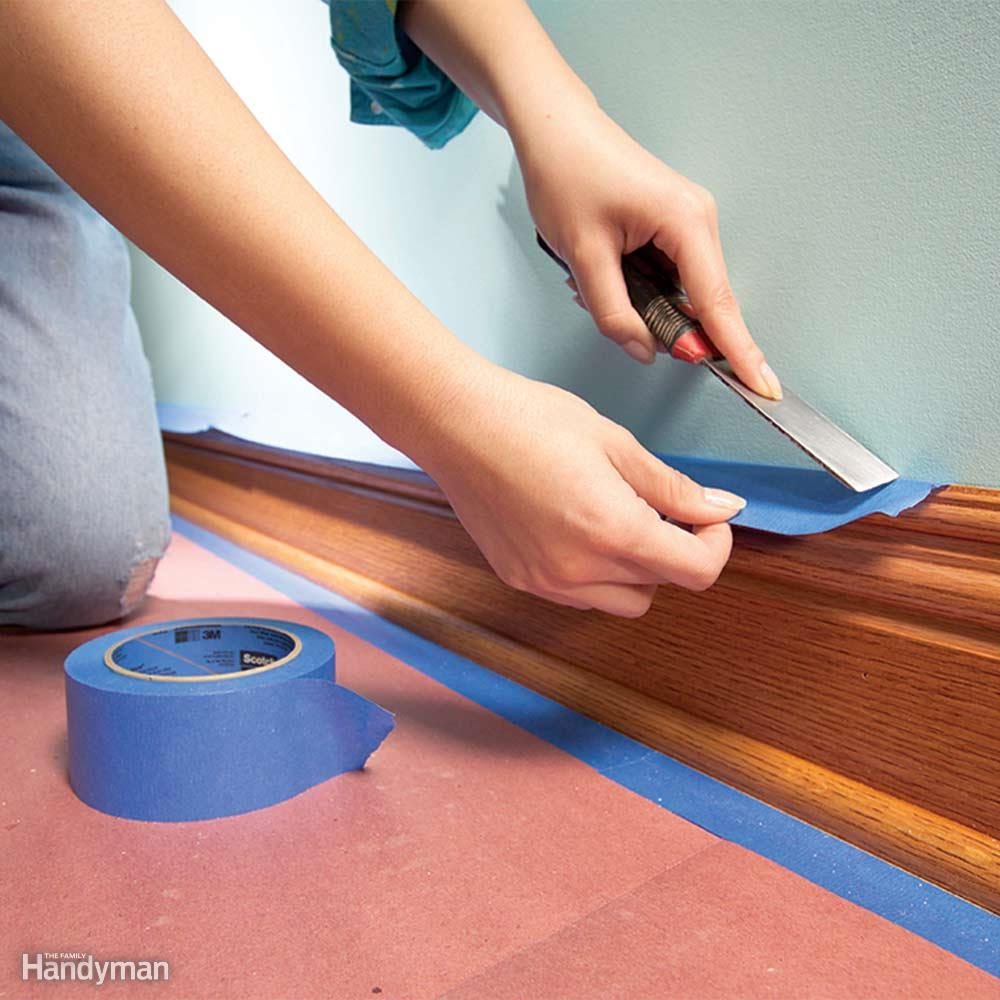
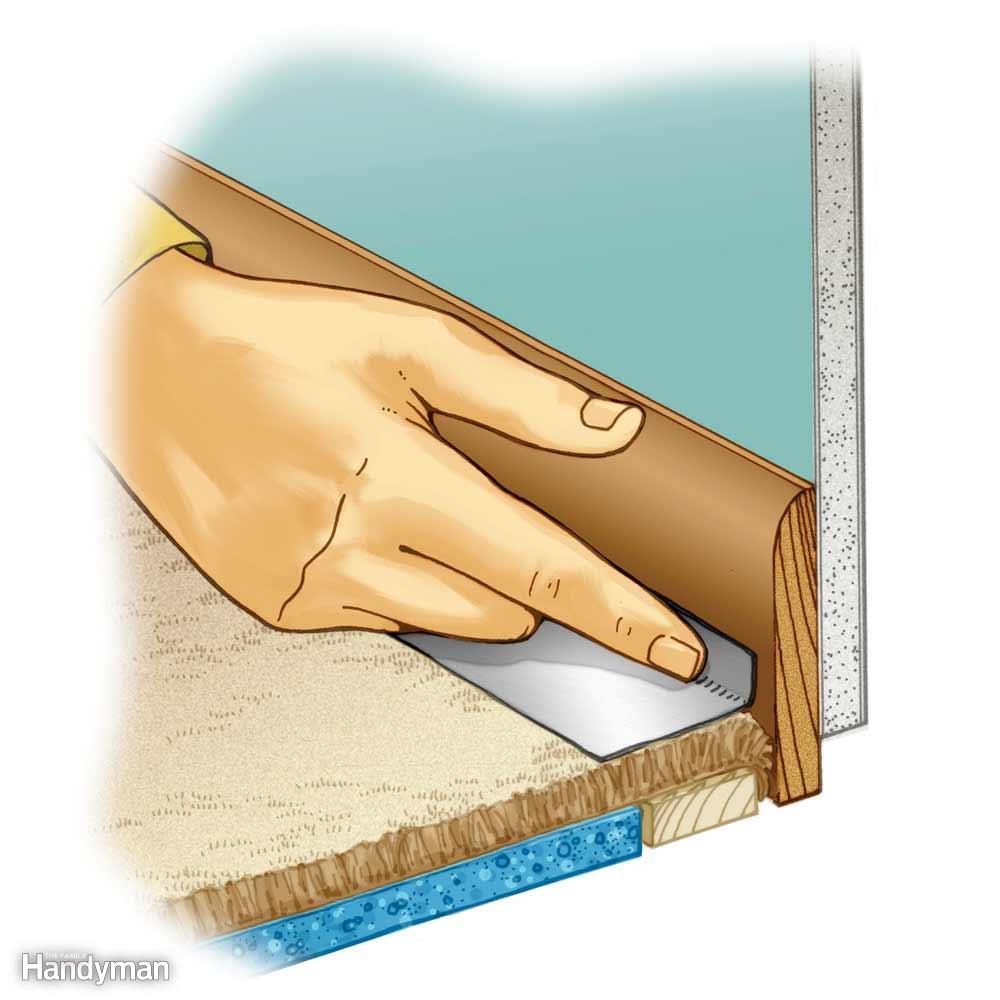
Don't waste time by completely covering baseboard with several strips of tape. A single overhanging strip of wide tape will catch roller splatters just as the roof overhang on your house keeps rain off the siding. Use 1-1/2-in. tape for narrow baseboard, 2-in. tape for wider baseboard. Tape won't stay stuck to dusty surfaces, so wipe down all your trim before masking. To minimize paint seepage under the tape, press the tape down hard by running a flexible putty knife over it.
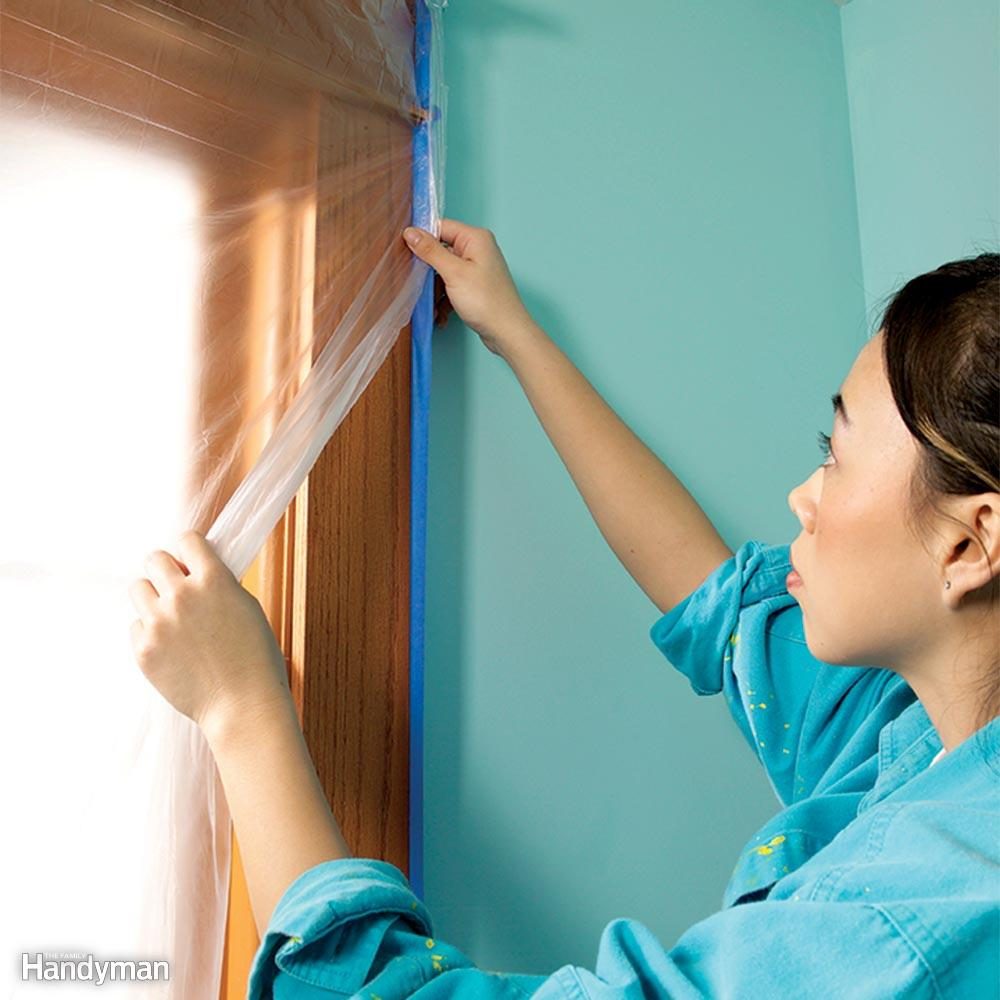
Paint rollers throw off a mist of paint that speckles everything below. Here's the quickest way to protect doors and windows: When you tape around door and window trim to protect the woodwork, use tape that's wide enough to project at least 1/2 in. from the trim. That way, you can stick light plastic to the protruding tape—there's no need to tape the perimeter of the plastic separately. For doors, slit the plastic with a utility knife so you can walk through.
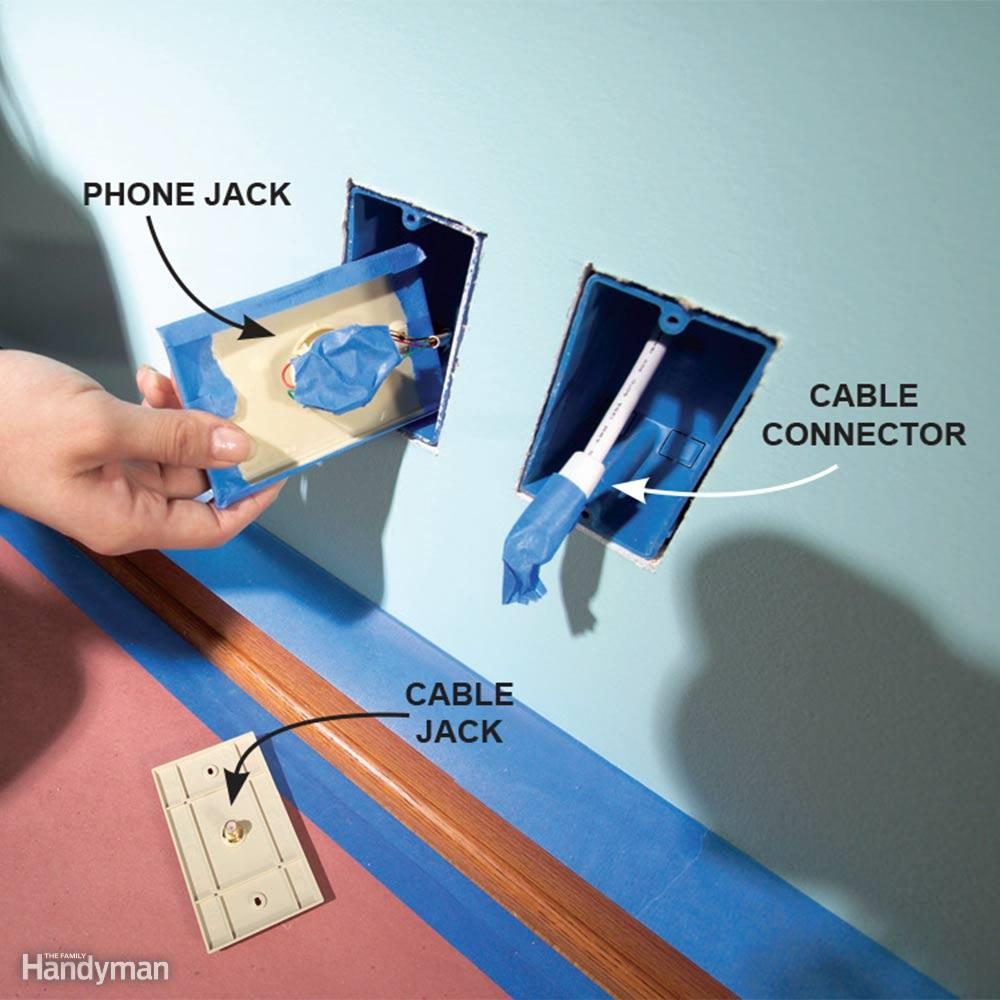
A little paint in the wrong place can cripple the connections that serve your phone, TV or computer. To protect phone jacks without disconnecting all those tiny wires, unscrew the faceplate and cover the front with masking tape. Then mask the terminals on the backside of the plate. Slip the plate into the junction box. Disconnect coaxial cable from its plate and tape the cable's connector.
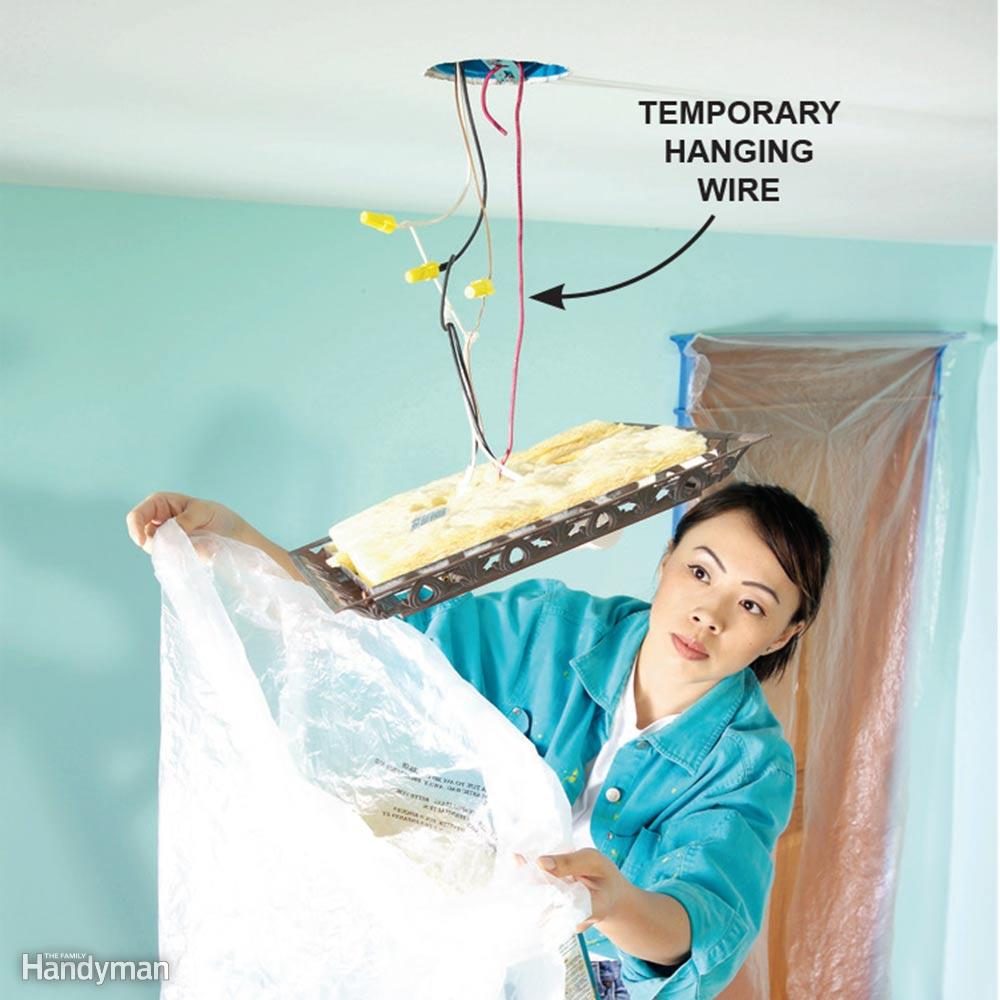
Painting a ceiling is a cinch—except for the light fixture. Here's how to get it out of your way: First remove any glass parts, including the bulbs (make sure the power is off). Unfasten the fixture, usually by removing a couple of screws. Then hook one end of a wire through the fixture and the other to the junction box. Make sure your hanger wire—not the electrical wire—supports the fixture. Then slip a plastic bag over the fixture.
Dealing with chandeliers and pendants is even easier. The decorative plate at the ceiling is usually held up by a ring nut. Just unscrew the nut and the plate will slide down over the chain or tube. There's no need to support the fixture with wire.

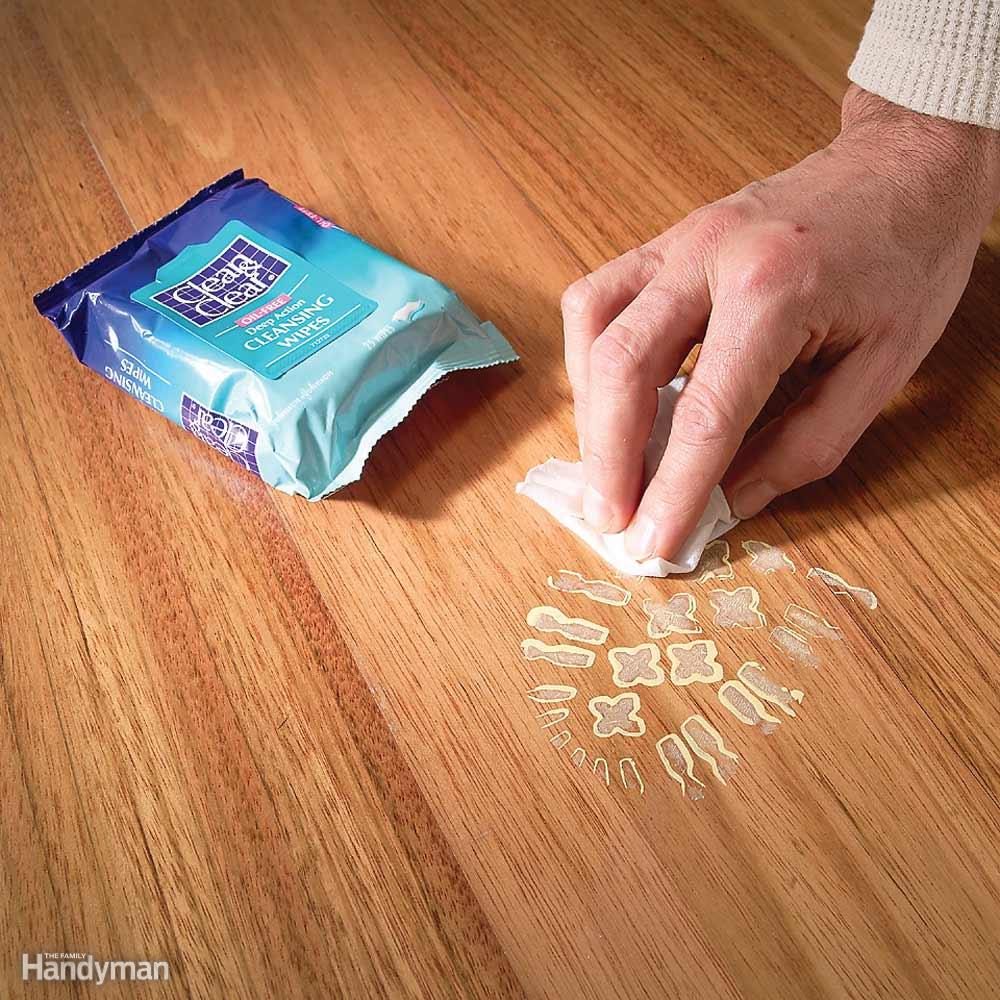
Facial cleansing wipes aren't just for pimple prevention. The alcohol in them softens latex paint, but won't harm most surfaces (test first to make sure). They work best on paint that's been dry just a few hours.
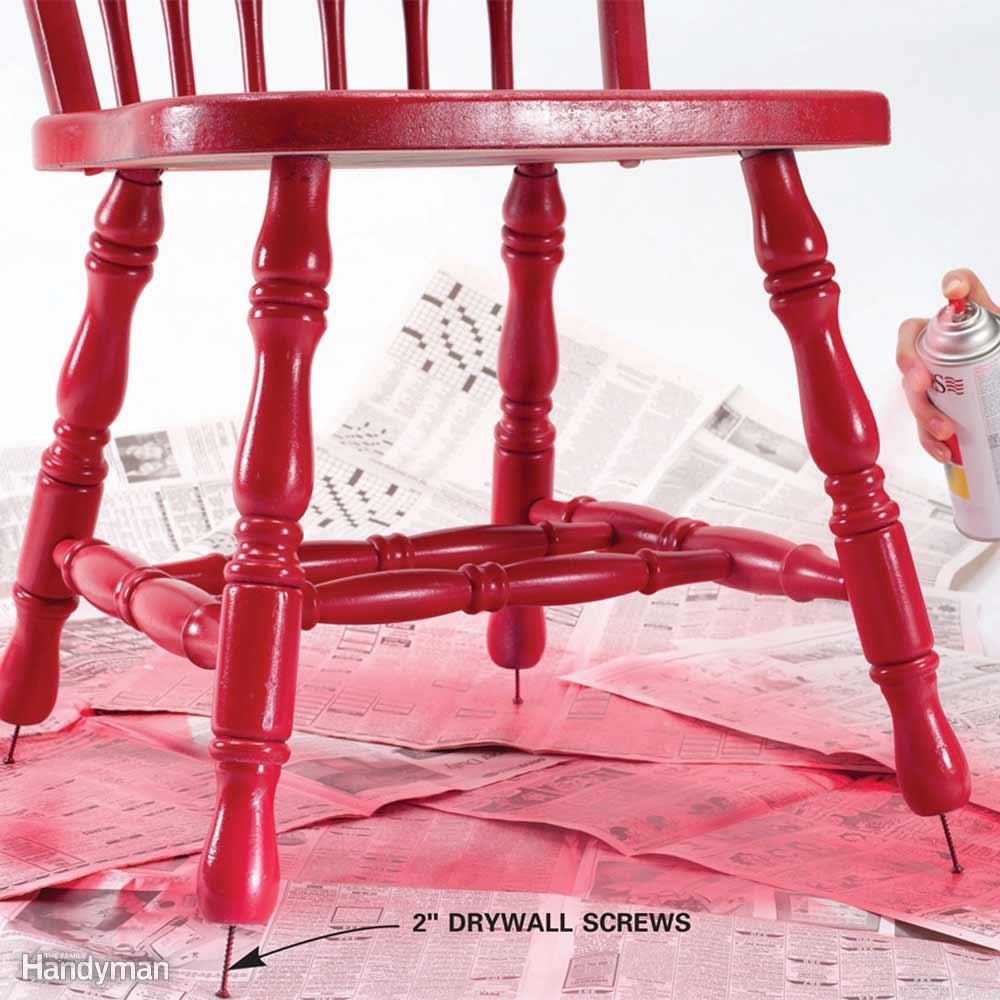
Ever paint a chair and have it stick to your newspaper or dropcloth? Paint hassle-free by driving drywall screws about 1/2 in. into the bottom of the chair legs. The extra elevation makes it easier to paint and even lets you coat the bottom of the legs. Works great with brush-on paint as well.
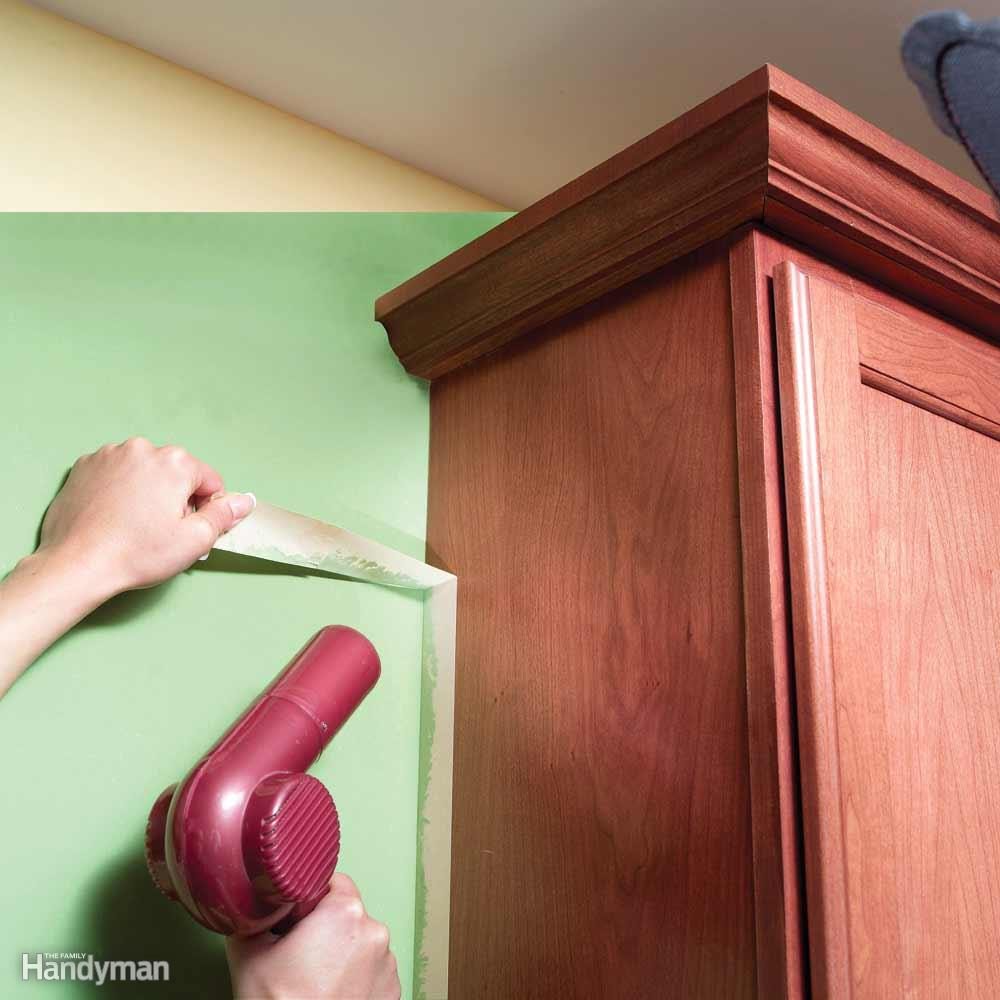
If masking tape tears as you remove it or pulls off flakes of finish, heat it with a hair dryer. Heat softens the adhesive. Then pull the tape off at a 90-degree angle.
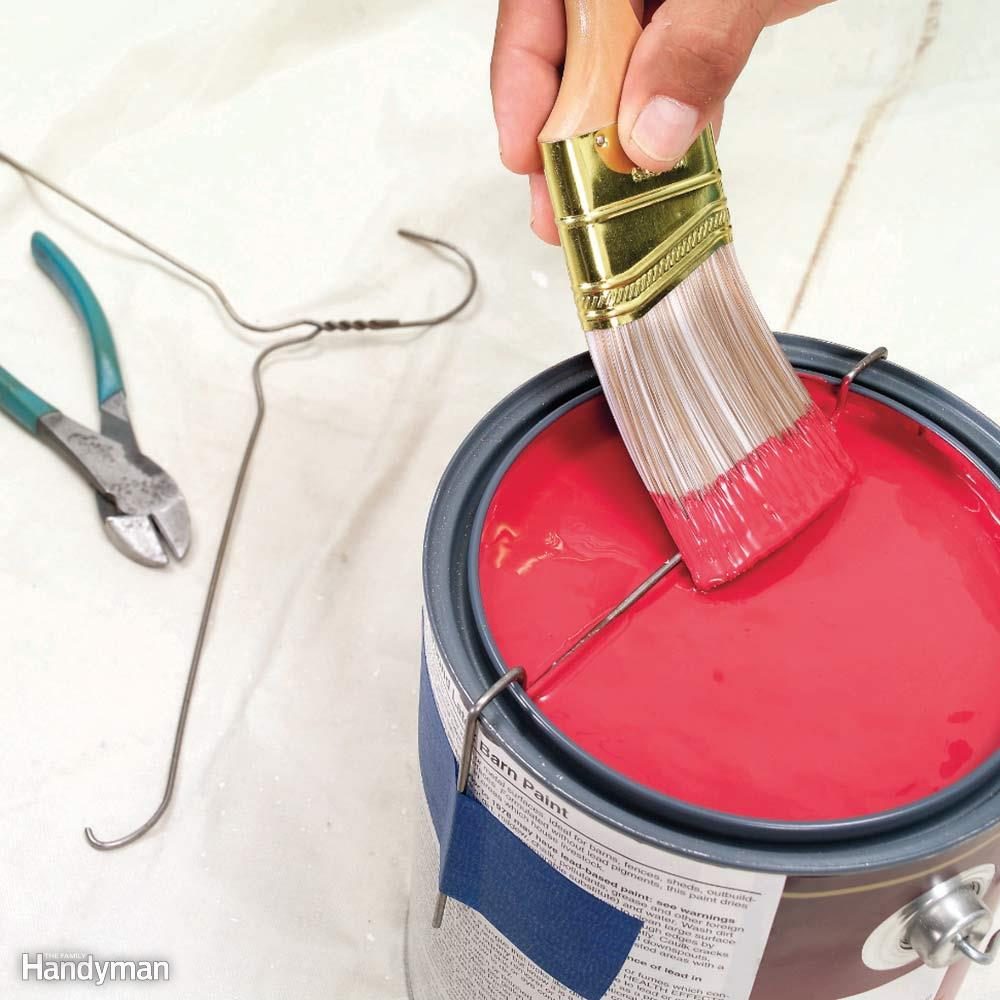
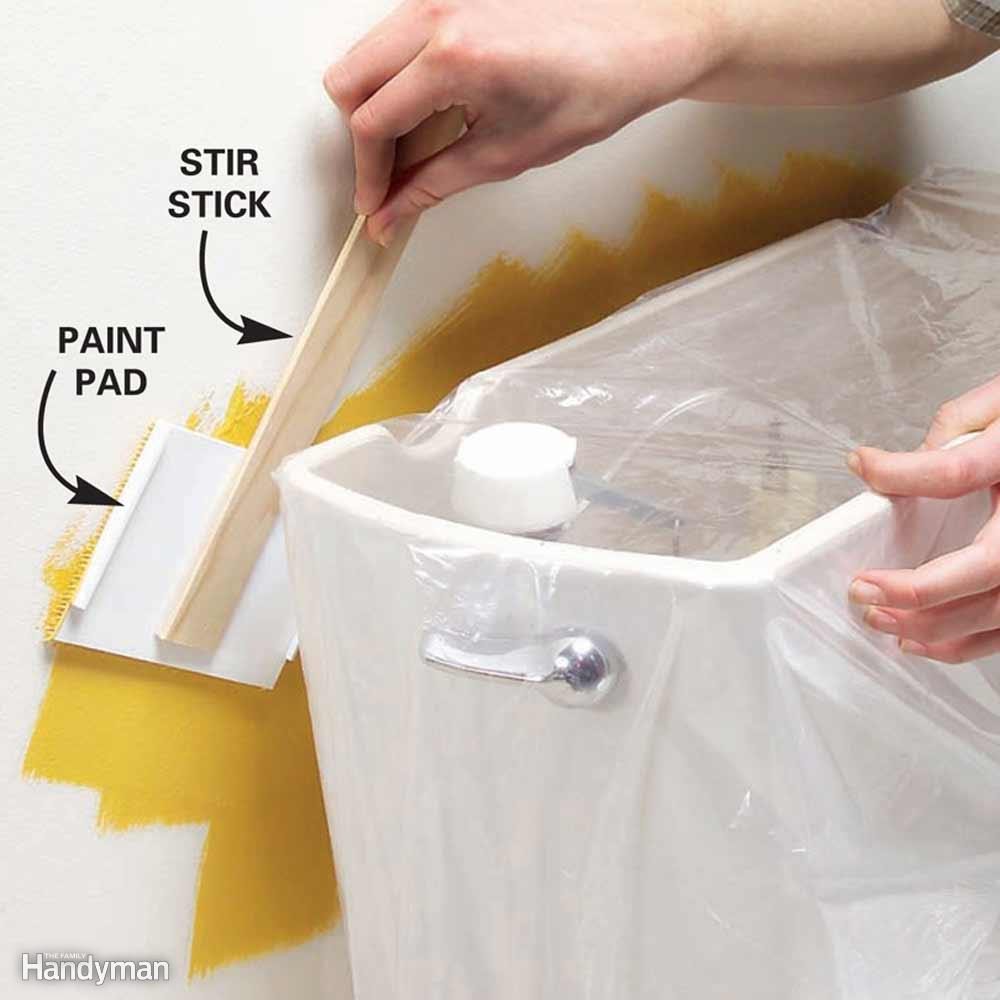
Cut the bottom section from a stiff wire coat hanger and bend it so each end straddles the rim to fit inside a paint can. Let the wire overlap the sides and tape it to the can to keep it steady when you rub off the excess paint. When the job's finished, remove the wire and wipe it clean to be ready for next time.
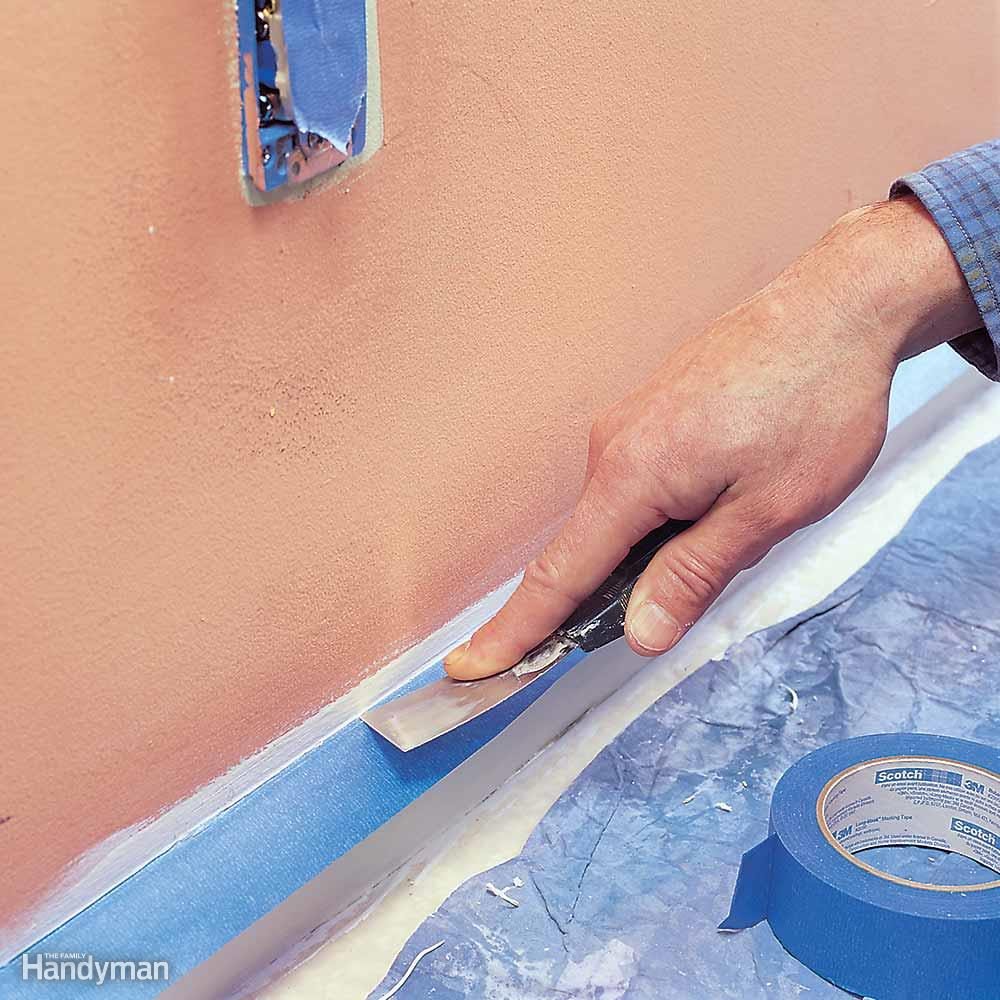
Tape all wall/woodwork seams with painter's tape. Lay the tape onto the woodwork and press it with the corner of your putty knife to prevent the wall paint from bleeding behind the tape onto the woodwork. Let the tape stick out perpendicular to the trim to act as a little protective roof to catch paint drips.
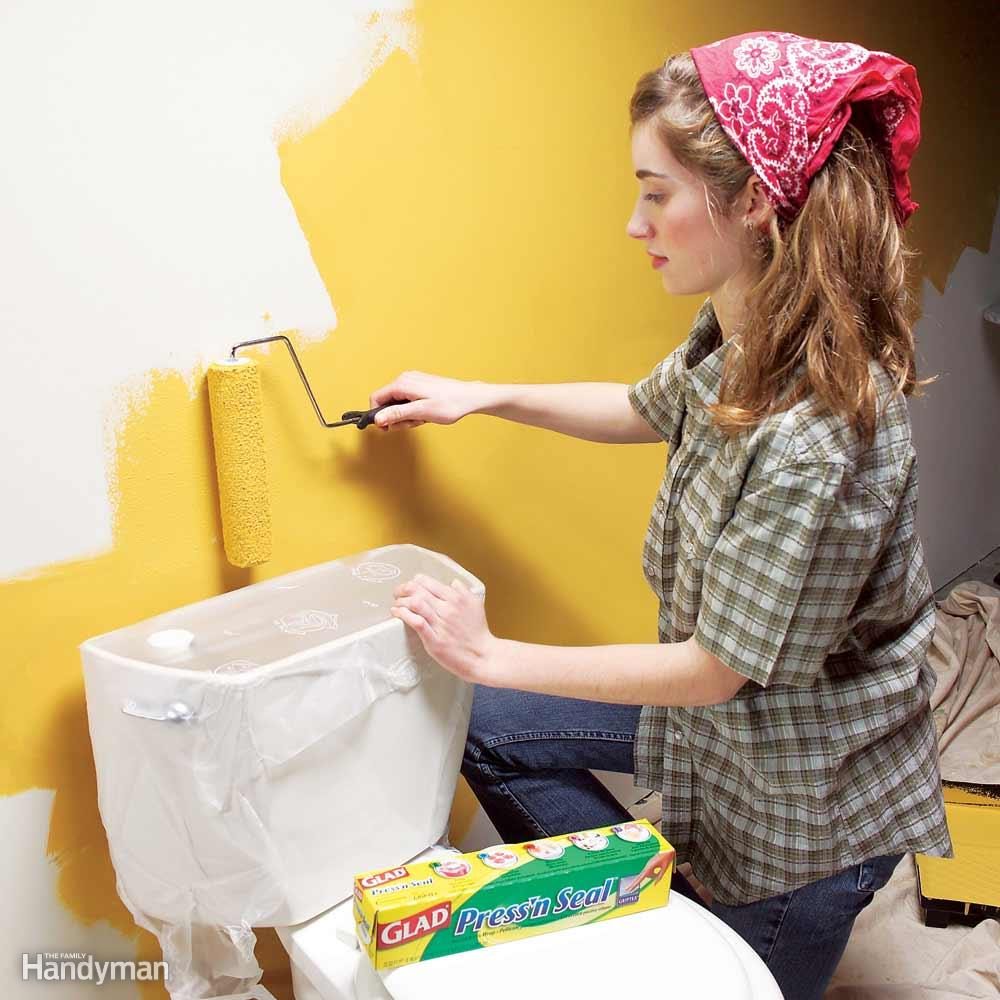
Glad® Press'n Seal® plastic wrap goes on fast and stays right where you put it. Paint can seep under the edges, though, so it's no substitute for masking tape in spots where you need a sharp edge.
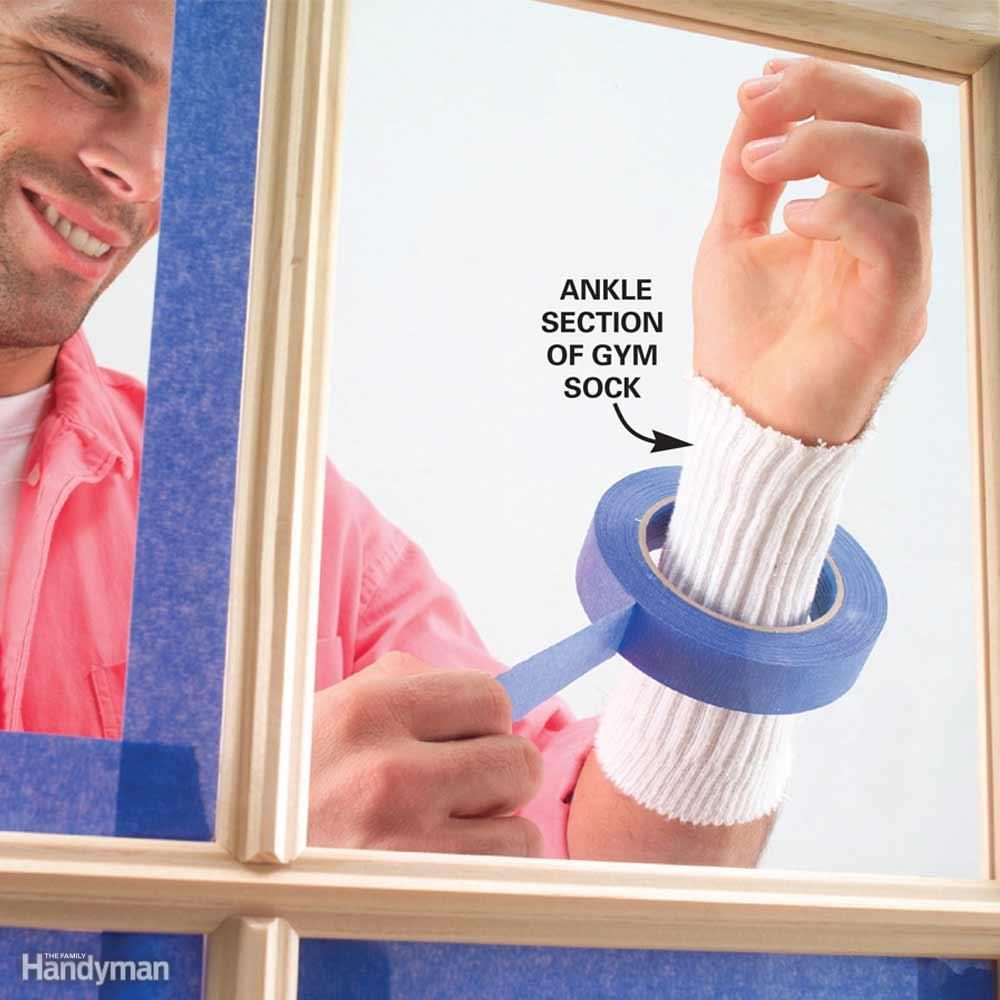
Use your wrist as a masking tape dispenser during your next painting project. Cut a 4-in. piece from the ankle section of a gym sock, slip it on your wrist, then slide the tape over your hand. The sock protects your arm so the tape won't scratch it. The tape is always close at hand, leaving both hands free for your work.
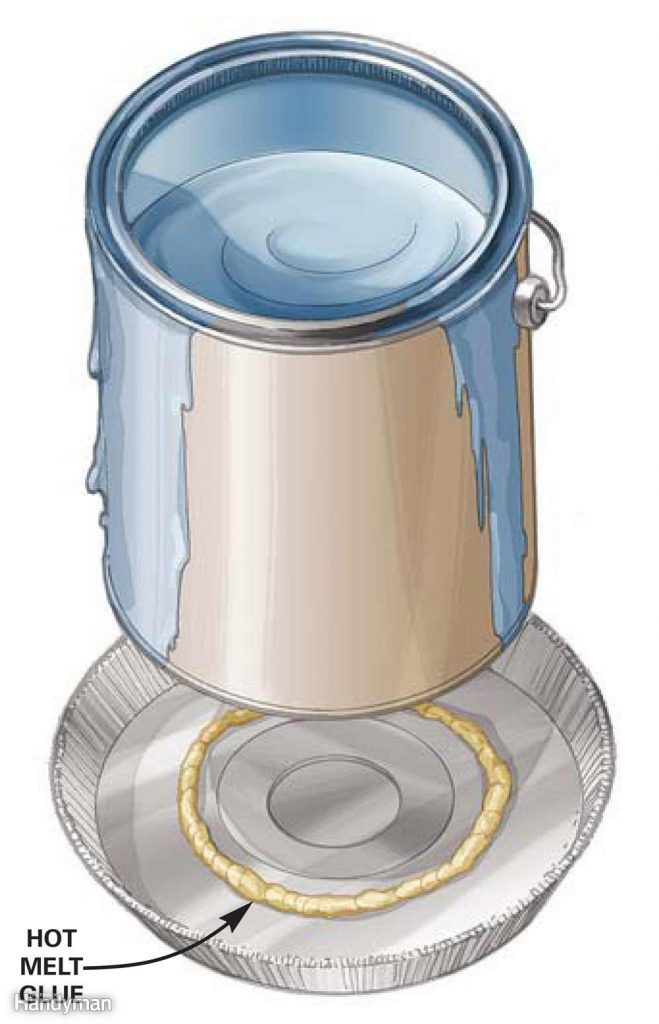
Catch the paint that always seems to run down the side of the can. Hot-glue a disposable aluminum pie tin to the bottom of the paint can. When you're done painting, you can throw the pie tin away or save it and use it again.
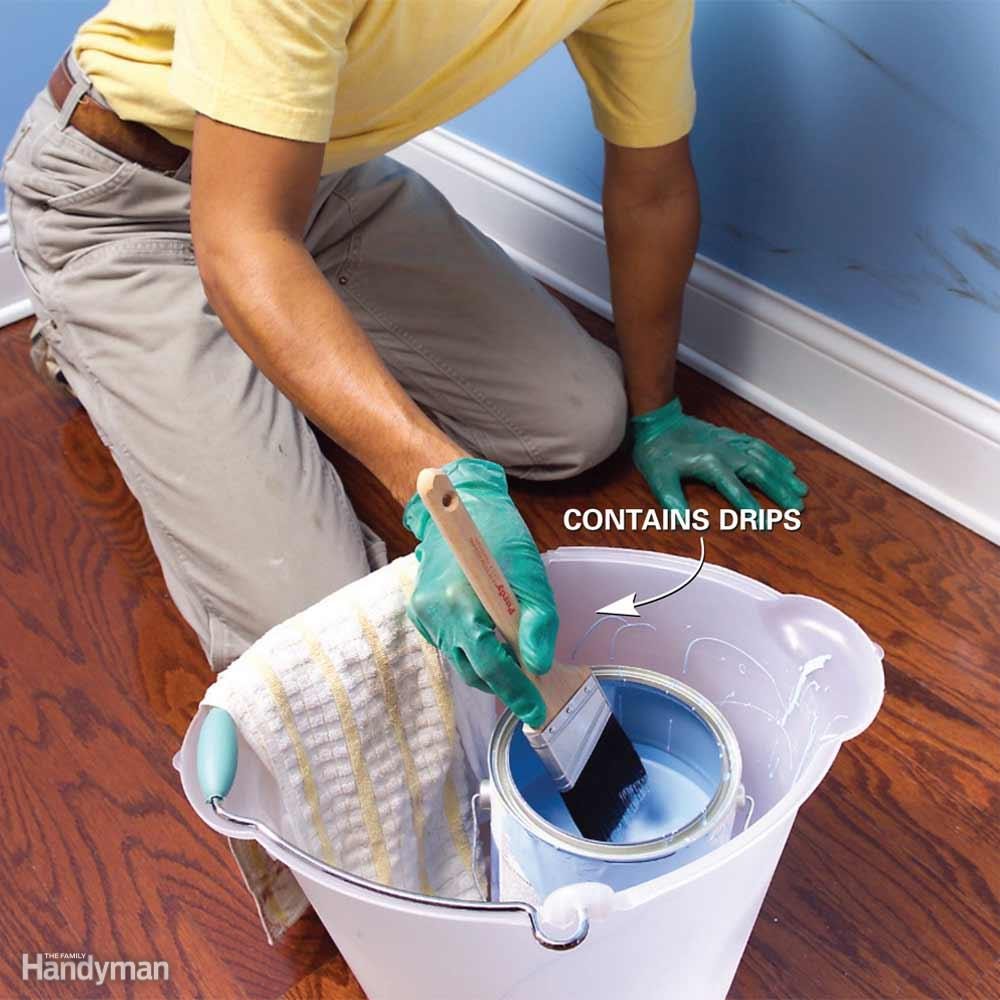
Whether you're painting a whole room or just touching up, set your paint can in a bucket. The bucket prevents spills, catches drips and gives you a place to tuck your rag.
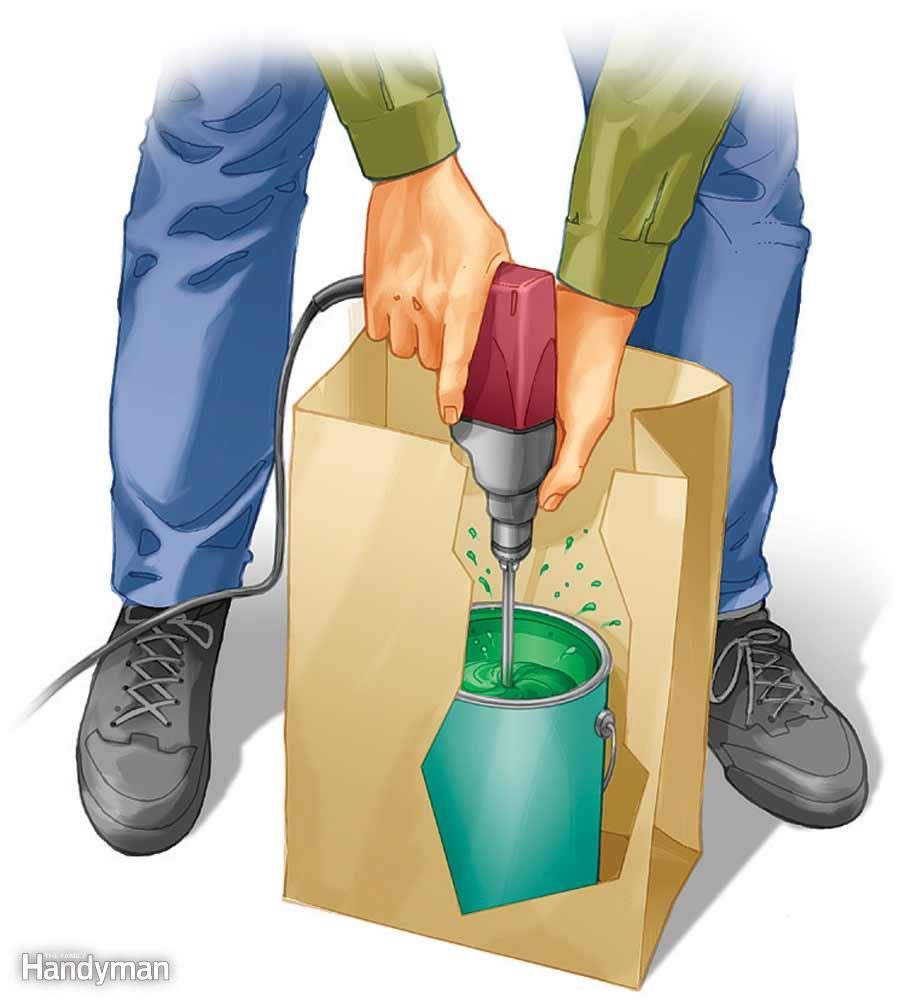
When mixing paint with an electric drill and mixing paddle, place the can inside a paper grocery bag. If you spill or splatter (and you will!), you won't get paint on the floor, nearby objects or yourself.
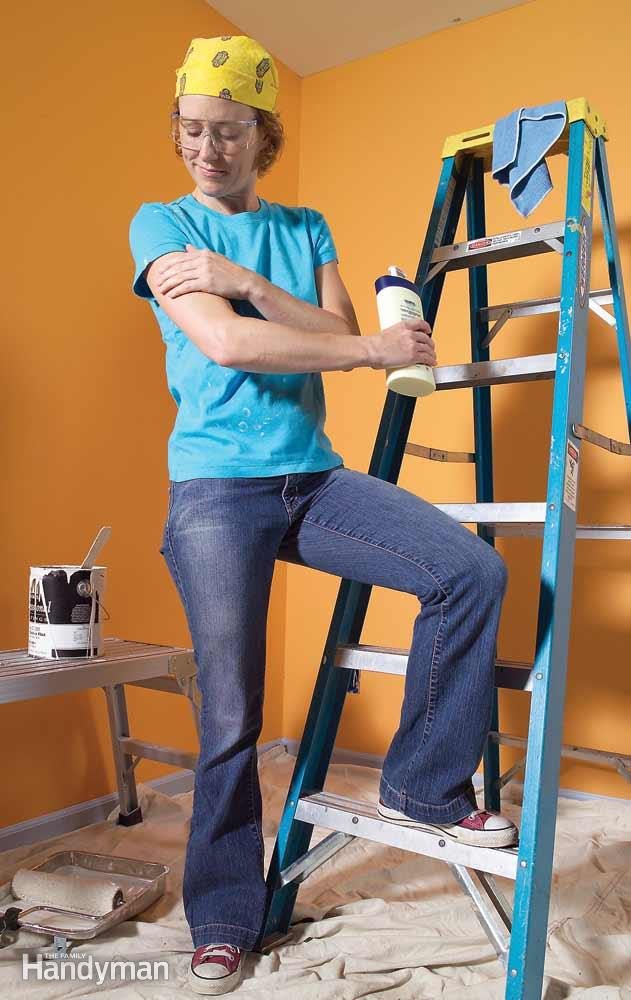
Coat your face and arms with lotion before a painting project and the spatter will wash off your skin easily.
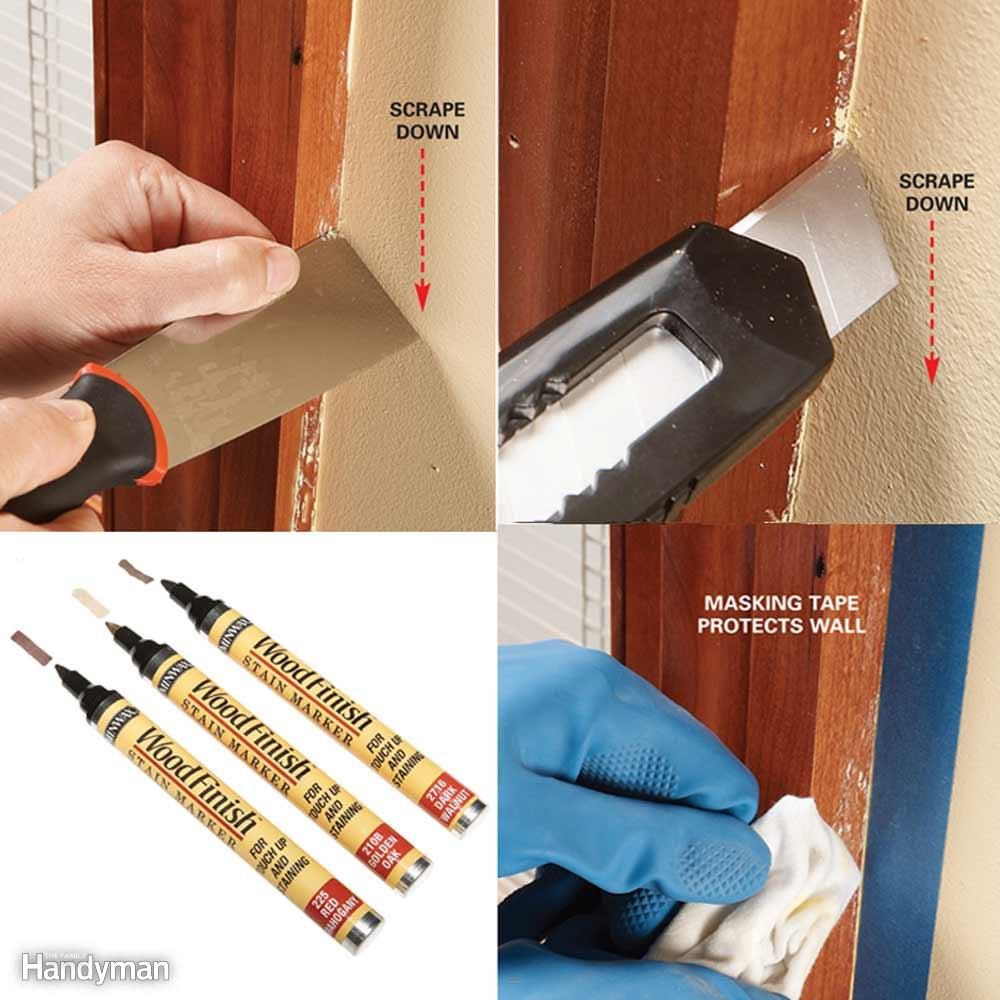
A few dried paint drips on natural trim can make a whole room look shabby. But you don't need to strip the woodwork to get rid of them. You can remove drips—and the streaks of old paint that make edges of trim so hard to repaint—just by scraping, even if the paint has been dry for years.
First, scrape the paint with a metal putty knife, angling it down so it doesn't dig into the wood. Paint doesn't stick well to varnish, and often the drips will pop right off. Use a razor knife for corners and tough spots.
Finally, clean up any residue by rubbing the wood with denatured alcohol. Use matching stain or a stain marker to touch up any light spots.