


Learning how to use a chalk line doesn't have to be difficult. Follow our tips for making accurate, straight lines using this helpful line maker.
How to Use a Chalk Line

Updated on Aug. 03, 2023
1
/
7

How To Use A Chalk Line
There’s something almost magical in the way a simple chalk box creates a crisp, perfectly straight line in the blink of an eye. No other tool, except an expensive laser, makes a perfectly straight line over a long distance so quickly and reliably.
2
/
7
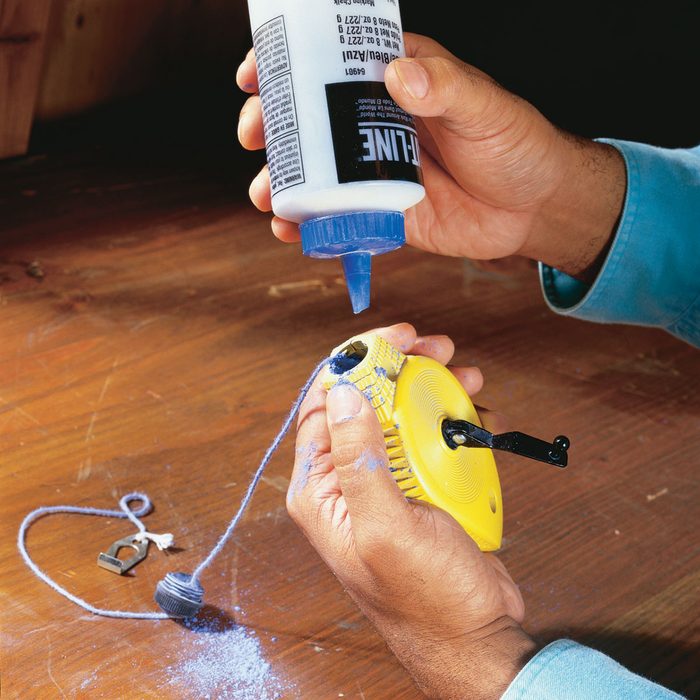
The Best Way to Load Chalk Into a Chalk Line
Fill the chalk box about half full with powdered chalk from a squeeze bottle. Tap the chalk box occasionally to settle the chalk. You’ll have a choice of red, blue, white or fluorescent chalk. Fill your chalk box with blue chalk for general use.
3
/
7
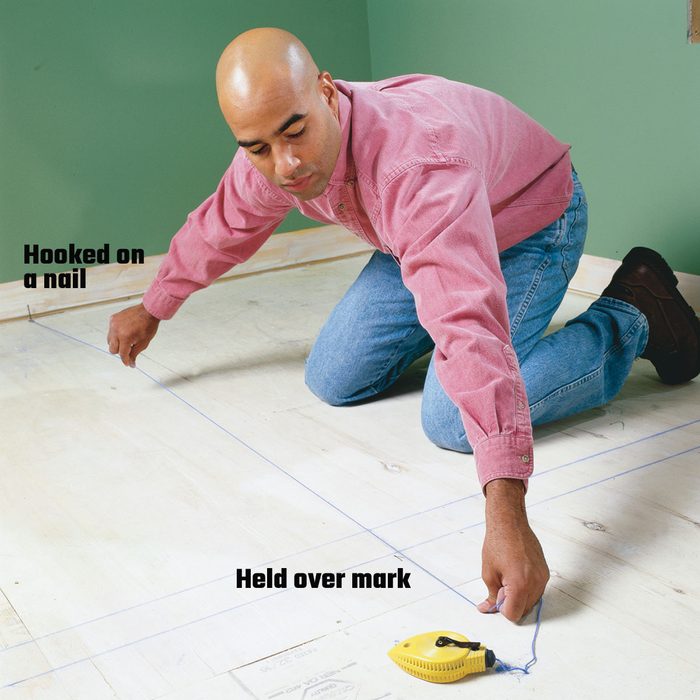
How to Snap a Basic Line
Hook the end and stretch the string tight so it crosses directly over your mark. Reach out as far as you can and grab the string between your forefinger and thumb. To chalk a line, lift the string straight up about 4 inches and release it (it’ll snap to the floor).
4
/
7
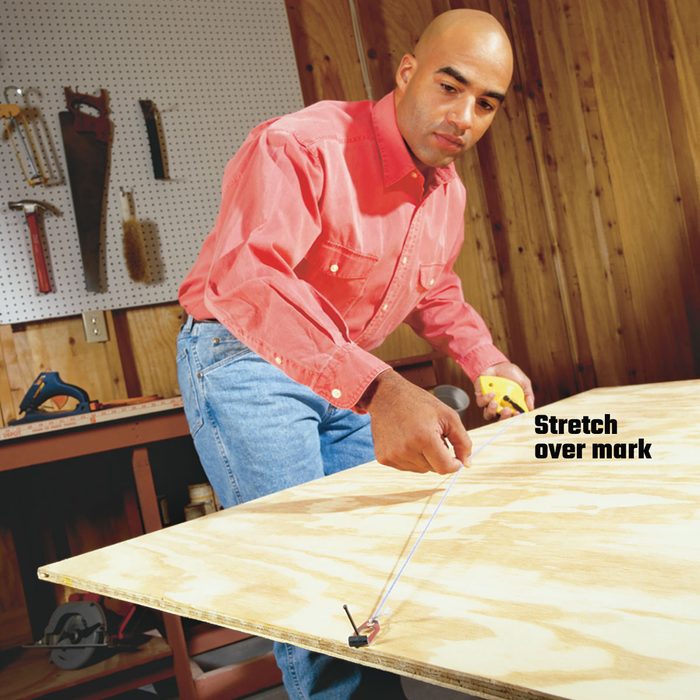
How to Snap Angle Lines on Wood
Mark angles on plywood by tacking a small nail to your mark, hooking the end of the string on it and stretching the string to the other mark.
5
/
7

How to Mark Angle Lines on Drywall
Cut a slit in drywall with a utility knife and slip the string into it to secure the end. Cut the slit a little above the mark so the line will hit the mark when it’s extended for an angle cut.
6
/
7
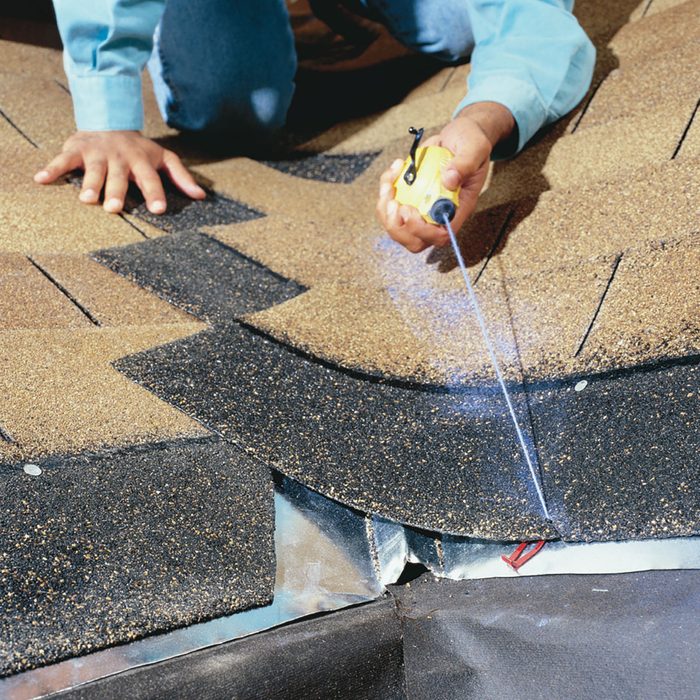
How to Snap Lines on Shingles
Chalk a line on shingles by hooking the end of your string into a slit cut in the shingle with a utility knife or hook blade.
7
/
7

How to Accurately Snap Long Lines
Stretch the string taut. Use a helper or another nail to hold the chalk-box end of the string. Press down on the string about midway between the ends with your thumb or finger and hold it. Lift and snap the string on one side and then the other using the technique shown. This technique is good for irregular surfaces and will help prevent unwanted double lines.