


Follow these tips to grout your backsplash like a pro.

11 Tips on How to Grout a Backsplash

Published on Oct. 09, 2024
1
/
10
Use Quality Grout
The phrase “you get what you pay for” definitely applies to grout. While pre-mixed grout from a home center seems simple and inexpensive, plan to pay at least $30 to $45 for high-quality grout.
I always buy grout as a dry product from a tile store, then mix it carefully in small batches using a margin trowel. However, if you want to avoid mixing, Yodice recommends using a single-component grout like Laticrete Spectralock. “The single component grouts are a bit stronger, and this is why it is our go-to for most tile installation projects,” she says.
2
/
10

Use the Right Grout for the Job
The tile material and size of the grout joints will determine which grout is best. For example, if you install glass or honed marble tile, consider avoiding sanded grout.
“If you’re not careful, you can scratch the tile surface,” Ricalde says. For these tile types, use a narrower joint size, or use a single component grout like Spectralock. Yodice recommends to always consult the manufacturer’s safety data sheet for grout recommendations. A typical rule of thumb is to use unsanded grout for joints less than 1/8 inch and sanded grout for joints larger than 1/8 inch.
3
/
10
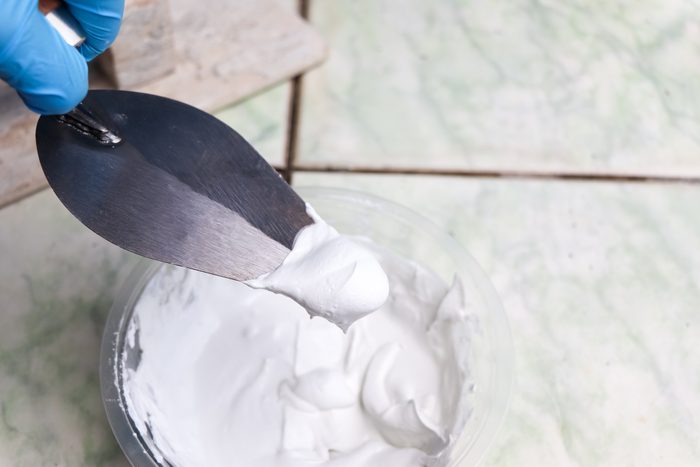
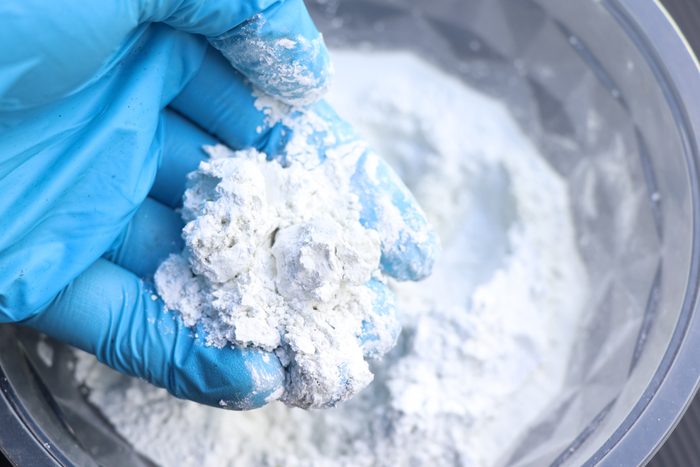
Follow Mixing Directions Carefully
If you followed the tip above to buy a dry grout that requires mixing, you’ll need to follow the manufacturer’s mixing directions exactly as they’re written. Grout is typically mixed in two stages. During the initial mix, you add dry grout slowly to measured water and combine it for a specified length of time. This is then followed by a length of time you let the mix sit, aka slake, undisturbed. A final, second mixing is then conducted for another specific, usually shorter, length of time.
4
/
10
Follow Dry Times
Grouting is done in stages, with different wait times in between. Times will vary based on the product, so follow the manufacturer’s recommendations. Typically, after applying grout and scraping excess away with the float there’s a wait time of 15 to 45 minutes before you can use a damp sponge to wipe tile clean. Then you wait again for the haze to dry before buffing with a microfiber cloth. Waiting for enough time to pass before completing the next step is crucial to a professional-looking, long-lasting result.
5
/
10
Break the Project into Sections
Grout starts to set up quickly, so work in small sections. If you apply grout to too large of an area, you may end up rushing to clean off excess or have dried grout stuck to the tile face.
For a backsplash, work in a 3 x 1-1/2 foot area at a time. Apply the grout, then remove any excess before adding new grout. Keep track of the time so you return to earlier sections to wipe the tile down with a sponge before too much time has passed.
6
/
10
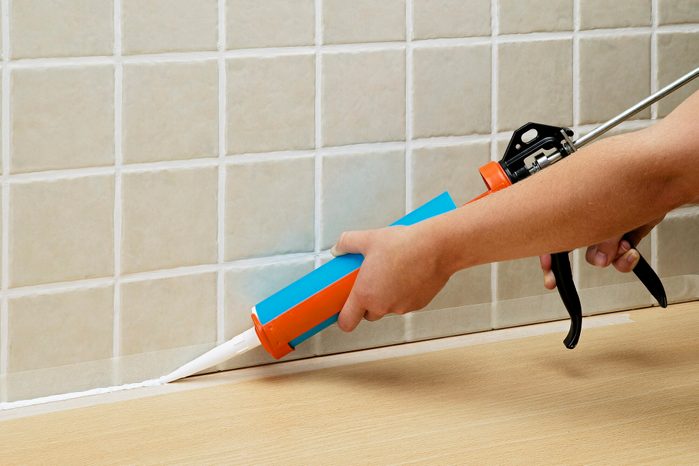
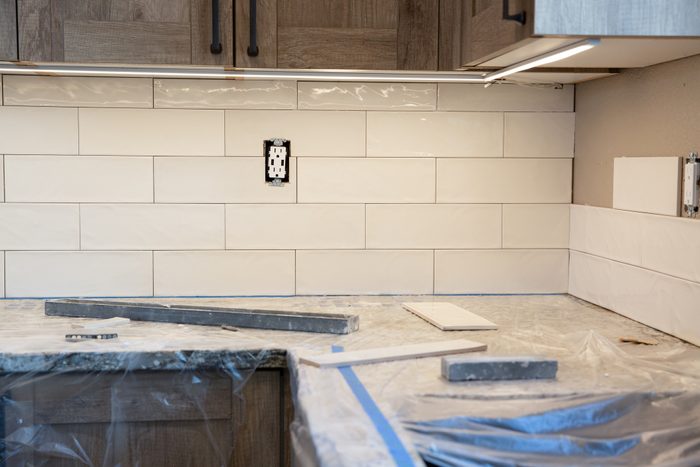
Use Caulk Where Tile Meets Counter
“Using 100 percent silicone caulking is an absolute must where the tile meets your countertops,” Yodice says. “This allows your tile assembly to have the proper room for expansion.” Also, apply caulk in corners where tile meets tile and along cabinet undersides.
For professional-looking results, use painter’s tape for a clean edge. “It may look good at first,” Ricalde says, “but grout along these joints will always crack eventually.” Most manufacturers sell caulk in corresponding colors to their grout products.
7
/
10
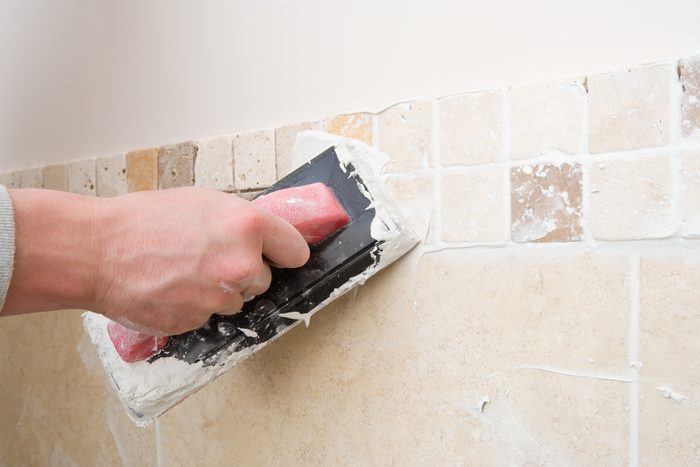
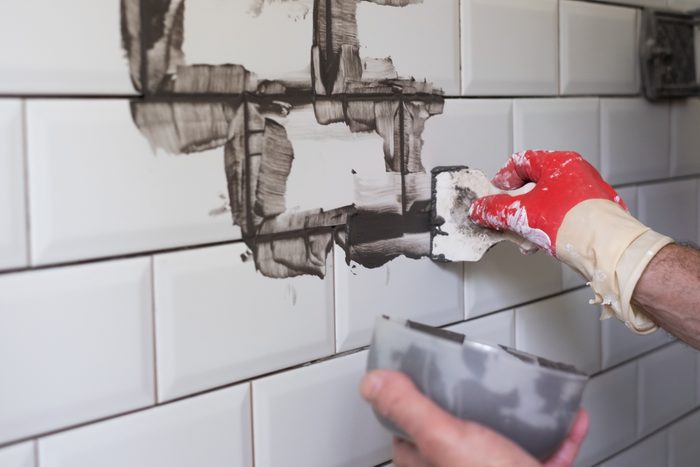
Press Grout Firmly Into Joints
For grout to effectively hold tile in place, the joints need to be fully filled.
Use a rubber float for this process. Take a scoop of grout onto the edge of the float. While applying firm pressure, push and scrape the grout into the joint with the float. Hold the float at a 45-degree angle to the tile and repeat this motion from different angles to force the grout into the full joint depth. Use a small rubber margin trowel to reach tighter spaces.
8
/
10
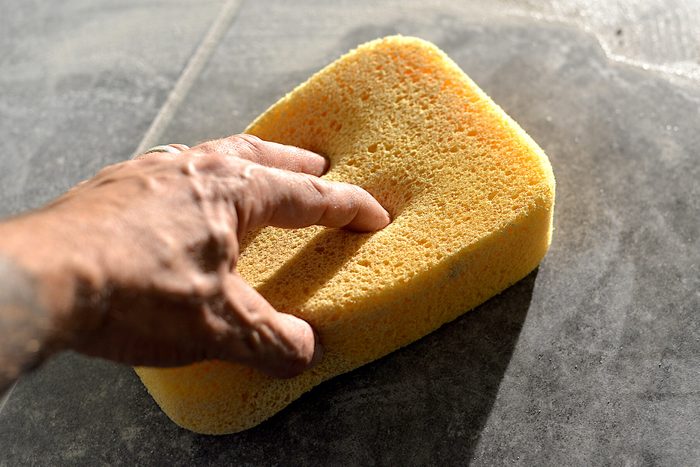
Clean Your Sponge Often
After scraping away excess grout with the float and waiting for the recommended time, clean the tile and joints with a damp tiling sponge. You’ll need clean water and a frequently cleaned sponge to do this successfully.
Ricalde likes to work with two 5-gallon buckets of clean water and a couple of sponges. “This way I can keep the sponges really clean,” he says. I only do one swipe per side with a sponge before dunking it and wringing it out. While tedious, I’ve found this puts less water into the joints.
9
/
10
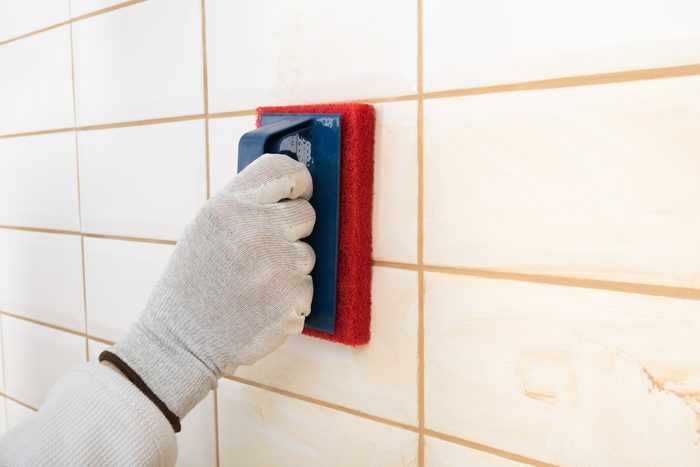
Don’t Overwork Grout Lines
When cleaning the tile face and joints with the sponge, avoid the temptation to scrub the tile face clean, or get grout lines perfect. “Go lightly over the grout lines,” Ricalde says. “Don’t push the sponge into the joints, or you’ll remove too much grout.”
Use a clean, well-wrung sponge and avoid pressing down, which squeezes water out of the sponge. Too much water in the grout can lead to cracking and subpar performance when it dries.
10
/
10

Maintain a Clean Work Area
Grouting can get messy. Cover your counters with butcher paper, work slowly and clean as you go to make this project a smooth project. Apply grout in an upward motion to minimize the amount that drops from the float. Also take care to keep grout off of neighboring surfaces, walls and cabinets. This drastically reduces clean-up time and reduces waste. I also wear latex gloves when grouting and change them frequently as I work to keep my tools clean.
FAQ
Can you use sanded grout on a backsplash?
You can use sanded grout on a backsplash, but it’s usually not necessary unless you’re working with large joints over 1/8-inch. Also, avoid using sanded grout with glass and honed marble tile if possible, as it can leave scratches if you’re not careful.
Do I need to seal the backsplash grout?
“You don’t have to use a sealer [on the backsplash grout], but it won’t hurt if you do,” Ricalde says. This is true for most sanded and unsanded grout. Epoxy grout does not need a separate sealer application.
Do you grout or caulk between backsplash and countertop?
You should apply caulk between the backsplash and countertop. Caulk will flex with the movement between the two surfaces, unlike grout, which will crack in this application.
About the Experts
- Paul Ricalde creates home improvement videos on his YouTube channel, Paul’s Toolbox with over 360,000 subscribers. He has over thirty years of experience in construction.
- Schannon Yodice is a contractor and host of YouTube’s ThatTIleChick, offering detailed how-to videos for homeowners and DIYers. She also created the Online Tile Academy, an online school to help students learn how to install waterproof showers and set tile.