


Woodworkers all have their own system for flattening wood, some of which are pretty complex. This is one simple method that’ll get you started.
Flattening Rough-Sawn Wood

Updated on May 24, 2023
1
/
9

Move on to Rough-Sawn
If you’re a woodworker who wants to move on to more advanced projects, there’s only one path; that’s learning how to flatten rough-sawn wood. Continuing to buy S4S (smooth all four sides) at the home center will limit your project portfolio for two reasons. First, you’re stuck with 3/4-in.-thick stock. Advanced woodworking calls for a myriad of thicknesses only available in rough-sawn form. Second, by flattening dry, rough-sawn wood, you’ll end up with boards that are perfectly flat, straight and true, which is rare with store-bought boards.
2
/
9

The Must-Have Flattening Tools
It takes an investment to flatten wood, though. You can’t pull this off without a jointer, surface planer and table saw. You could spend a ton of money on a wood jointer, but a basic 6-in. jointer will do most everything you’ll need. If you’re only doing small projects, you can get away with a 4-in. jointer for less money, but you won’t be able to flatten wider boards. But you won’t get good results with either tool unless you keep them equipped with sharp knives. As for the table saw, any type will work fine, including portables.
3
/
9

The Flattening Process
Woodworkers all have their own system for flattening wood, some of which are pretty complex. This is one simple method that’ll get you started. As you get comfortable with flattening, you’re sure to develop your own.
Step 1: Lay out the parts
Use chalk to lay out the parts you expect to get out of the board. Work around knots, cracks and edges with deep tree bark. If there are several parts coming from the same board, draw yourself a paper sketch to remind you of the layout. Then cut the board to lengths corresponding to the parts. Cut each part at least 2 in. longer than the final length. Do so even if knots, checks or cracks are part of the waste at the ends. That’ll allow you to remove any checks on the ends of the boards or snipe (gouges) left over from the planer. Don’t work with long boards unless they’re called for; it’s much easier to flatten short boards.
4
/
9

Flatten One Side
First, sight down the board to find out if there’s a bow. Set the jointer depth at 1/32 in. or so and push the board through the knives with the bowed side up. You’ll hear the knives cutting off the high spots as you push it through. Don’t worry about holding it tight against the fence. Keep most of the downward pressure on the board over the infeed bed of the jointer, with little or no pressure on the outfeed side. Keep making passes until the entire board is flat. When you’re making the last couple of passes, apply a bit more pressure on the outfeed side.
5
/
9

Flatten the Opposite Side
Send the highest point (at either end) of the board through the planer first, with a very small cut. Sneak up on the cutting depth; there are likely to be high spots that might stall the planer as they come through the knives. After the first pass, you can cut a bit deeper, but shallower passes will be less taxing on the tool and less likely to produce tear-out, stalls and burning. As with the jointer, swing the board around and send the other end through if you get any tear-out. Before you get to the final thickness, plane out any tear-out on the first side.
6
/
9

Flatten One Edge
Sight the board to find any bows. Hold the board against the fence with the bowed side up and send it through the jointer just as you did for the sides. Stop when the edge is flat.
7
/
9

Rip Away the Waste
Place the jointed edge against the table saw fence and rip the board to within 1/8 in. of the final width.
8
/
9

Joint Either Edge to the Final Width
If the board is 1-1/2 in. or thicker, you can use the planer for this step. Or if you have several thinner boards of the same thickness, you can “gang-plane” them all at once. Hold the boards together as they enter and exit the planer. Cut the boards to final length and you’re ready to start your project!
9
/
9
Finding Rough-Sawn Lumber
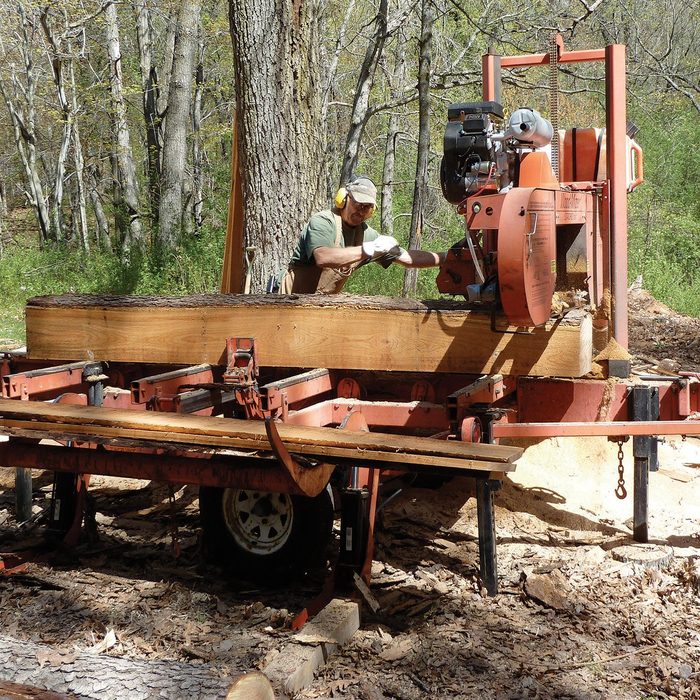
If you have a hardwood retailer near you, that’s great. If not, you can shop online. Many rural woodworkers, including pros, buy all their wood online. Search for “hardwood suppliers” to find many sources.
Board thicknesses are always listed as “X/4.” A 4/4 board is 4 by 1/4 in., or 1 in. Always get 1/4 in. thicker than the finished thickness you’re after. For example, if you need a 1-in.-thick final thickness, you should order a 5/4 board. Select widths that are 1/2 in. or so wider than the finished width.