


We talked to a pro to learn the most common mistakes made by carpentry beginners to help you bend the learning curve in your favor.
17 Most Common Carpentry Mistakes Beginners Make

Updated on Mar. 13, 2024
1
/
17
On Sale
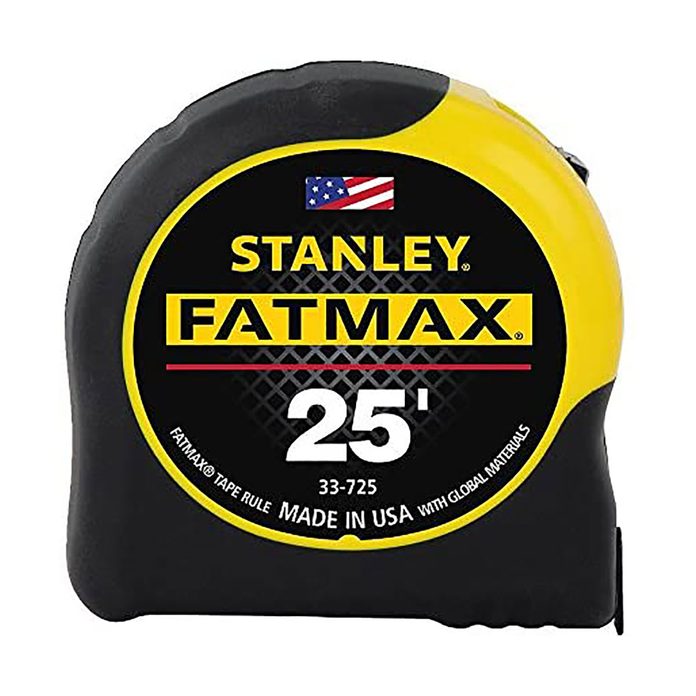
Using a Poor-Quality Tape Measure
Accuracy is important in carpentry. For framing projects, reading to the closest 1/8-in. will do, but for cabinet or trim projects, you’ll need more precision. Cheap tapes are made of flimsy plastic that doesn’t lay flat, or pull in and out easily and reliably.
Instead, spring for a professional-quality tape measure with a rigid one-inch-wide blade that stays nice and straight, making the numbers easier to read. I generally go with the Stanley Fatmax.
2
/
17
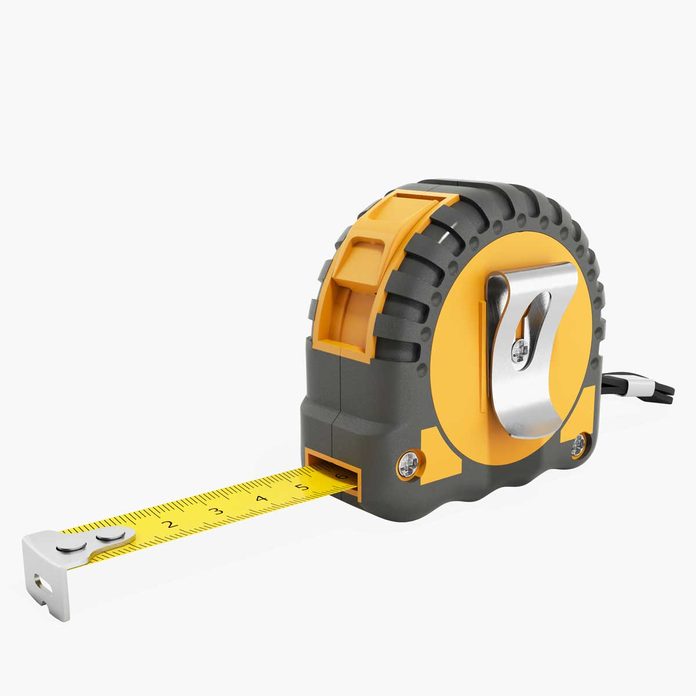
Misreading the Tape Measure
Understand how the end of your tape measure works. It’s designed to slide about 1/16-in., which is the thickness of the metal hook on the end. So when you hook over a board, the end slides out. If you butt into a board, the end compresses, which subtracts the thickness of that metal end cap.
Another tactic that takes the hook out of the equation, which carpenters call “burn an inch”: Measure starting from the tape’s one-inch mark, instead of the end. Just remember to account for that inch before you cut.
3
/
17
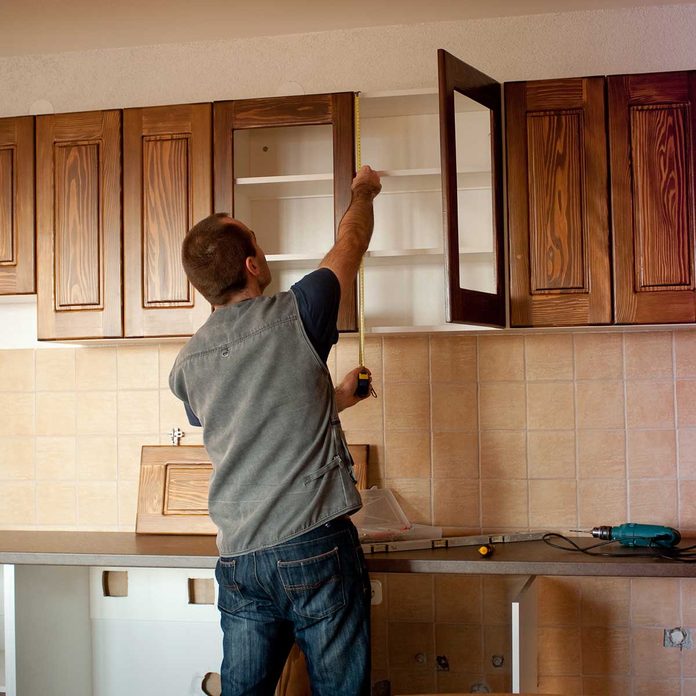
Struggling with Inside-to-Inside Measurements
The tape measure gets in the way when you’re measuring the inside of a cabinet, for example. A professional will roll the tape into the corner, but that takes years of practice. Luckily a good tape measure is printed with its size, which is the amount to add to your width measurement — usually three inches.
Another tactic: Measure over a comfortable amount of inches, and mark. Then measure from the other side to the mark and add your numbers together.
4
/
17

Not Writing Measurements Down As You Go
Cutting often takes place in a room other than the one you’re working in, or outside. So it’s easy to be distracted and forget the length by the time you get material to saw. Some people carry a small notebook, but a lot of carpenters just use any handy scrap of wood.
5
/
17
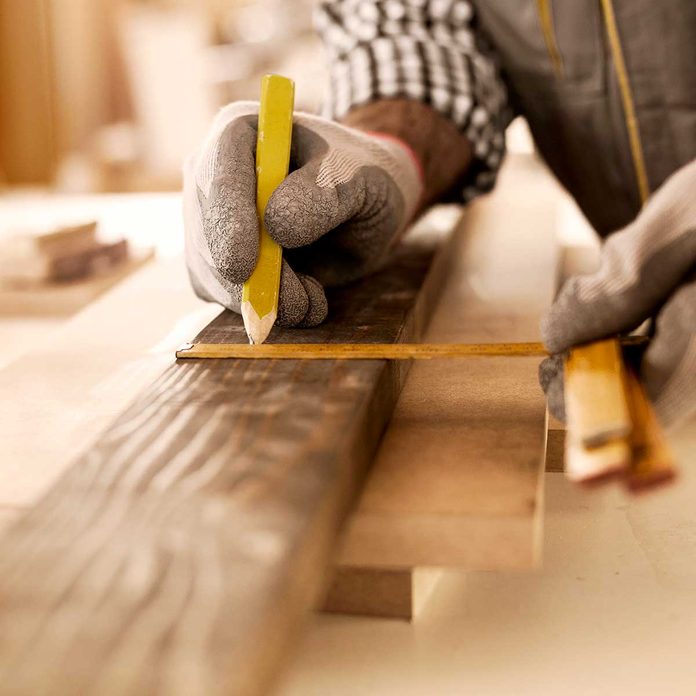
Using a Carpentry Pencil
They’re durable, but they also make an extremely wide mark. That’s fine for framing but too thick for trim and cabinet projects, where you’ll be reading your tape measure to the nearest 1/16 of an inch. For those projects, use with a standard-size pencil for a thinner, more accurate line.
6
/
17

Cutting on the Inside of Your Line
Make sure the saw blade is on the waste-piece side of the line, not about to cut into the material you’ll use. Not paying attention to this little detail is the number one beginner cutting mistake. Most saw blades take away close to 1/8-in. of material, so if you cut the wrong side of the line you’ll end up 1/8-in. too short.
7
/
17
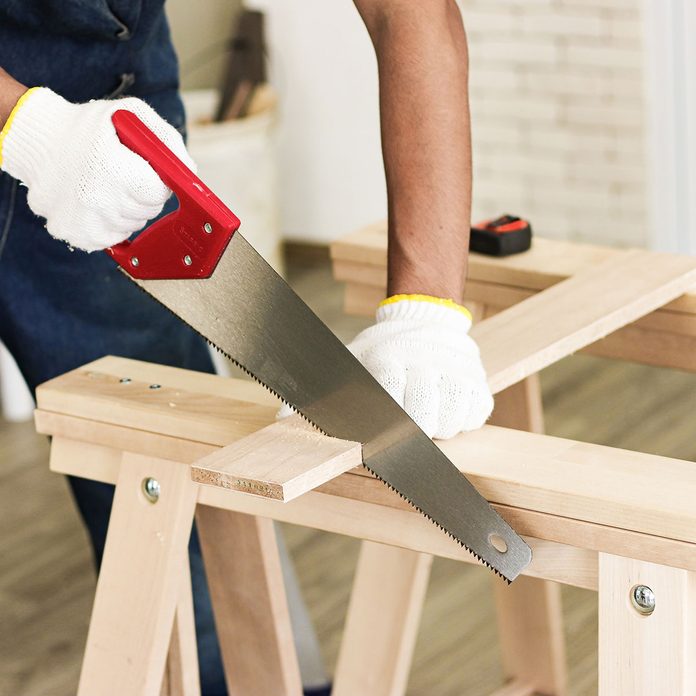
Binding or Pinching the Power Saw Blade
To make a safe cut, the waste piece should fall away at the end of each cut or be supported, so it doesn’t fall back and bind against the blade at the end of the cut. Think of it this way: A piece of plywood will sit on a pair of saw horses forever, but if you try to make a cut between the saw horses, it will eventually collapse and pinch the blade.
Add a couple of 2x4s between the sawhorses under the plywood to support the material during the whole cut. Just be sure to set the blade shallow enough to cut all the way through the plywood, but not the 2x4s.
If you’re only cutting off a small amount, make the cut outside the sawhorses, so the cut piece just falls down.
8
/
17
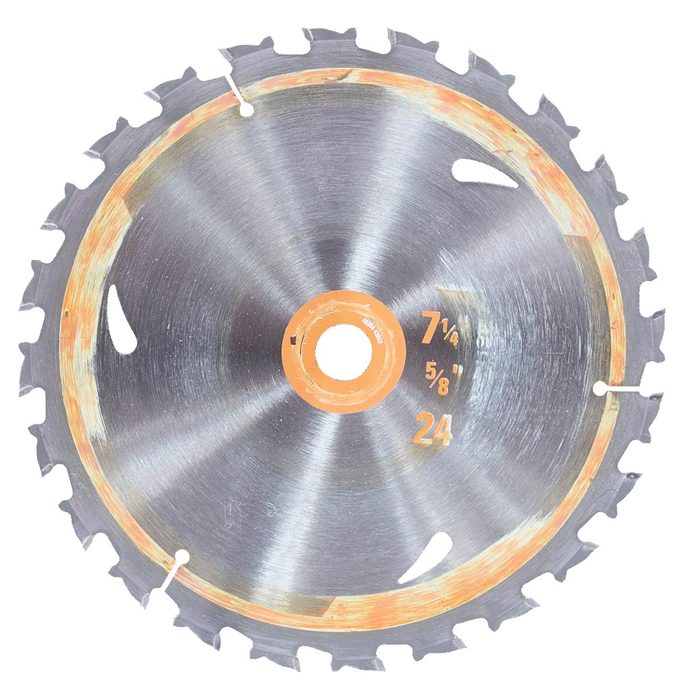
Using the Wrong Blade
Rip blades are used for ripping, or making cuts — typically longer ones — with the grain, often on solid lumber or sheet goods like plywood. They have fewer teeth, with spaces called gullets, designed to carry the sawdust and reduce friction and burning during long with-the-grain cuts.
Crosscut or trim blades are for crosscuts, or cutting across the grain, usually on plywood, trim and shelf boards. They have a lot more teeth, often 80 to 100 for 10- or 12-in. blades, and make a smoother, finer cut across wood grain and fiber.
The two are not interchangeable. Plywood veneer, for example, will chip and tear if you try to cut across the grain with a rip blade.
9
/
17

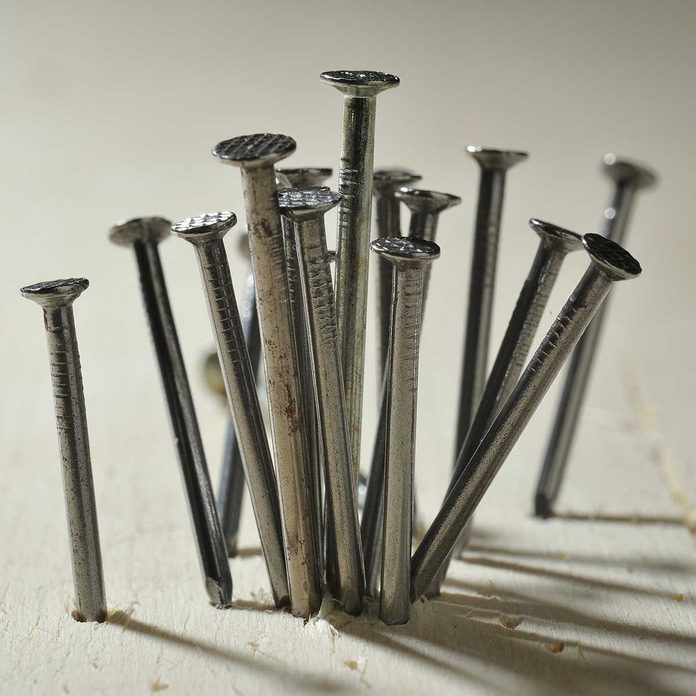
Using the Wrong Fastener
Choosing the wrong one can not only ruin the look of a project, it can be dangerous, particularly on a framing or deck project. Some key pieces of guidance when choosing:
- Generally, screws are more expensive and slower to work with, but have more holding and pulling power than nails.
- On outdoor projects, only use screws and nails marked for exterior use. They can be used inside, too, but they cost more, so you may not want to.
- Drywall screws are cheap and easy to find, but really brittle. Don’t use them for hanging cabinets or building railings or with metal connectors like joist hangers.
- Consider screw head style. Specialty structural screws have a washer-style head for greater holding power. Bugle head screws bury into the wood for a flush finish. Smaller trim screws are for deck boards or for driving below the surface and covering with putty on trim projects.
- Framing nails have a large head and a larger diameter, for greater strength. Common sizes are 8, 10, 12 and 16 D — the larger the number, the longer the nail.
- Trim nails have a smaller head designed to go below the wood surface and be covered with putty, which is known as “setting the nail.” Sizes range from 4 to 8 D, but many times the length — from 1-1/4-in. to 2-1/2-in. — is called out, too, which is less confusing.
10
/
17
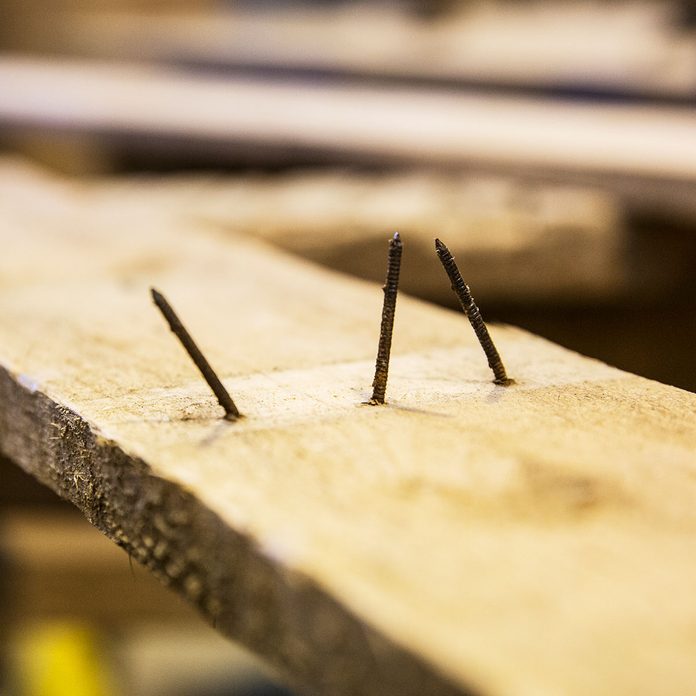
Using a Too-Long Fastener
Fasteners are nails or screws that go through one piece of wood into another. Usually 1- to 1-1/2-in. into the second piece is enough. Nails and screws that are too long can split the second piece or stick out the back side. That’s not just a bad look, it can tear clothes or skin.
11
/
17
Using Too Many Fasteners
Beginners often make this mistake. For trim, you only need two nails every 16 inches (and make sure they hit your framing lumber, not just drywall). And for sheet goods like plywood or MDF, a nail every eight to 10 inches is all you need.
12
/
17
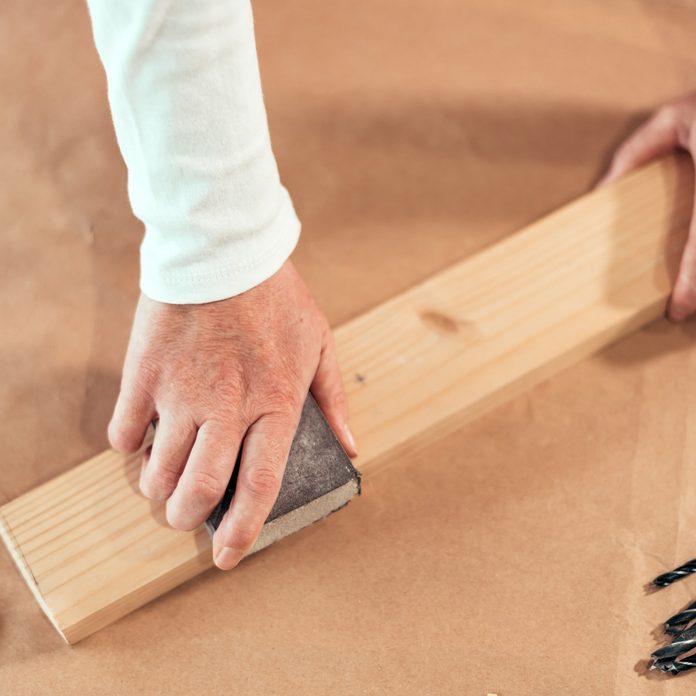
Skipping or Spot Sanding
Trust me: The material in every trim or cabinet project needs at least some sanding. Skip this step and uneven surfaces and defects will reveal themselves after you apply paint or stain.
And sand the whole piece, not just the spots that clearly require heavier sanding. Sanding in one spot only can lead to divots or recesses that show up at the final coat, so feather out the smoother areas with lighter sanding across the entire piece.
13
/
17
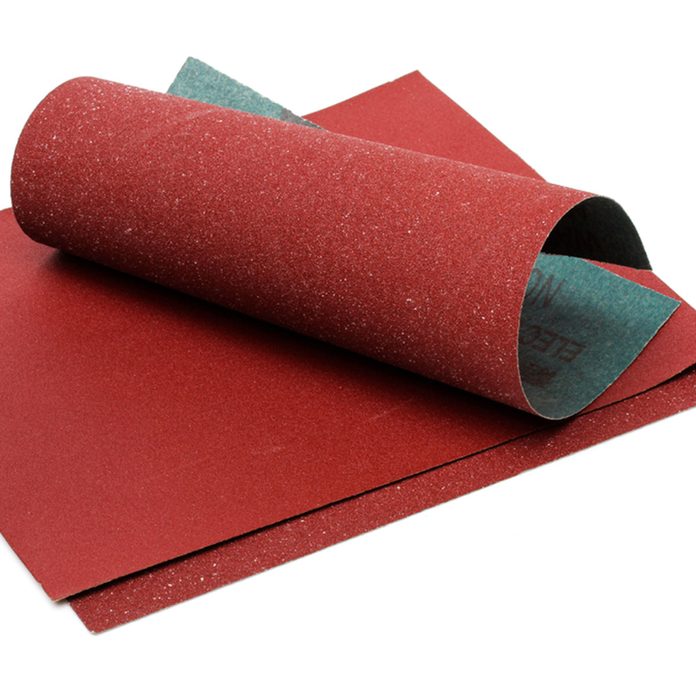
Over-Sanding
Paint-grade wood simply needs to feel smooth. Anything more than that is wasted time.
And for projects that will be stained, moving on to a very fine paper can actually seal your wood’s grain, which prevents it from taking stain. Unless you’re a world class furniture or cabinet builder, stop at 120 grit.
14
/
17
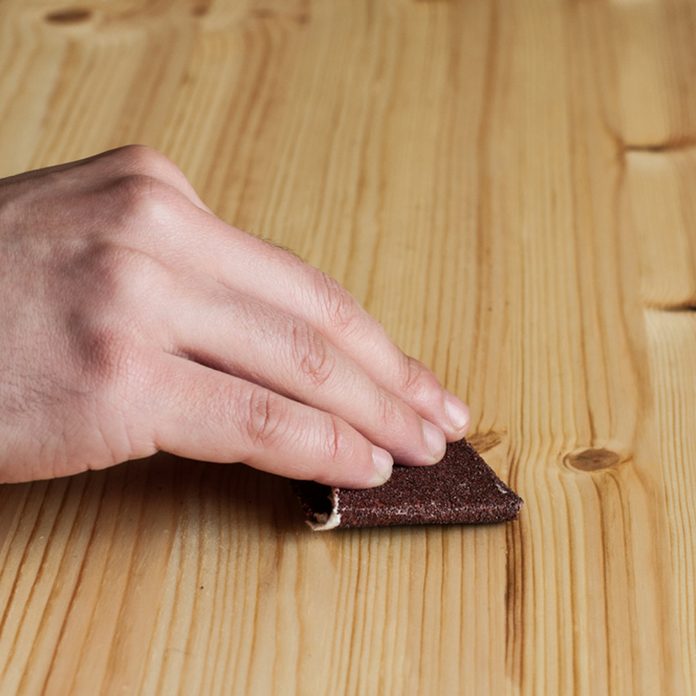
Sanding in the Wrong Direction
Paying attention to grain isn’t just important when choosing a blade, it’s important when sanding, too. In this case, however, there is only one right choice: Always sand with the grain — not cross-grain — to minimize scratches. This applies when power sanding, too.
15
/
17

Using the Wrong Glue
There are two main types that play very different roles.
On framing projects, use construction adhesive, which comes in a tube that fits in a caulk gun — no clamping required. Surfaces need to be clean, but not perfectly smooth. Construction adhesive will fill small gaps (it’s a thick glue) but will not produce a thin glue line.
For cabinetry and trim projects use wood, a.k.a. carpenter’s or “yellow” glue, a water-based glue that comes in a squeezable bottle. Yellow glue is commonly used for building or repairing cabinets and furniture, as well as on some trim joints that are nailed together. Glue that squeezes out of the joint can be scraped off before sanding, creating an almost invisible glue line. Yellow glue will not fill gaps or create a strong joint on rough framing lumber.
16
/
17

Not Clamping Glued Joints
Clamping is critical for strong joints. For large glue joints, clamp every eight to 12 inches. You know you’ve got a good one when a small amount of glue pops out after applying clamping pressure.
When clamping fragile material, protect it from the clamps by adding a piece of scrap material between the clamp and the finished piece.
17
/
17

Not Following Gluing Directions
They’re there on that label for a reason. You really do need to have the right temperature, and a clean, dry surface is a must, too. Ignoring the manufacturer instructions can result in a weak joint or, worse yet, wood won’t stick together at all.