


Say Goodbye to tangled holiday lights and crushed ornaments with these simple, affordable holiday storage ideas.

15 Tips and Tricks for Storing Holiday Decorations

Updated on Oct. 04, 2024
1
/
15
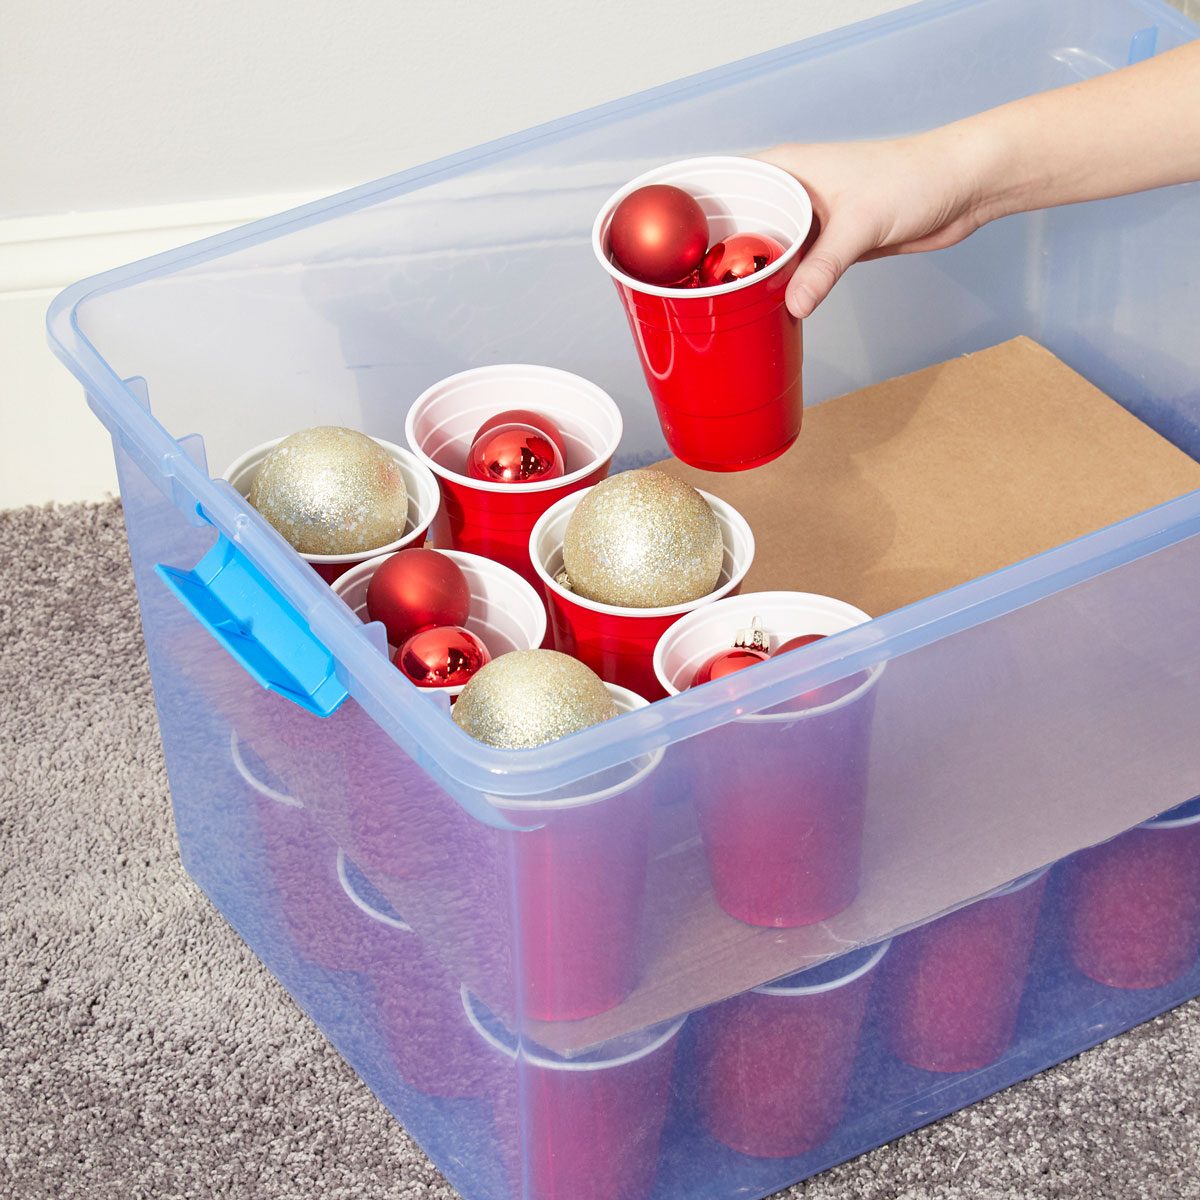
Easy Ornament Storage
Fragile ornaments can be tricky when it comes to storage. Our best tip for storing Christmas ornaments: Buy a plastic storage tub and store each ornament in a separate plastic cup (the six-ounce party size works great). You can stack a lot of ornaments in one sturdy tub safely by placing cardboard between each layer. Just make sure you don’t overpack each cup to avoid excessive compression. For more fragile items, consider adding some bubble wraps and newspaper for additional protection.
2
/
15
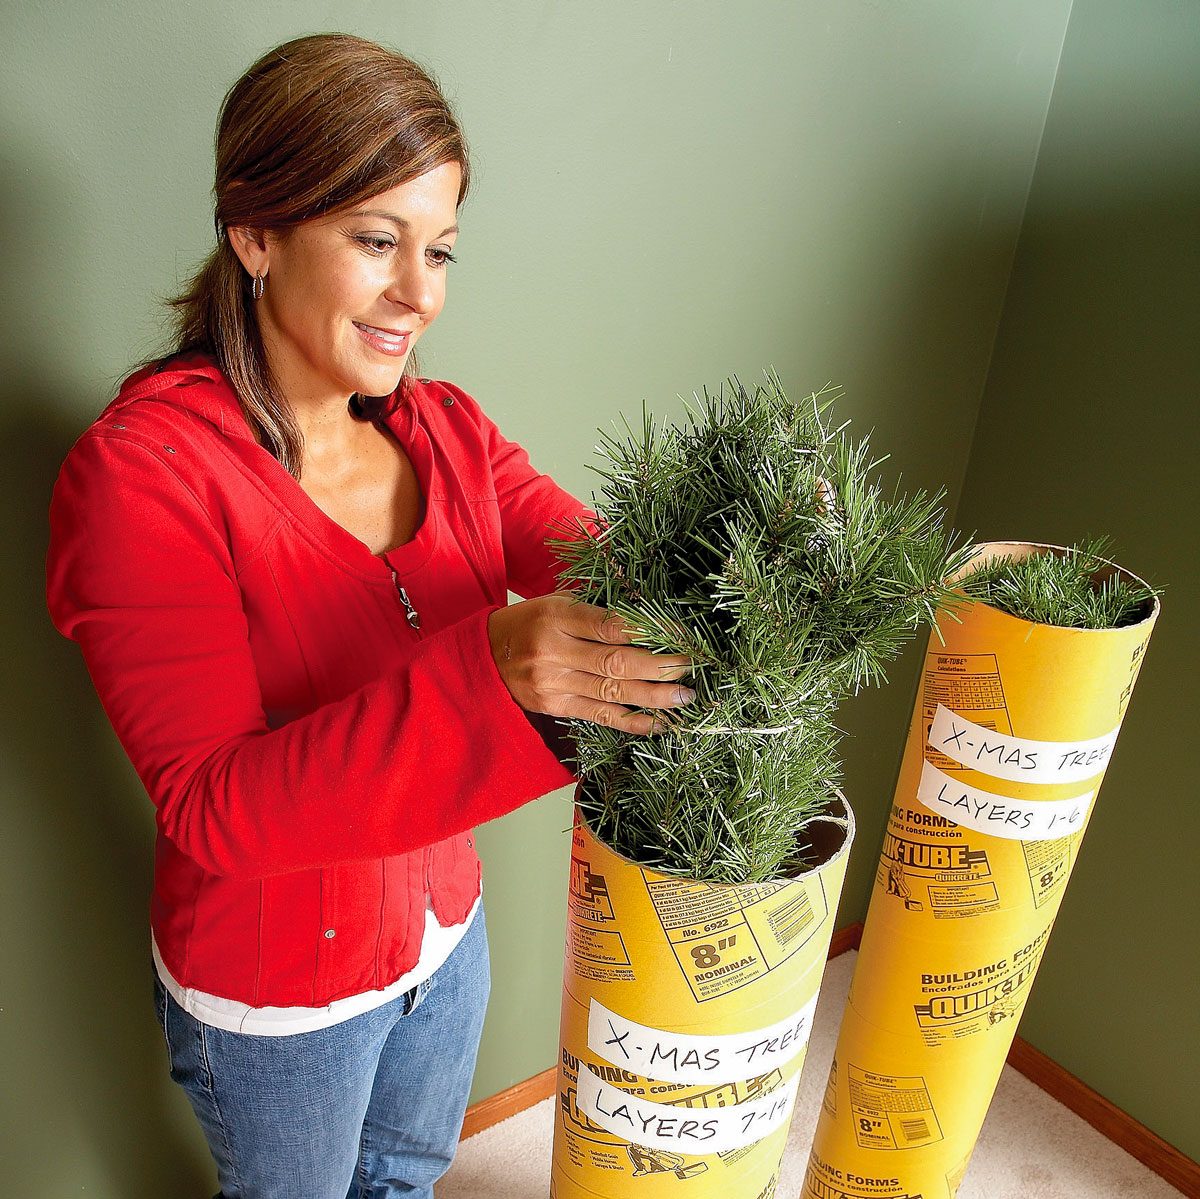
Store Your Artificial Tree in a Tube
Many of us like the convenience of an artificial Christmas tree, but storing it can be a pain because it takes up so much space. And how many of us actually keep the boxes the tree originally came in?
So, here’s a holiday storage hack: Buy two 8-inch diameter concrete form tubes. Then wrap each layer of the tree in twine and shove half the layers down each tube. Mark the layer numbers on each tube and slide the tubes up in your garage rafters for a perfect storage solution.
3
/
15
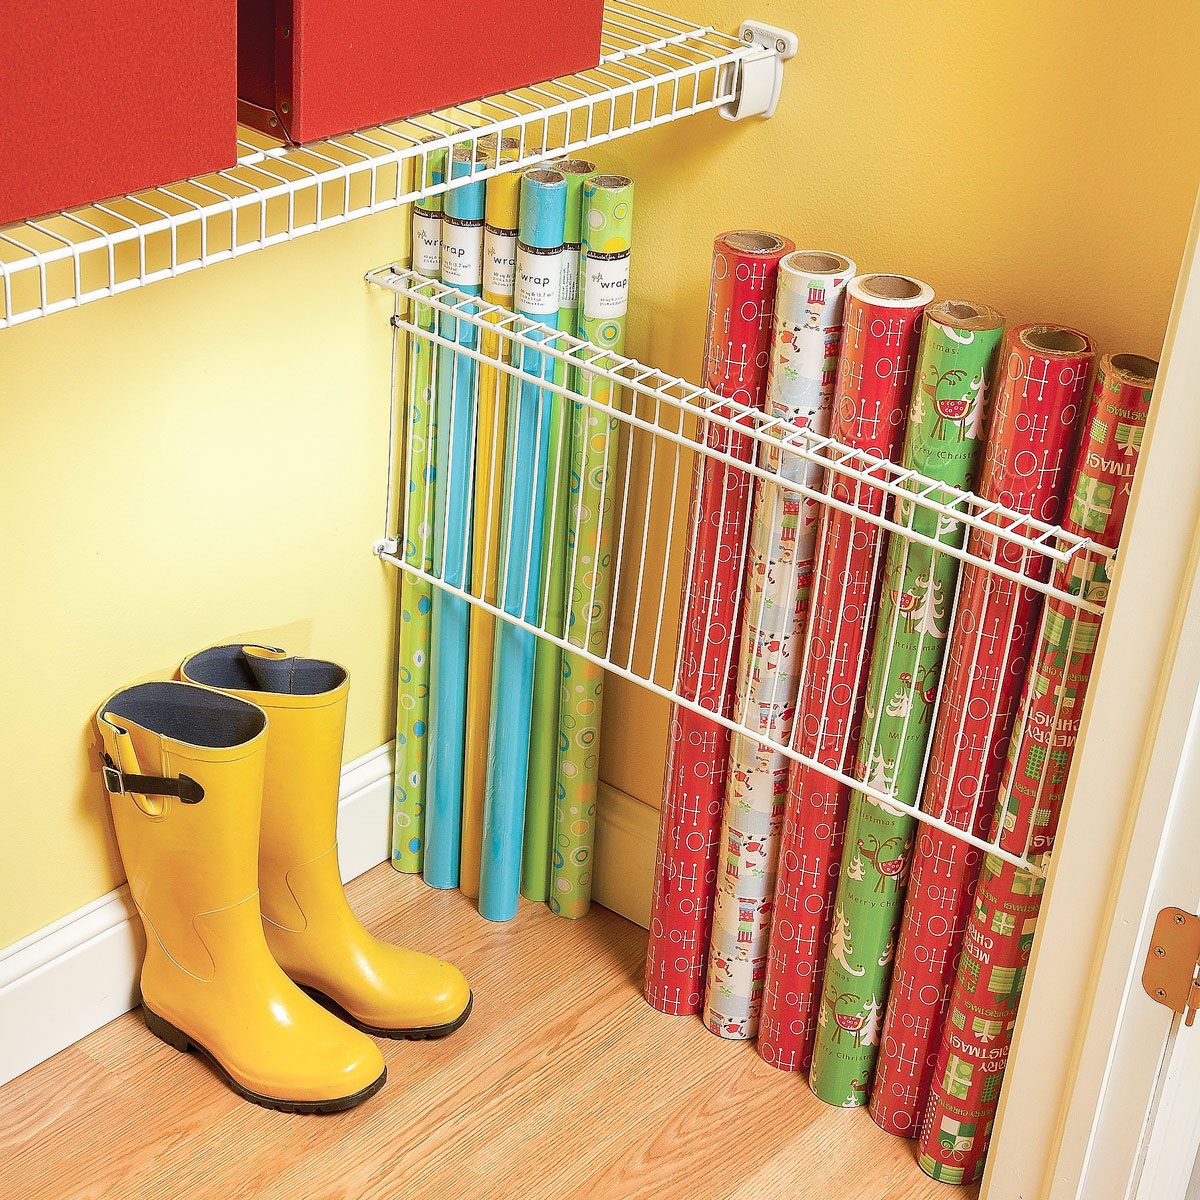
Corral Your Gift Wrap
Propping up rolls of gift wrap in the corner of a hall closet often means wrinkled, torn or lost rolls. Here’s a way to keep those rolls neatly organized and easy to reach.
Make a wrapping paper ‘corral’ by screwing a small section of wire closet shelving vertically to the side of a closet wall. Then just slide the rolls in and out of the corral. They won’t tumble over or disappear behind the coats.
4
/
15
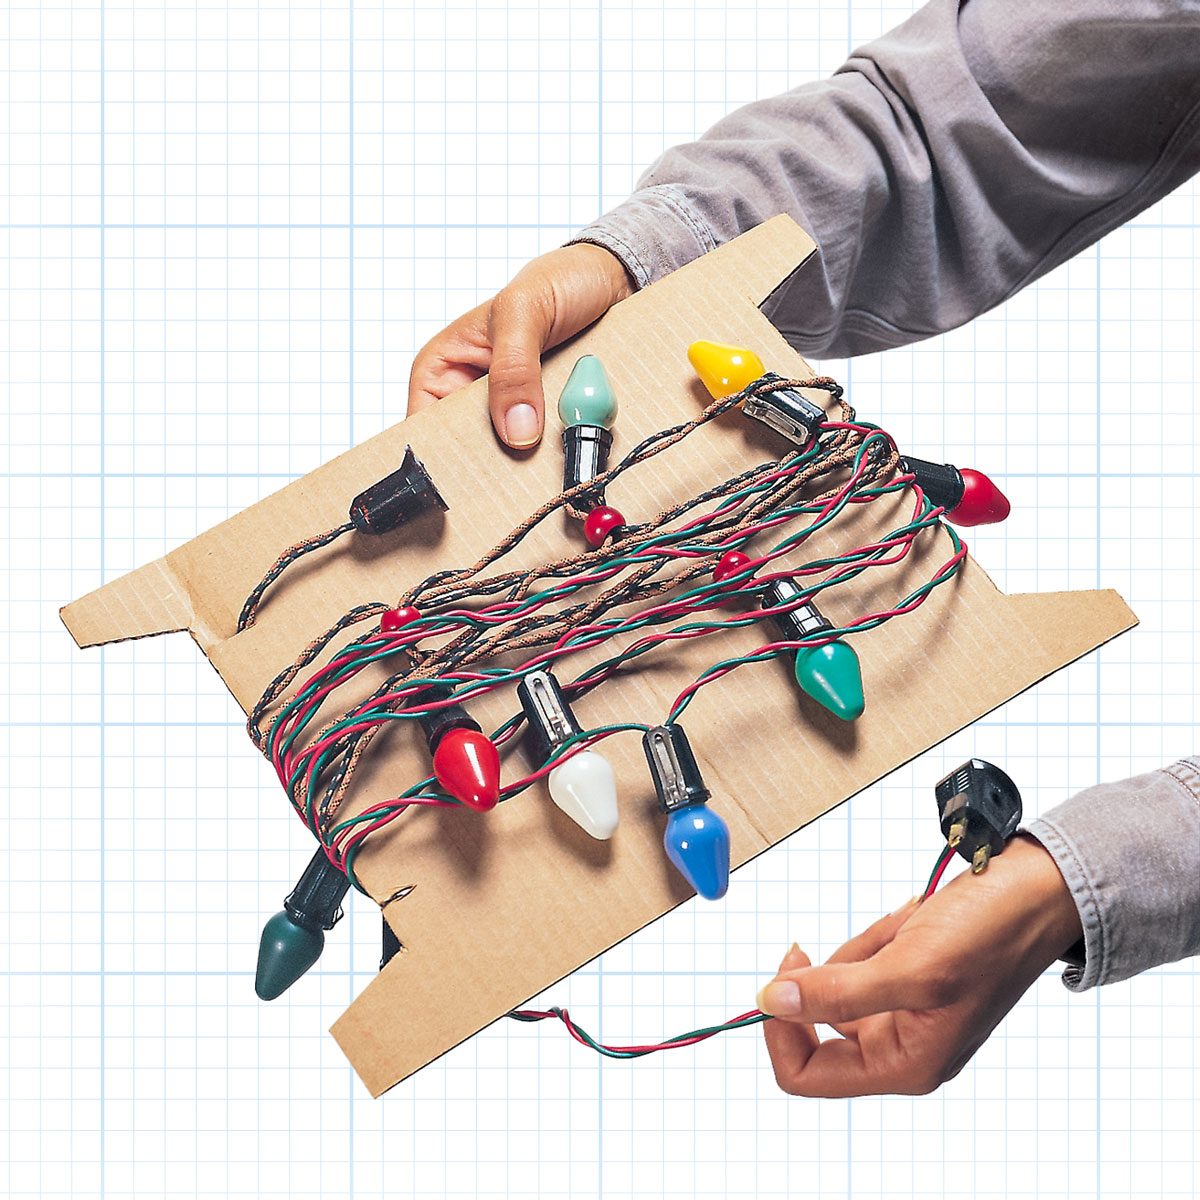
DIY Storage Spools for Your Holiday Light Strings
You can DIY storage spools to store Christmas lights safely. Take strips of cardboard and cut out a slot on each end to make a spool. These keep the lights from slipping off. You can then place these spools into a segmented storage container or in a filing folder. You can also add hooks or clips to the spools so you can store them all in one place.
5
/
15

Keep Your Lights in Labeled Plastic Bags
This must be one of the easiest holiday storage tips for string lights. “When it comes to string lights, a simple trick I like to use is use grocery bags to separate and tie them up. Then, you can store these bags in clear containers. This keeps the lights from getting tangled and makes them easy to find when it’s time to decorate again,” says organizer and decluttering specialist Olivia Parks.
Simply put each string into a plastic grocery bag and tie the bags up. This allows you to stack the bags into one container without getting the cords all tangled. If you have a vertical organizer, such as a filing cabinet, you can then slide these bags into them while keeping each string separate in its place. This method also helps you recycle plastic bags in your household.
6
/
15
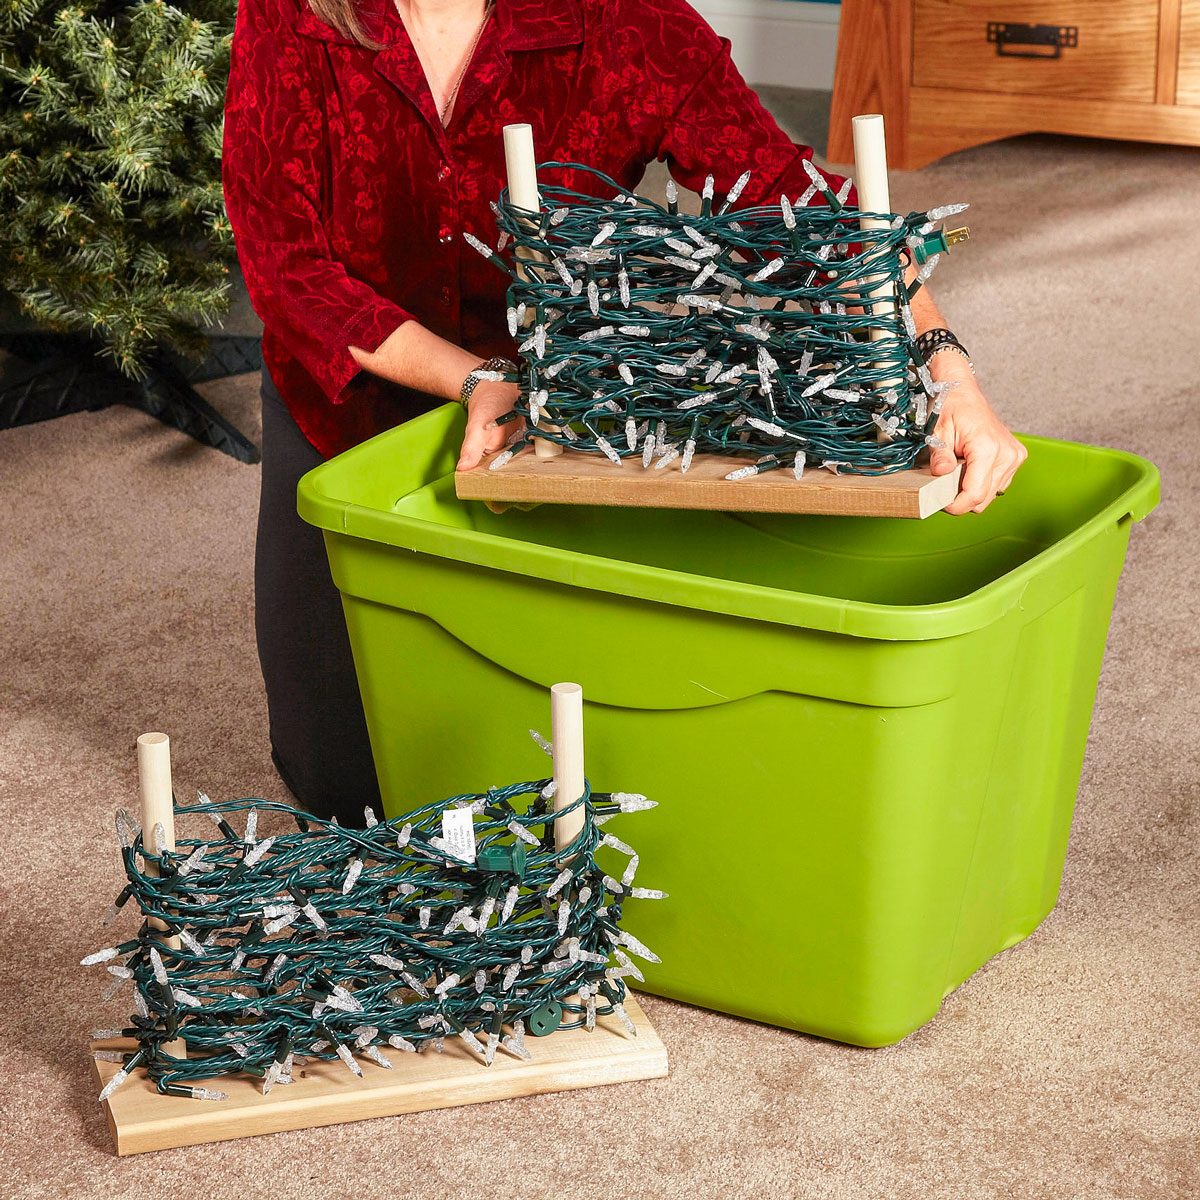
Make Holiday Light Storage Stands
Storing holiday light strings without dangling or breaking them is tough. Here’s a great idea: Screw a dowel to each end of a wooden base cut to the size of a large plastic bin. Then, wrap your lights around the dowels in a figure eight and place the stand in the bin. You’ll be amazed by how many light strings you can wrap around the stands without tangling or damaging them.
7
/
15

Hose Reel for Holiday Lights
String holiday lights around the yard easily and free from getting tangled by rolling all the strings onto a portable hose reel with wheels and a handle. Store them in the garage or shed, someplace where they can’t be bumped or broken. The hose reel method works best with long strings, such as the lights you use on the roof or throughout the yard.
8
/
15

Label Tree Layers
Artificial Christmas trees are assembled in color-coded layers. After a few years, the colors rub off or you lose the instructions, and putting the tree together gets confusing.
Try this simple trick. When you disassemble the tree at the end of the season, do it one level at a time. Once all the branches from one level are off, duct-tape them together and number each layer with a marker. As you put them away into a container, start at the base and end with the top. Next year, the tree will go together in a snap.
9
/
15
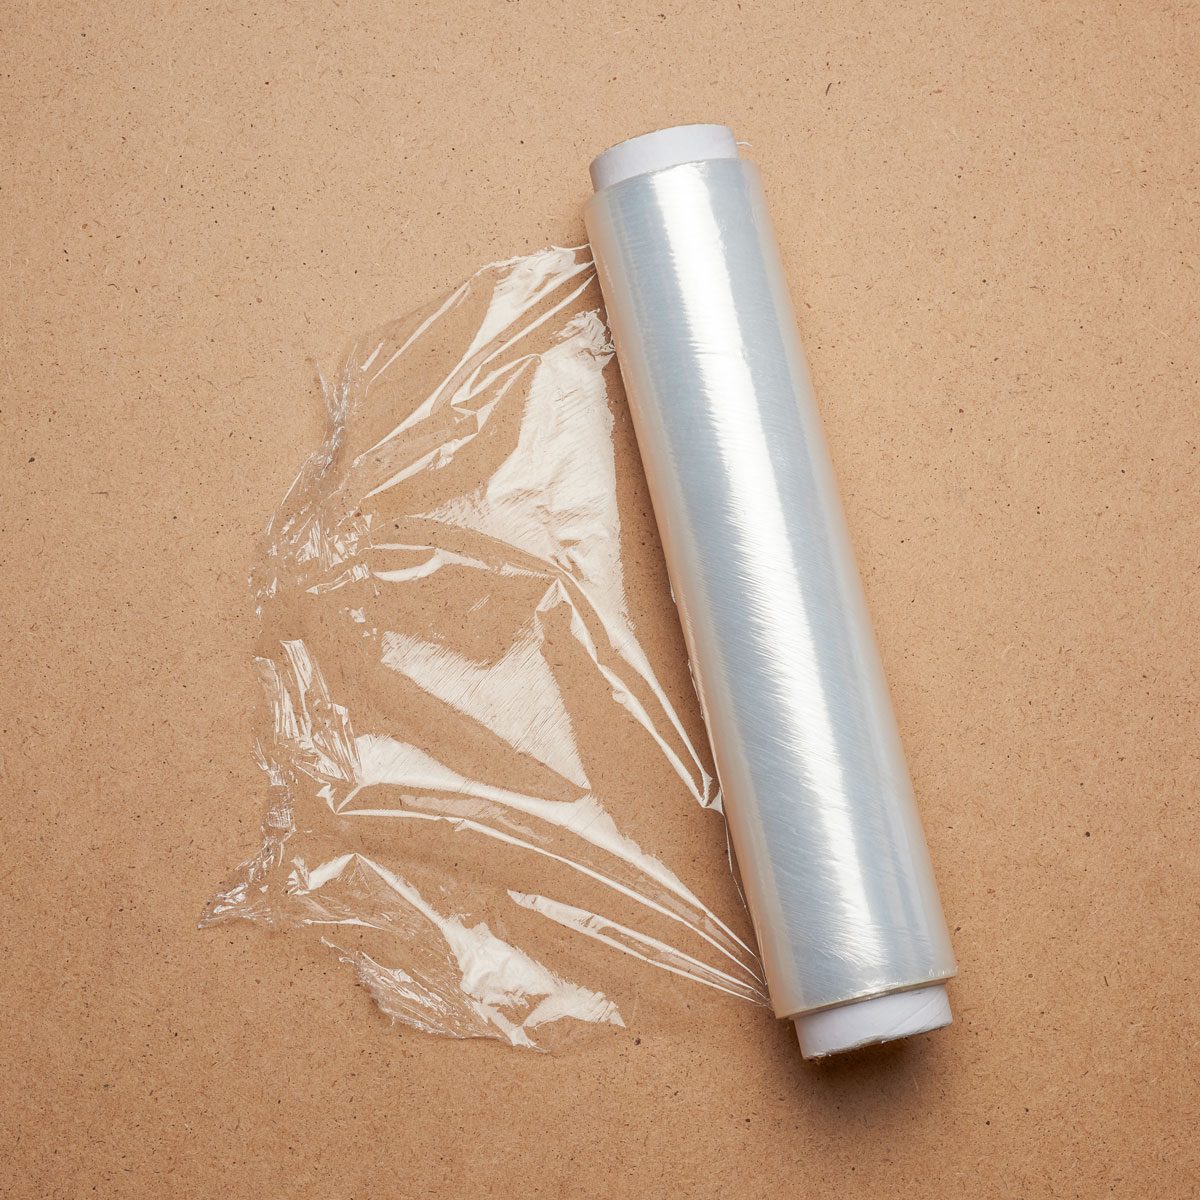
Wrap Tree Branches
Keep your tree’s branches safe and contained by wrapping them up before storing. If you just want to keep them tucked in, try adhesive bandages. Be careful not to only wrap them together by the end of the branch without touching the pine needles. Needles are fragile and can break when removing the adhesives. For better care against pests and moisture, wrap them in acid-free plastic wraps, label them by layer and section, and store somewhere dry and shaded.
10
/
15
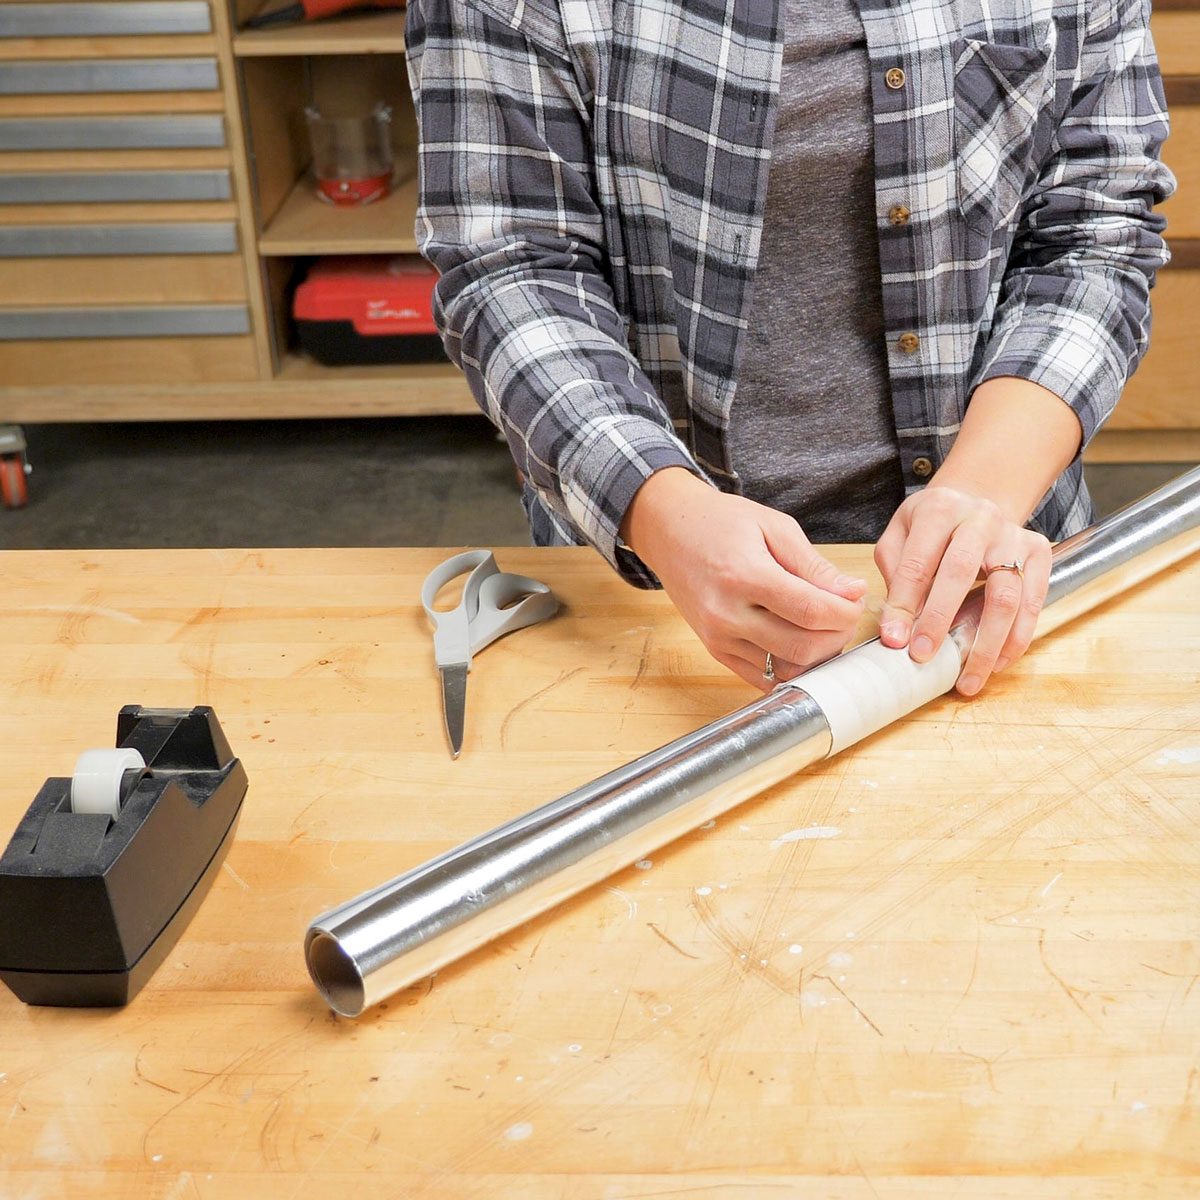
Wrapping Paper Sleeves
To keep your wrapping paper rolls tight before putting them away, pop a sleeve over them. A simple toilet paper roll will work and save you a trip to the store! When you need the paper again, the edges will be crisper than if they were put away unsecured. Umbrella sleeves and cellphones also work great as wrapping paper sleeves. Once you put the paper roll inside, roll it tight and use a strip of acid-free tape to hold down the edges so they stay intact until their next use.
11
/
15
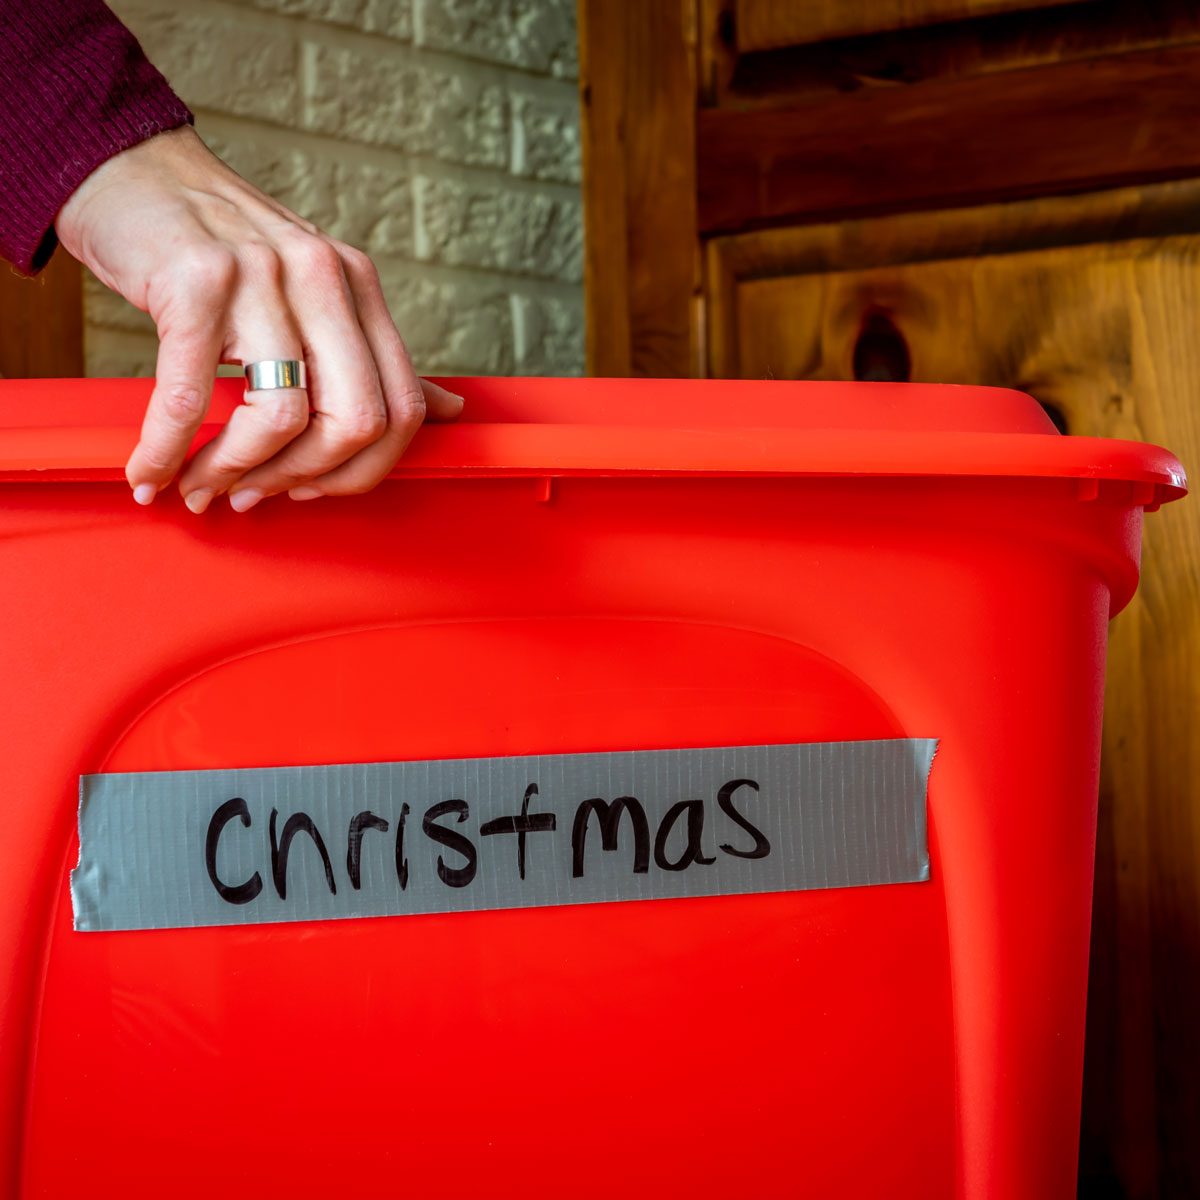
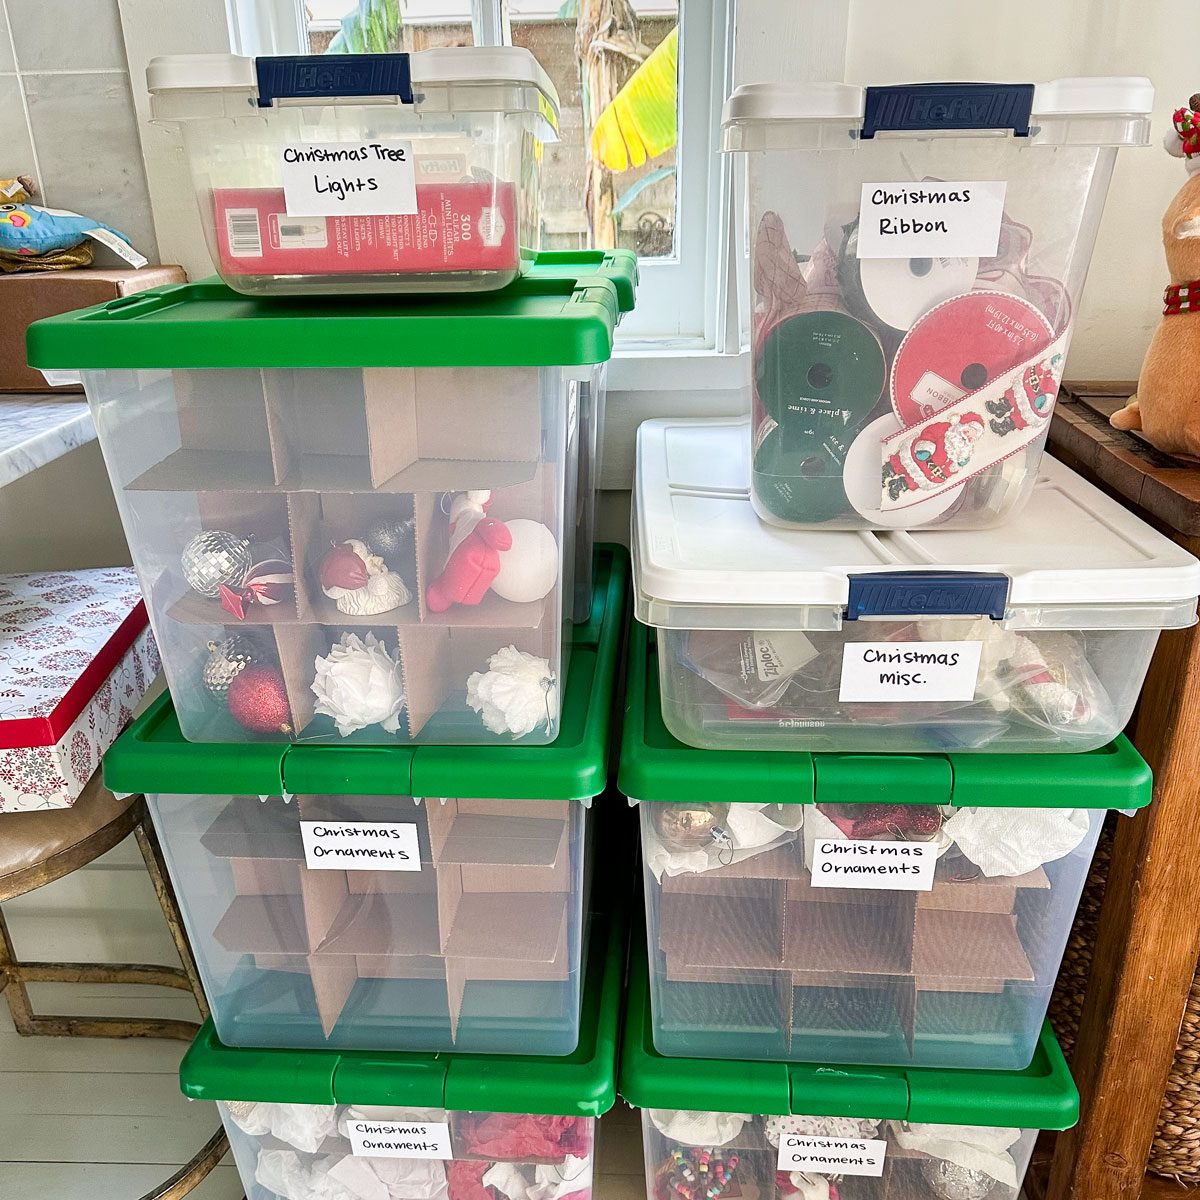
Build a Label System
Holiday decoration items can easily become overwhelming. More than one expert we spoke with recommended developing a solid labeling system.
“Sort items into sub-categories like table decor, outdoor decor, serving dishes, costumes, gift wrap,” says professional organizer and founder of Luxury Pro Organizer, Carol Applebaum. “The number of sub-categories depends on how many items you have. For holidays with many sub-categories, like Christmas, label each container as specifically as needed, [like] ‘Christmas Tree Lights,’ ‘Christmas Mantel Decor,’ ‘Christmas Outdoor Inflatables,'” says Carol Applebaum.
12
/
15
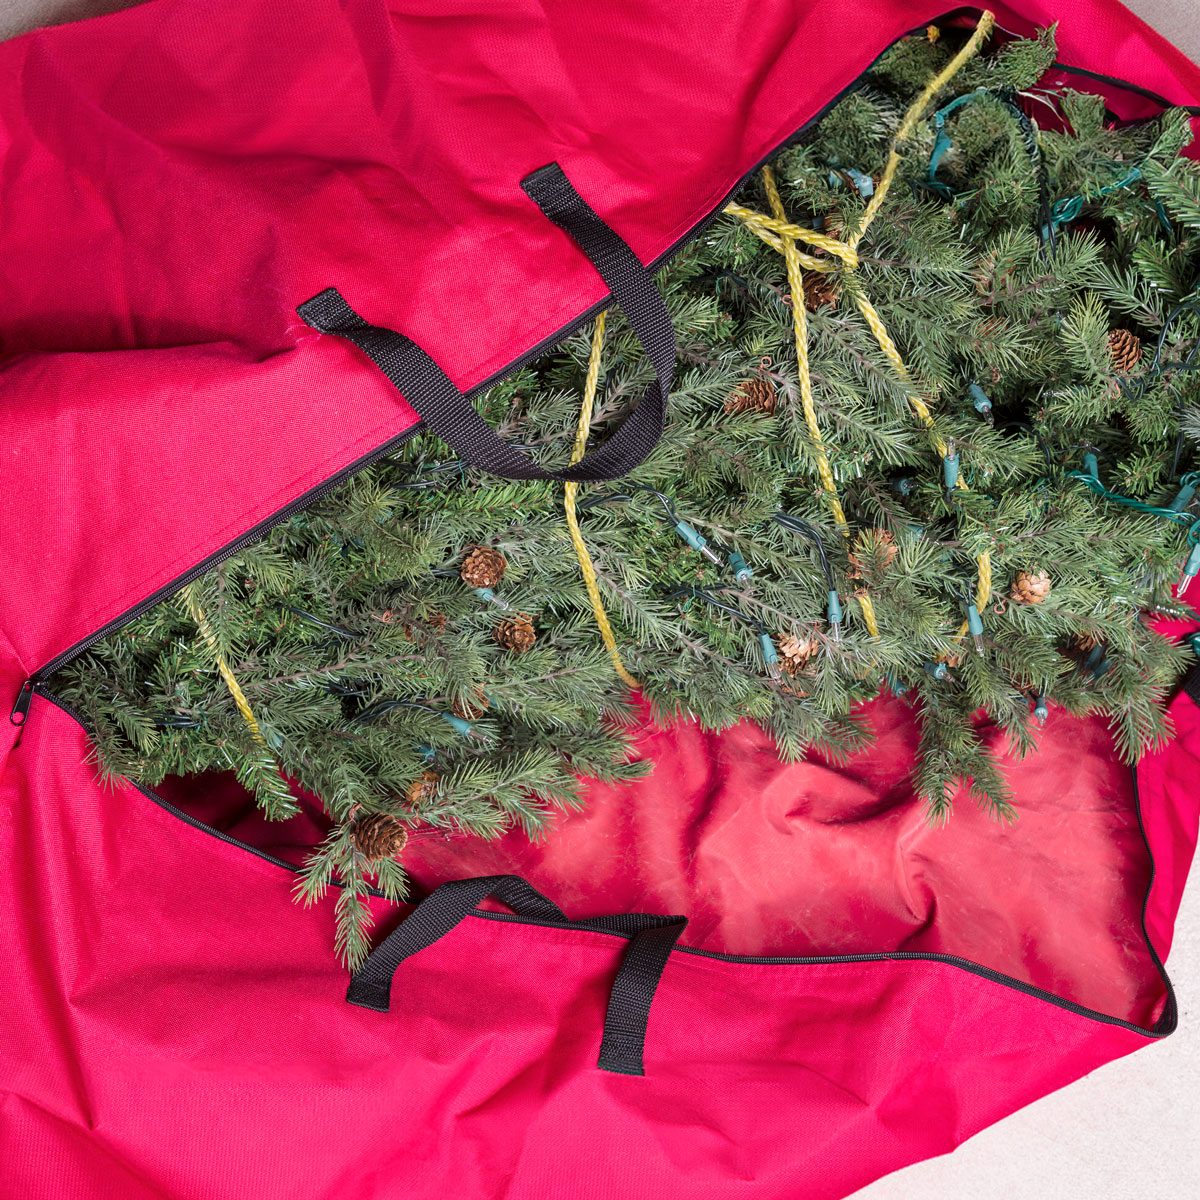
Invest in a Christmas Tree Bag
An affordable Christmas tree bag is a worthy investment for major items like the tree you repeatedly use. Some bags also have handles to make it easier for storage. If strong in a basement or garage, look for waterproof bags that come with reinforced zippers to keep moisture and pests away.
“Disassemble the tree and place each section in the bag, starting with the base and ending with the top. Many bags have separate compartments for each section to prevent crushing and make assembly easier,” Appelbaum says.
13
/
15
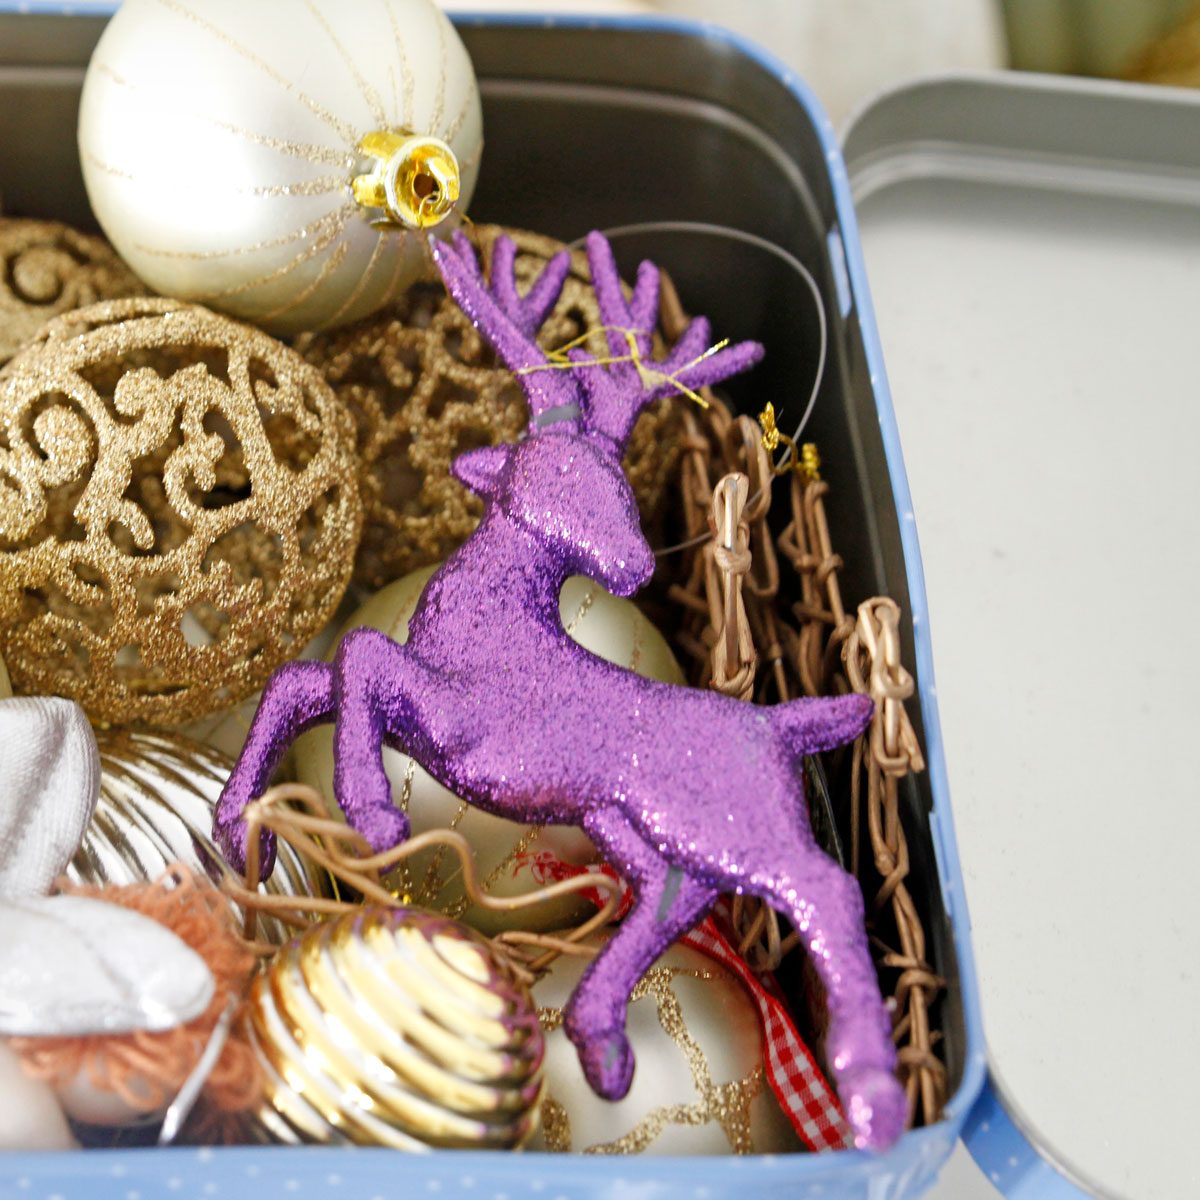
Store Ornaments in Cookie Tins
Don’t throw away those holiday cookie tins because they’re perfect for storing flat and more durable ornaments, especially paper and wooden ones. Place some tissue paper around the tin as a cushion and gently fill it up with flat ornaments first, then add small, non-fragile decorations to fill up the space. Seal the tins, label them, and stack them together in a larger storage.
14
/
15
DIY Ornament Organizers
Not all ornaments fit into smaller containers. For larger or irregular-shaped ornaments, ornament organizers come in handy. “For delicate ornaments, I recommend using ornament organizers. These have sections with space for cushioning, so each ornament is protected from damage during storage,” says Parks. “If you use wreaths for decorations, a plastic wreath storage container is a great way to keep them looking fresh year after year.”
These can be found online at an affordable price. You can also make some yourself in the same way you would DIY drawer dividers. Measure the minimum necessary height and width of each compartment and the storage bin’s dimensions. This method works best with larger ornaments of similar sizes or ornaments that come in a set.
15
/
15
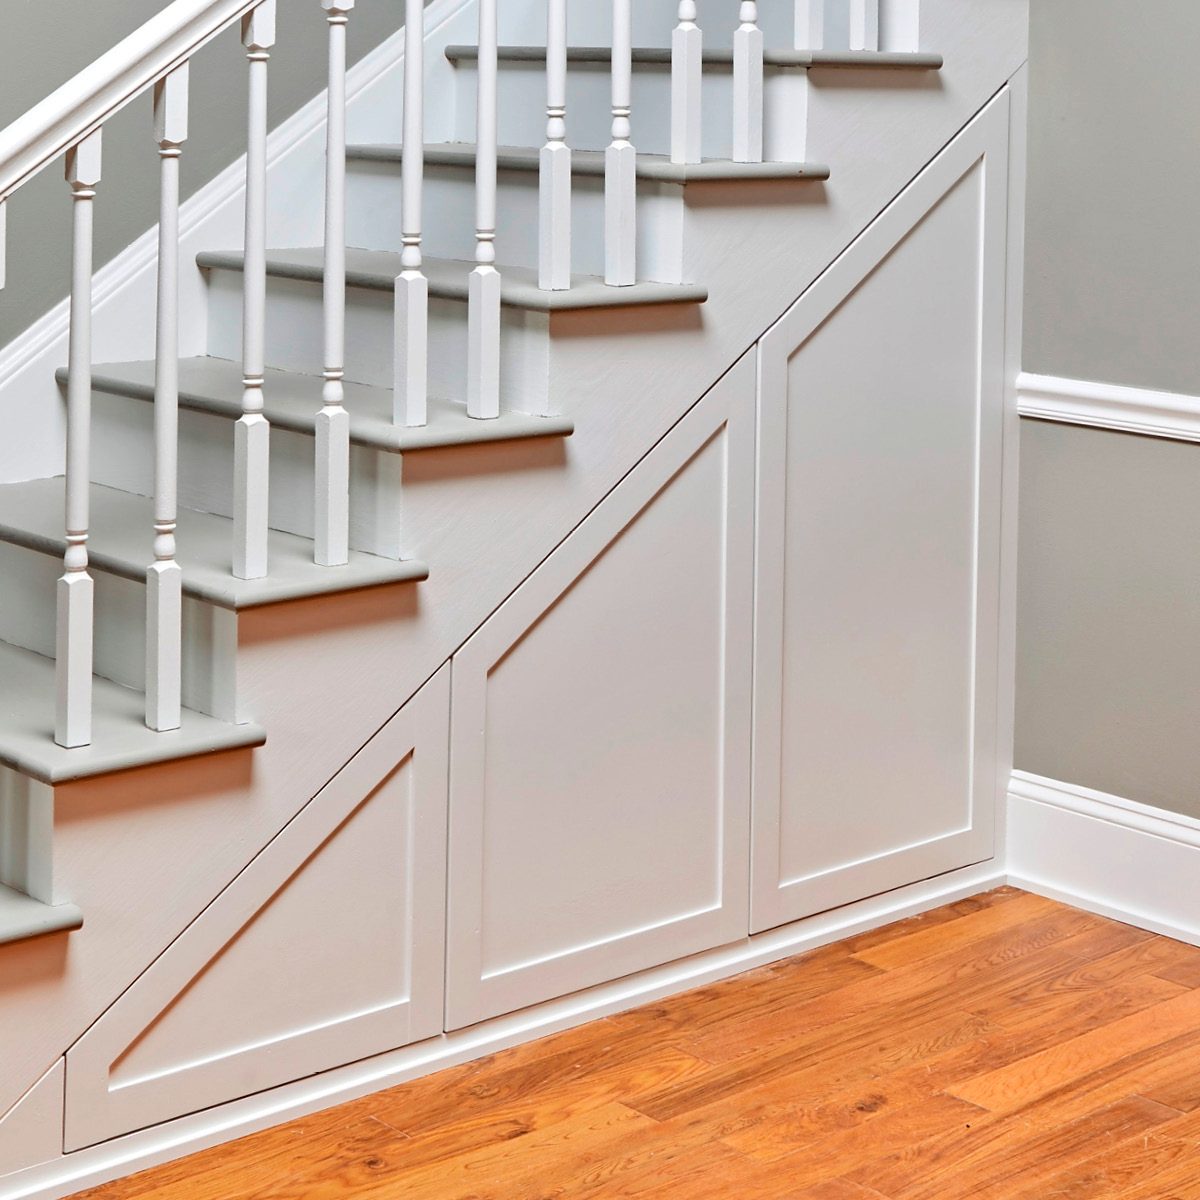
Dedicated Holiday Storage Space
Tucking each storage box and bin into wherever they fit might sound appealing at first—until you need to use the decorations next year and you can’t remember the 20 different spots you stashed your ornaments. Designate an area in your garage or basement for holiday items. If your home doesn’t have a garage or basement, you can also use the overhead space in your closet, under the stairwell, or under-the-bed storage.
About the Experts
- Olivia Parks is a professional organizer and decluttering specialist based in New Orleans, LA. With over a decade of experience and hundreds of organizing projects, Olivia has helped countless clients transform their homes into functional, clutter-free spaces.
- Carol Appelbaum, founder of Luxury Pro Organizer, is a certified professional organizer who combines her love for design and efficiency to help clients create beautiful, organized spaces. With an impressive 38 years of experience in the design industry, Carol brings an aesthetic perspective to the world of home organization.