


Airless paint sprayers are by far the most efficient way to paint. Learn more about how to use and the best techniques here.
How to Spray Paint With an Airless Sprayer

Updated on Oct. 07, 2024
1
/
8
Painting With an Airless Paint Sprayer
Every professional painter owns an airless paint sprayer. There’s no more efficient way to deliver paint onto a surface— and for most pros, every minute saved is money in the bank. Plus the smooth, even finish that sprayers deliver can’t be matched with a brush or roller.
Working with a paint sprayer may seem intimidating, but it only takes a few minutes to get the hang of the proper technique. We visited the training/testing facility at Schoenfelder Renovations in Hopkins, MN, where Daryl Becker showed us the basics. He also shared some extra gems you won’t read about in the operator’s manual for your paint sprayer. In this story, we’ll focus on exterior painting, but most of these tips apply to any painting job that involves a sprayer. While you’re at it, get to know how to clean a paint sprayer.
2
/
8
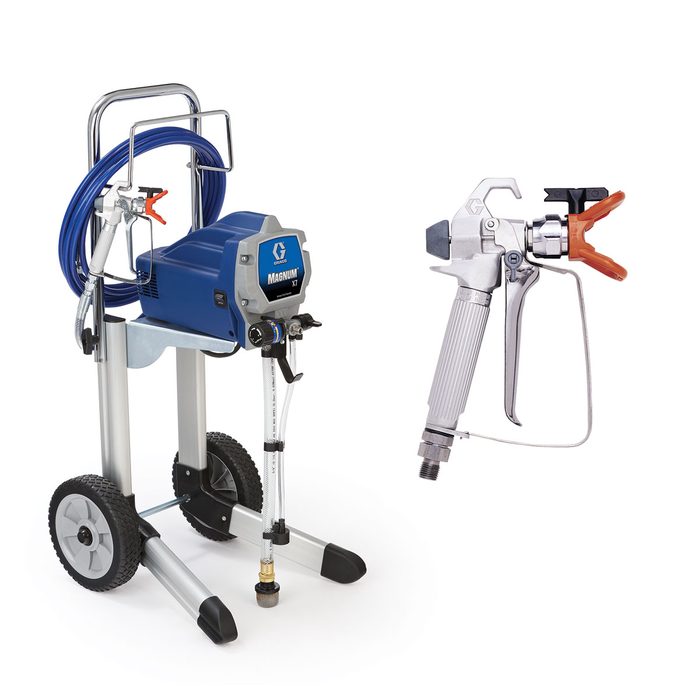
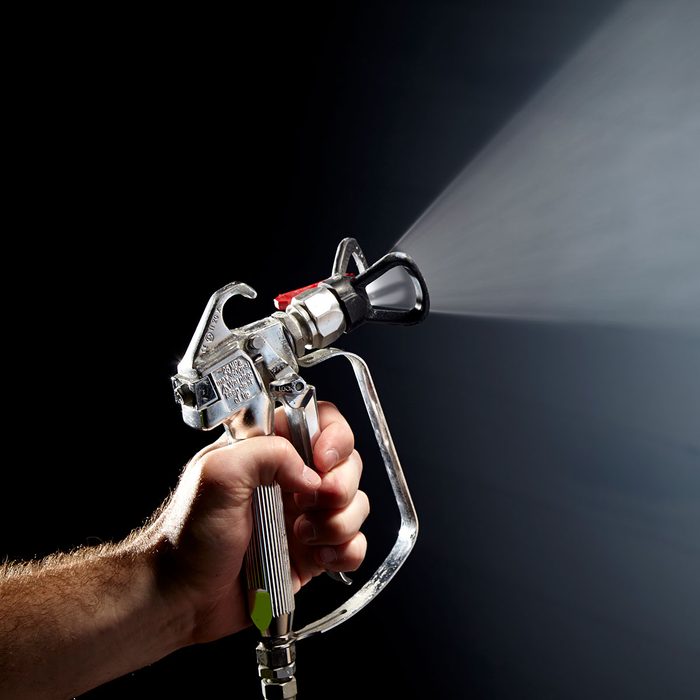
What Is an Airless Paint Sprayer?
Airless sprayers work by pumping paint at very high pressures (up to 3,000 psi). They can suck paint from a large bucket (fewer refills), and the gun is lighter because it’s not attached to the paint reservoir, as is the case with many air sprayers. Airless sprayers can spray both paint and finishes, and there are different sprayer tips for different materials.
3
/
8
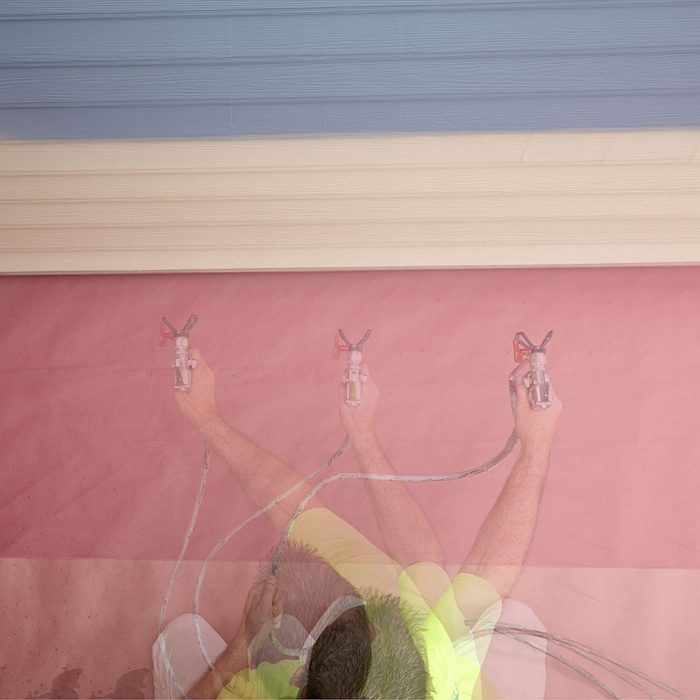
Keep the Gun Perpendicular to the Wall
To achieve a consistent layer of paint, the tip of the sprayer should be held about 12-in. from the surface and the gun should always remain perpendicular to the wall. This technique is the foundation for a professional finish. It seems tricky at first, but after only a few passes you’ll be painting like a pro. Practice on a low-visibility wall until you get the hang of it.
4
/
8
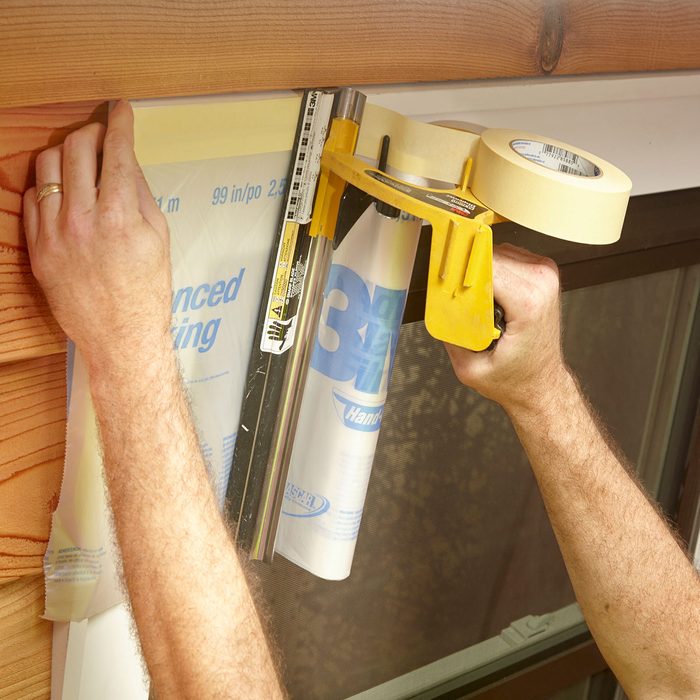
Tape Off Windows and Doors
Before you crack open that first bucket of paint, tape off your windows and doors. We prefer the dispensers that roll out the tape and plastic at the same time. Only the face of the trim needs to be protected.
5
/
8
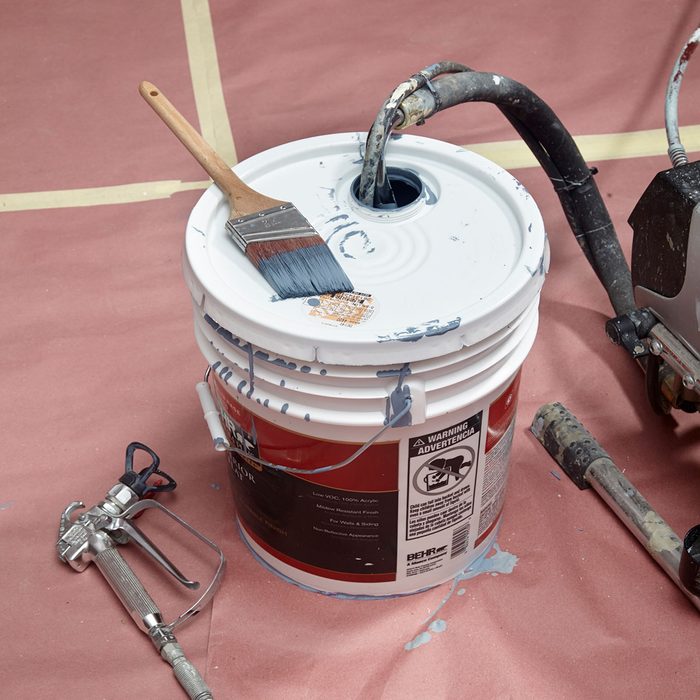
Keep a Lid On It
Always keep the lid on the bucket. Just remove the small cap and stick the intake tube into the smaller hole. This will keep debris out of the paint and prevent clogs. Plus, an open bucket dries out faster, and dried clumps of paint can also clog the works. Always use a 5-gallon bucket. If your project only requires 3 gallons, pour that amount into an empty 5-gallon bucket and draw your paint from that.
6
/
8

Overlap 50 Percent and Keep the Gun Moving
Overlap the pattern about 50 percent. Release the trigger at the end of each pass. Start the gun in motion before pulling the trigger. If you start spraying with a stationary gun, you’ll get a glob of paint. When spraying under lap siding or the side of trim boards, angle the tip upward so you get enough paint on the bottom portion of the board. Always start at the top of the wall and work your way down.
7
/
8
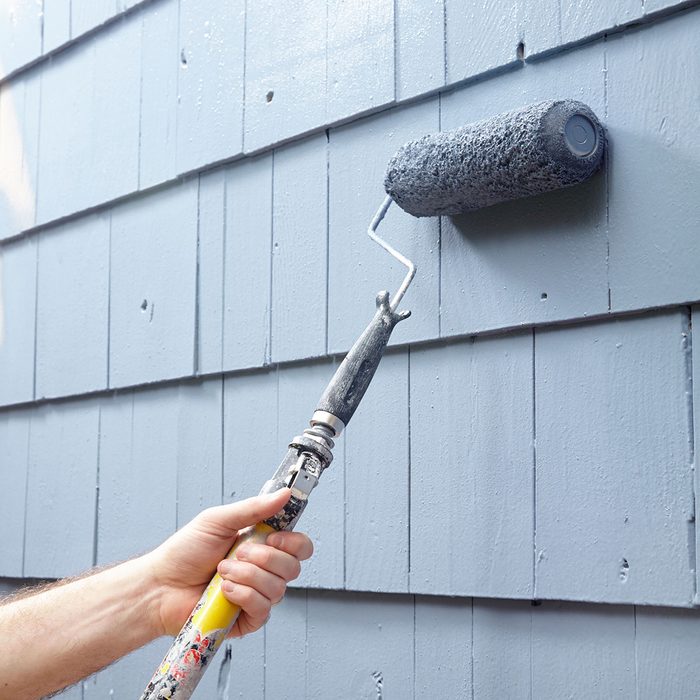
Back-Roll, Then Re-coat
After you back-brush, it’s time to back-roll. Don’t spray an area so large that the paint dries before you can roll it out (drying times vary greatly depending on the weather). A roller with a thicker nap is better at reaching the uneven surfaces. Many pros use a roller with a 3/4-in. nap because it gets up into more of the recessed areas. And while it’s tempting to roll lap siding horizontally, always roll in an up-and-down motion. It’s hard to stop the paint from dripping off the bottom of the laps if you roll horizontally.
One coat may be enough if you’re just freshening up the paint with a new coat of the same color. But if you’re working with new siding or changing colors, a second coat will be needed. But no back-brushing or back-rolling is necessary on the final coat, so it goes fast, and the final coat hides many of the smaller brush and roller marks.
8
/
8
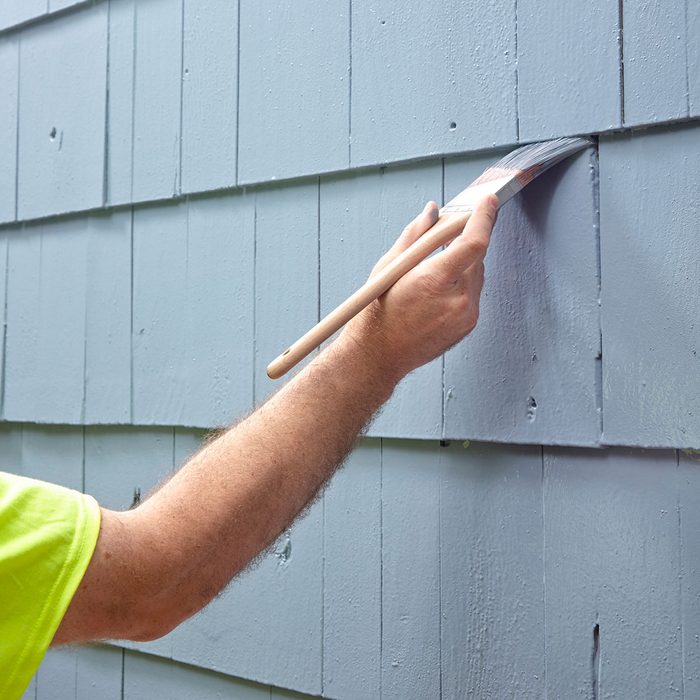
Back-Brush the Nooks and Crannies
If you thought you could just blast the wall with a sprayer and call it a day, I’ve got bad news for you. The paint sprayer is only a paint delivery system. In order to achieve a coating that will last for years, you need to push the paint into every crack and crevice and underneath every lap with a brush. It seems like a tedious extra step, but it’s absolutely necessary.